Menu

FuseBeads Hub © 2026

How to Iron Fuse Beads Perfectly Every Time: Complete Guide

Master how to iron fuse beads with our step-by-step guide. Learn temperature, pressure, timing, and mistakes to avoid for flawless Perler bead projects.

Beginner5 min read read

Why Ironing Is the Make-or-Break Step in Fuse Beads

You've spent hours placing tiny beads one by one, creating a beautiful design. Now comes the moment of truth: ironing. This is where your masterpiece is sealed—or ruined. Ironing fuse beads is both an art and a science. Too little heat, and your beads won't fuse; too much, and you'll get a flattened, melted mess. The good news? With the right technique, you can achieve perfect results every single time. In this guide, we'll walk you through the entire process, from setting up your workspace to troubleshooting common issues. Whether you're a complete beginner or a seasoned crafter, these tips will help you elevate your fuse bead projects. If you're new to the craft, start with our fuse beads for beginners guide to get the basics down before diving into ironing. The key to perfect ironing lies in three factors: temperature, pressure, and timing. Master these, and you'll never have to worry about uneven melts or curled edges again. Let's get started.

Gathering Your Tools: What You Need for Flawless Ironing

Before you plug in your iron, make sure you have all the necessary supplies. The right tools make a huge difference in the final outcome. You'll need an iron (a standard household iron works, but a mini craft iron gives you more control), ironing paper (parchment paper or the paper that comes with your bead kit), your pegboard with the completed design, and a flat, heat-resistant surface. A pair of tweezers or a small spoon can help with adjustments. It's also wise to have a spare pegboard or a ceramic tile to place your project on after ironing to keep it flat while it cools. If you're looking to upgrade your toolkit, check out our recommended fuse bead tools for expert picks. One often-overlooked item is a lint roller or masking tape. Before ironing, run a lint roller over your beads to remove any stray hairs or dust—they can get trapped in the melted plastic and ruin the look. A clean workspace is just as important as a clean design.
Gathering Your Tools: What You Need for Flawless Ironing

Step-by-Step: How to Iron Fuse Beads Perfectly

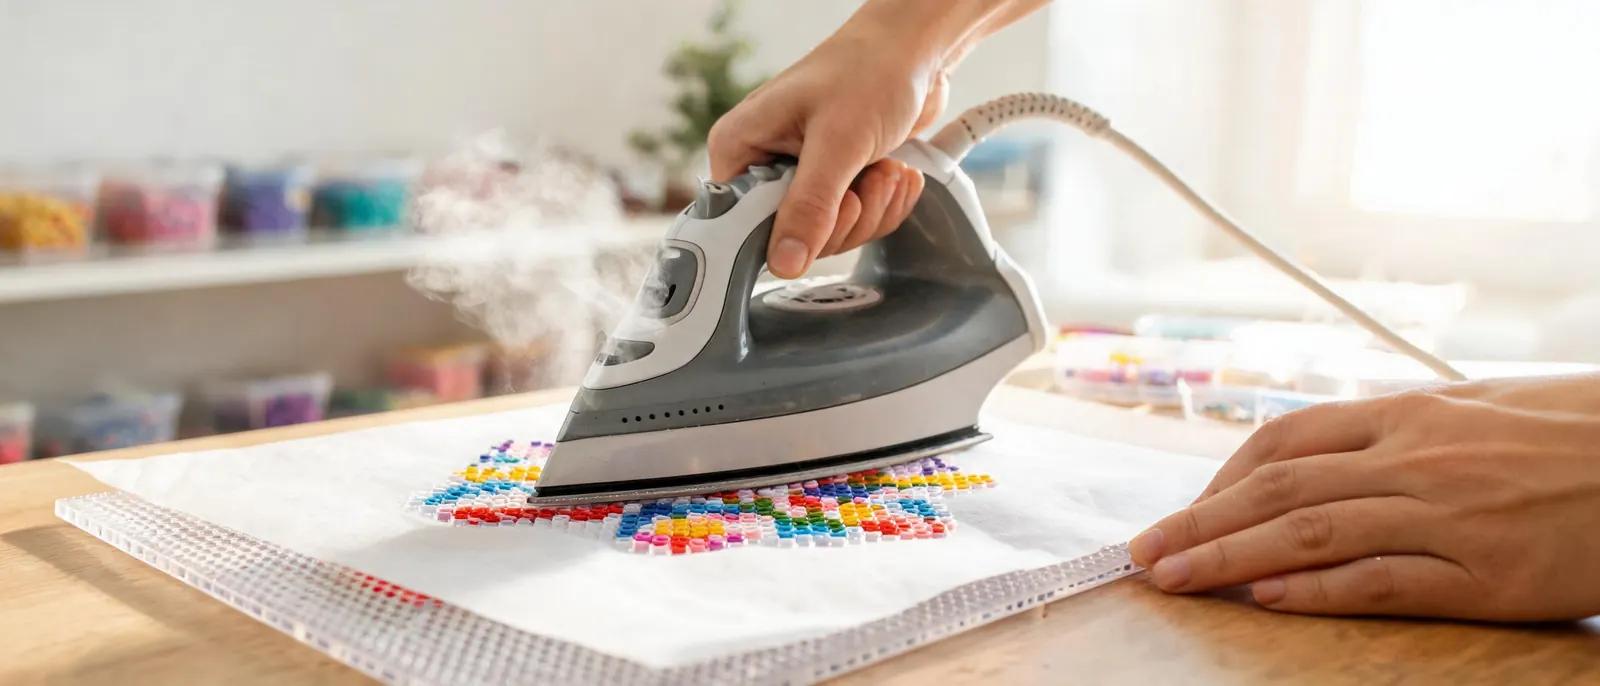
Start by preheating your iron to a medium setting—usually the 'silk' or 'wool' setting on a standard iron, around 300°F to 350°F (150°C to 175°C). Do not use steam; steam can cause warping and uneven melting. Place your ironing paper over the beads, ensuring it covers the entire design with a little extra around the edges. If you're using parchment paper, make sure it's flat and wrinkle-free. Now, apply the iron to the paper. Use a gentle, circular motion for about 10-15 seconds, then lift the iron. Don't press down hard—let the weight of the iron do the work. Over-pressing can flatten the beads too much. Check your progress by carefully lifting the paper. The beads should start to fuse together, forming a solid sheet. If they're still loose, iron for another 5-10 seconds. Once one side is fused, remove the project from the pegboard (it should lift easily if fused). Flip it over, cover with paper, and iron the other side for another 10-15 seconds. This ensures both sides are sealed and the project is sturdy. For more detailed projects like 3D fuse bead tutorials, you may need to iron only one side to keep flexibility. After ironing, place a heavy book or a flat object on top while it cools to prevent curling. This step is crucial for flat projects like coasters or wall art.

Common Ironing Mistakes and How to Avoid Them

Even experienced crafters make mistakes. One of the most common is using too much heat. If your iron is too hot, the beads will melt into a shapeless blob, and the colors may bleed. Always start with a lower temperature and increase gradually if needed. Another mistake is not using enough pressure—or using too much. You want even, gentle pressure. Let the iron glide; don't push down. Uneven fusing is another issue. This often happens when you don't move the iron in a consistent pattern. Make sure to cover the entire design evenly. If you notice some beads are still loose after ironing, don't panic—just place the paper back and iron those spots for a few more seconds. For projects with small details, like fuse bead earrings, use a mini iron for precision. Finally, don't forget to let your project cool completely before handling it. Trying to peel it off the pegboard while still warm can cause warping. Patience is key. If you're making items like magnets, a flat cool-down is essential for a professional finish.
Common Ironing Mistakes and How to Avoid Them

Advanced Tips for Different Projects

Not all fuse bead projects are ironed the same way. For flat pieces like coasters or photo frames, you'll want a full fuse on both sides for durability. This means ironing until the beads are completely merged, with no visible holes. For 3D projects, like fidget toys or Christmas ornaments, you might prefer a partial fuse—just enough to hold the beads together while keeping some texture and flexibility. If you're working with a large design, iron in sections. Start from the center and work outward, applying even heat. This prevents the edges from curling up. For intricate designs with many colors, you might want to use a color guide to plan your ironing strategy—darker colors tend to absorb more heat, so they may fuse faster. Another pro tip: use a Teflon sheet instead of paper for a smoother, glossier finish. It's reusable and provides a non-stick surface. Just be careful—Teflon transfers heat more efficiently, so you may need to reduce your ironing time. Experiment on a small test piece first. And if you're making jewelry or keychains, like keychains, a slightly thicker fuse adds strength.

Frequently Asked Questions

What temperature should I use to iron fuse beads?

Use a medium setting, around 300°F to 350°F (150°C to 175°C). On a standard iron, this is usually the 'silk' or 'wool' setting. Always start lower and increase if needed. Never use steam, as it can cause warping.

How long do I need to iron fuse beads?

Typically 10-15 seconds per side, but this can vary based on bead size and iron temperature. Check progress by lifting the paper. The beads should be fused together but not completely flat. If needed, iron for another 5-10 seconds.

Can I use parchment paper instead of ironing paper?

Yes, parchment paper works well as a substitute. Just make sure it's flat and covers the entire design. Avoid wax paper, as it can melt and stick to the beads.

Why did my fuse beads curl up after ironing?

Curling usually happens when the project cools unevenly or is removed from the pegboard too soon. To prevent it, place a heavy flat object (like a book) on the project immediately after ironing and let it cool completely before handling.

Ready to create your own patterns?

Open the Free Pattern Maker
Share: