Menu

FuseBeads Hub Β© 2026

Fuse Beads for Beginners: Everything You Need to Know

New to fuse beads? This beginner's guide covers everything from choosing the right beads and pegboards to creating your first design.

Beginner8 min read

What Are Fuse Beads?

Fuse beads (also known as Perler beads, Hama beads, or melty beads) are small plastic beads that you arrange on a pegboard and then fuse together with an iron. They're a fun, creative craft for all ages.
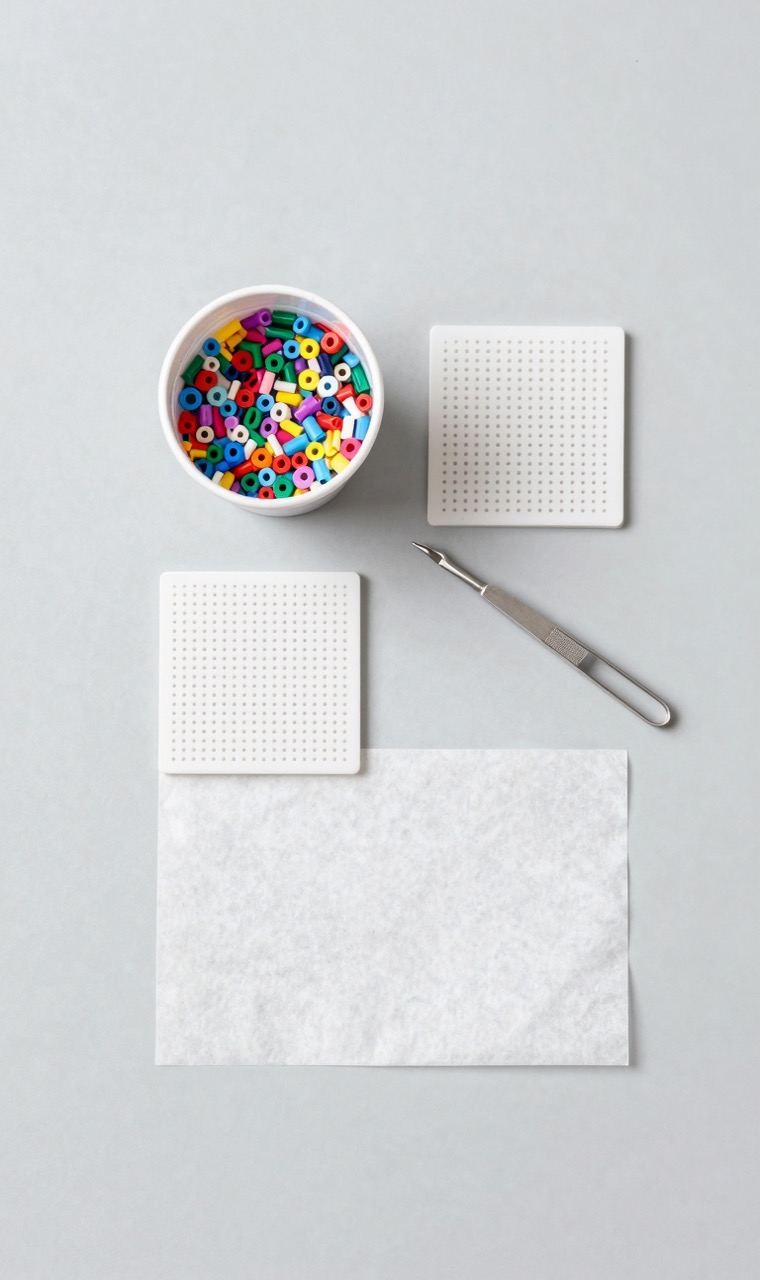
A fuse bead beginner starter kit with beads, pegboards, and tweezers
A starter kit has everything you need to begin.

Choosing Your Beads

The main brands are Perler (US), Hama (Europe), Artkal (Asia), and Nabbi (Sweden). Perler offers 221 colors and is widely available. Artkal has excellent color variety popular in China. For beginners, a starter kit with 20-30 colors and a few pegboards is ideal.

Essential Tools

You'll need: pegboards (square, circle, or hexagon), tweezers for precise placement, ironing paper, and an iron. Optional but helpful: bead storage boxes, pattern templates, and our online pattern generator!

Pegboard Sizes

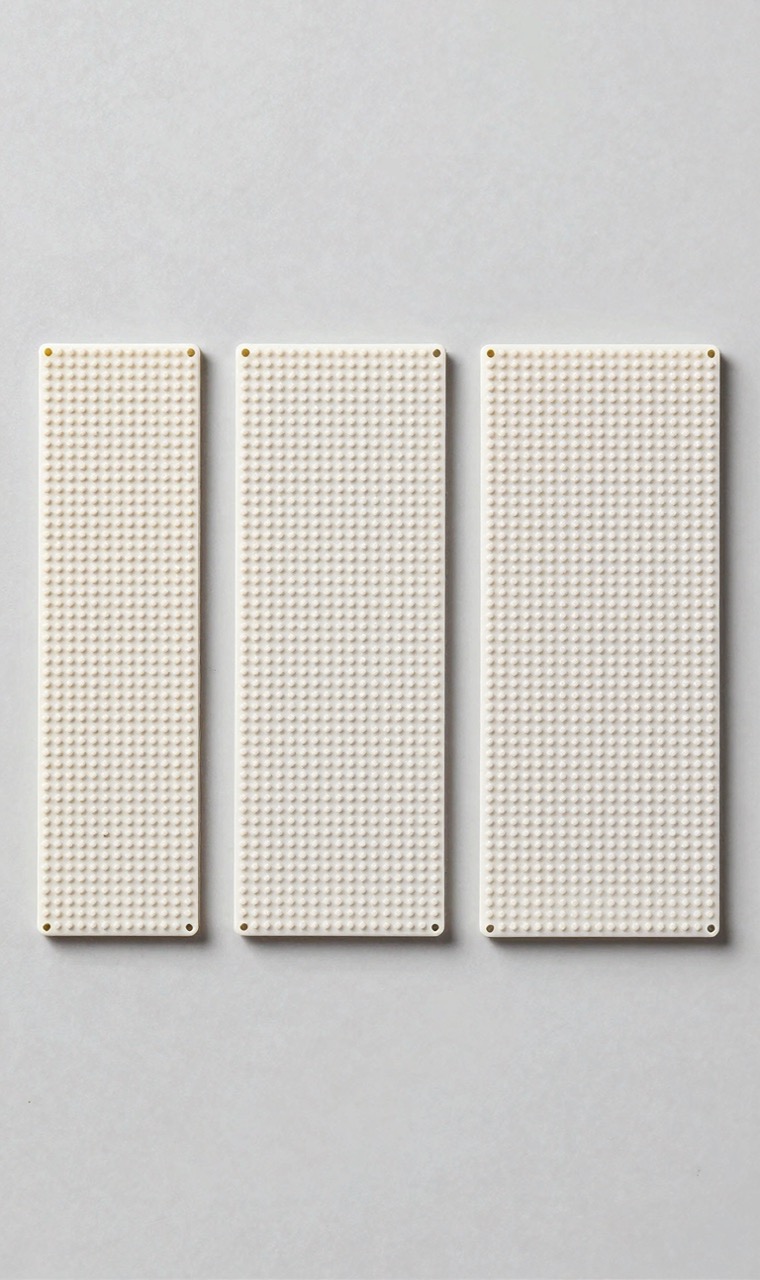
Standard square pegboards are 29x29 pegs. Large boards can be 58x58 or connect multiple boards together for bigger designs. Mini boards (15x15) are great for small projects and keychains.
Three empty plastic pegboards of different sizes side by side
Pegboards come in mini, standard, and large sizes.

Your First Project

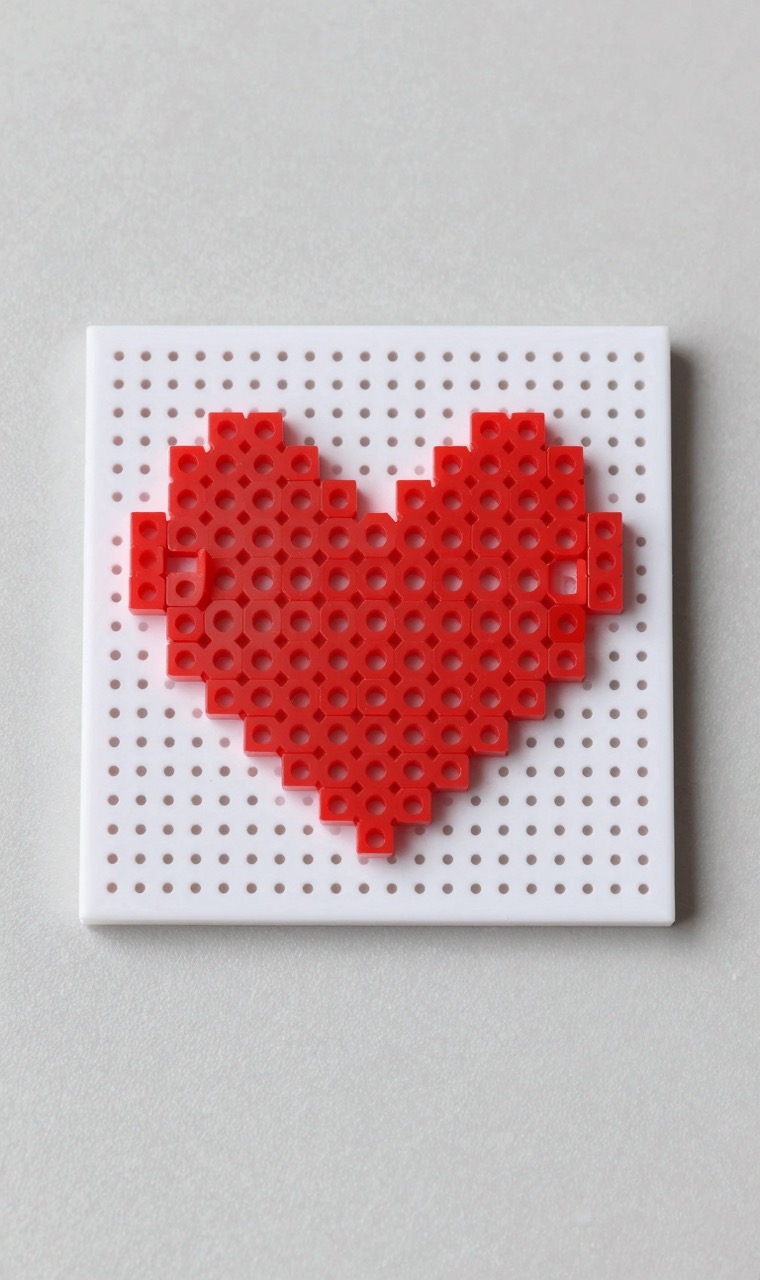
Start with something simple! A heart, smiley face, or small pixel character on a 15x15 board. Use our pattern generator to convert a simple image, or follow one of our free beginner patterns. Place beads on the pegboard, iron carefully, and enjoy your creation!
A simple red pixel heart fuse bead design on a small pegboard
A two-color heart is the perfect first project.

Step-by-Step Walkthrough: Your First Heart Pattern
Let's walk through a complete first project β€” a simple heart on a 15x15 pegboard using just two colors. This project takes about 15 minutes and uses roughly 50 beads. Materials: One 15x15 pegboard, red beads (~40), white beads (~10), ironing paper, and a household iron. Step 1 β€” Find or sketch the pattern: Draw a 15x15 grid on paper and color in a heart shape, or use our pattern generator to create one. A classic pixel heart is about 10 beads wide at its widest point and 9 beads tall. Step 2 β€” Lay down the outline first: Place red beads along the outer edge of the heart shape. Working outline-first makes it easier to fill in the interior without losing your place. Use tweezers if beads feel fiddly β€” they give you precision and save your fingertips. Step 3 β€” Fill the interior: Once the outline is complete, fill in the heart with red beads. Then surround the heart with a white border to make it pop visually. Step 4 β€” Double-check your placement: Compare your pegboard against your reference pattern. It's much easier to fix a misplaced bead now than after ironing. Step 5 β€” Iron: Place ironing paper over the design. Iron on medium heat (no steam) for about 30 seconds using slow circular motions. Flip, add fresh paper, and iron the back for another 30 seconds. Step 6 β€” Cool flat: Place the piece under a heavy book for 10 minutes. Done! You've completed your first fuse bead project.
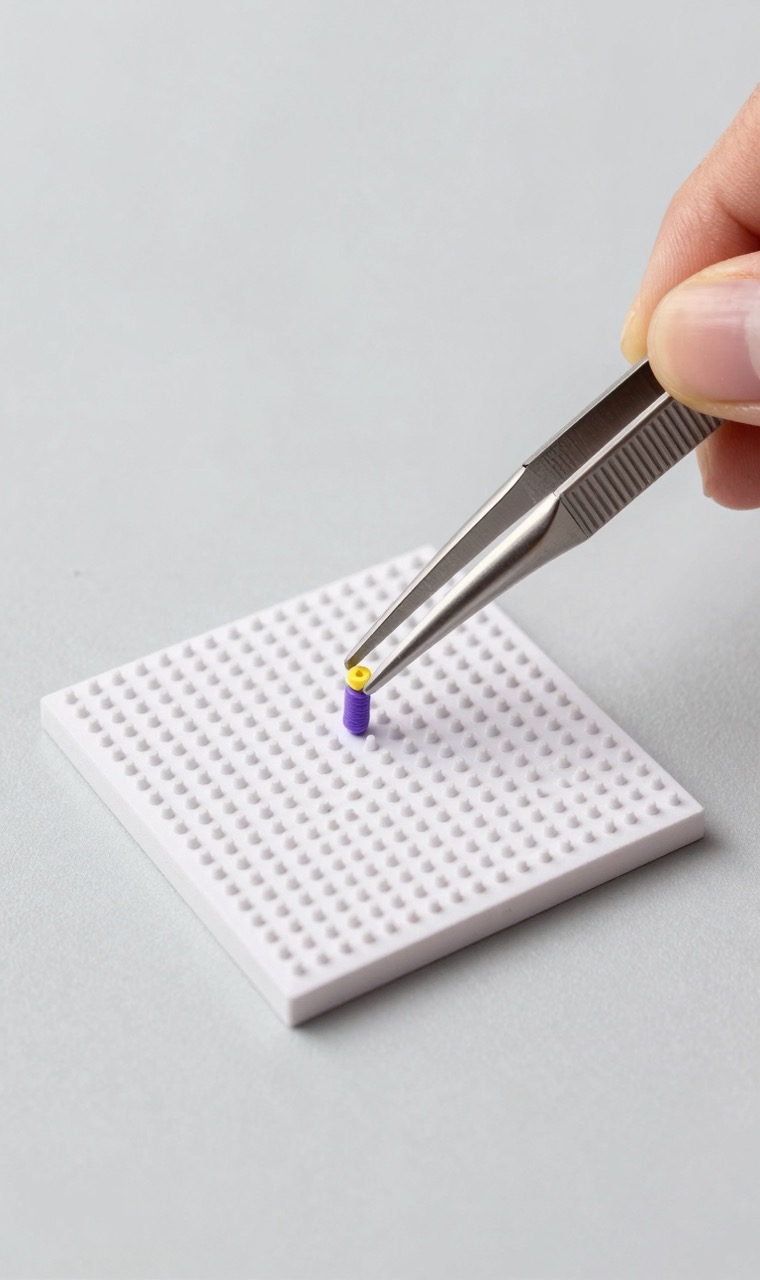
A hand using tweezers to place a fuse bead on a pegboard
Tweezers help with precise bead placement.

Common Beginner Mistakes and How to Avoid Them

Every fuse bead crafter makes these mistakes early on β€” learn from them before they happen to you. Mistake 1 β€” Ironing too hot. This is the #1 beginner error. Beads melt flat and lose their signature open-hole look. Fix: start at a lower setting than you think you need, and test on a small 5x5 scrap piece before ironing your real project. Mistake 2 β€” Forgetting the ironing paper. Placing the iron directly on beads ruins both the beads and the iron. Always cover your design with ironing paper or parchment paper first. Mistake 3 β€” Leaving steam on. Steam introduces moisture that prevents proper melting. Turn steam OFF and empty the water reservoir before ironing beads. Mistake 4 β€” Not cooling under weight. A freshly ironed piece warps and curls as it cools. Immediately place it under a heavy flat book for 10 minutes to keep it perfectly flat. Mistake 5 β€” Starting with a pattern that's too complex. A 29x29 design with 10 colors will frustrate a beginner. Start with 8x8 or 10x10 patterns using 2-4 colors. Build confidence with quick wins before tackling ambitious projects. Mistake 6 β€” Mixing bead brands without testing. Different brands melt at slightly different temperatures. If you mix Perler and Artkal in one piece, test your iron settings on a scrap first to avoid one brand over-melting. Mistake 7 β€” Poor bead storage. Dumping all beads into one container wastes time sorting colors later. Invest in a multi-compartment box from day one.

Frequently Asked Questions

What age is appropriate for fuse beads?

Standard fuse beads (5mm) are recommended for ages 5+. Adult supervision is needed for ironing. Midi beads (10mm) are available for younger children (3+).

How many colors do I need to start?

A starter kit with 20-30 colors is perfect for beginners. You can always expand your collection as you take on more complex designs.

How much does it cost to start fuse beading?

A complete beginner starter kit costs about $15-25: it includes a bucket of 5,000-6,000 mixed-color beads, one or two pegboards, ironing paper, and sometimes tweezers. Artkal kits offer the best value at the low end (~$15), while Perler big buckets run $12-18. Add a $8-12 multi-compartment storage box and you're fully equipped for your first 50+ projects. Individual finished pieces cost just $0.50-$2 in materials.

Ready to create your own patterns?

Open Pattern Generator
Share: