Menu

FuseBeads Hub Β© 2026

How to Iron Fuse Beads: Complete Guide for Perfect Results

Learn the proper technique for ironing fuse beads. Step-by-step instructions for Perler, Hama, and Artkal beads with tips for avoiding common mistakes.

Beginner5 min read

What You'll Need

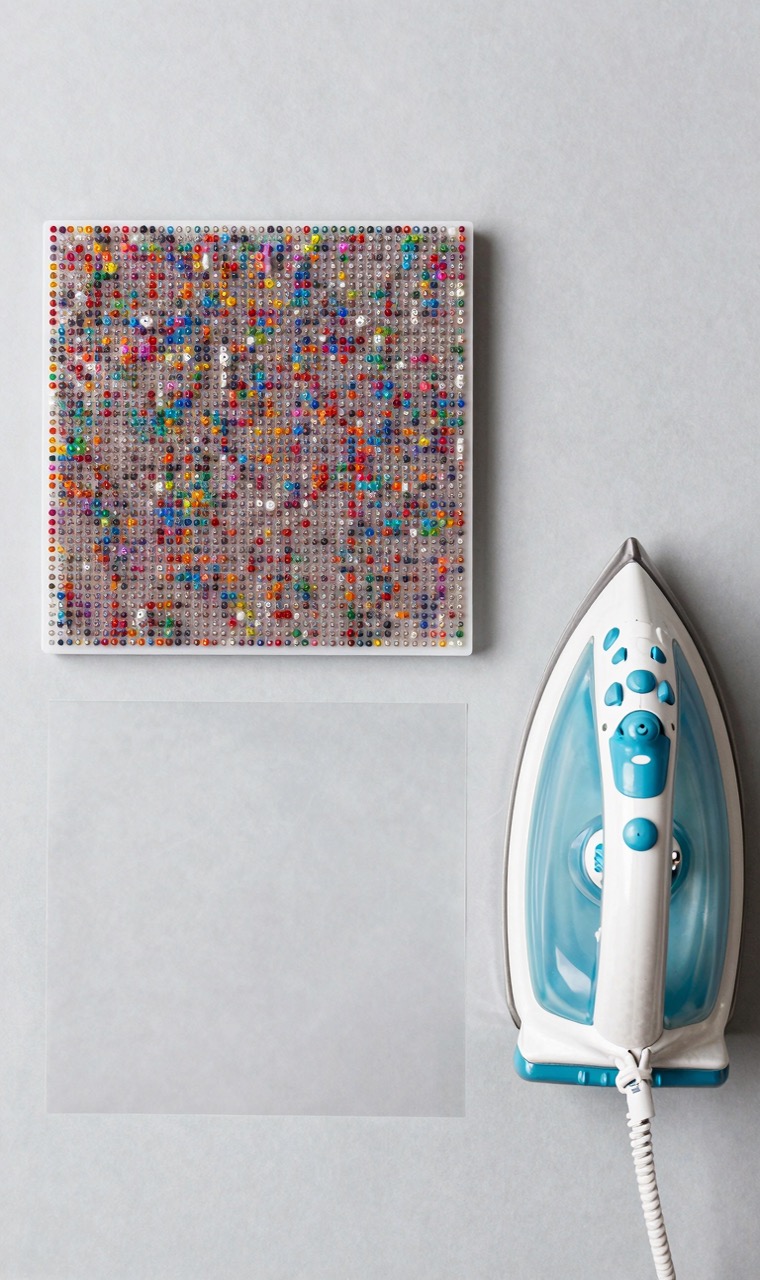
Before you start ironing, gather these supplies: your completed bead design on a pegboard, ironing paper (or parchment paper), a household iron, and a flat heat-resistant surface. Make sure your iron is set to medium heat with NO steam. New to fuse beads? See our beginner's guide.
Fuse bead ironing supplies: pegboard with beads, ironing paper, and an iron
Gather your pegboard, ironing paper, and iron before you start.

Step 1: Place Ironing Paper

Carefully place ironing paper over your bead design. Make sure the entire design is covered. The paper prevents the beads from sticking to your iron.

Step 2: Iron with Circular Motions

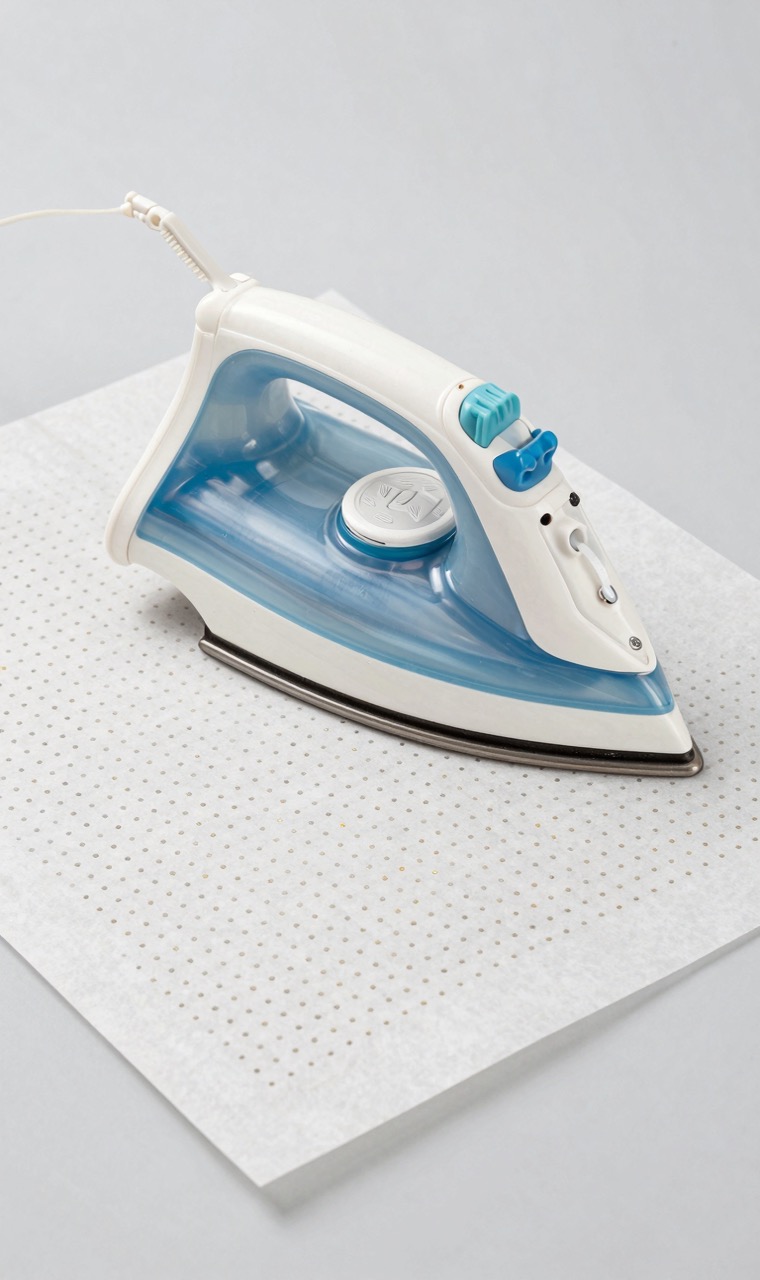
Press the iron gently onto the paper and move in slow circular motions. Apply even pressure across the entire design. Iron for about 30-60 seconds, or until the beads are fused together with visible holes in the centers.
An iron pressing ironing paper over fuse beads with circular motions
Slow, circular motions with even pressure fuse beads evenly.

Step 3: Flip and Iron the Other Side

Carefully remove the design from the pegboard, place fresh paper on top, and iron the reverse side for another 30-60 seconds. Ironing both sides ensures durability.

Step 4: Let It Cool

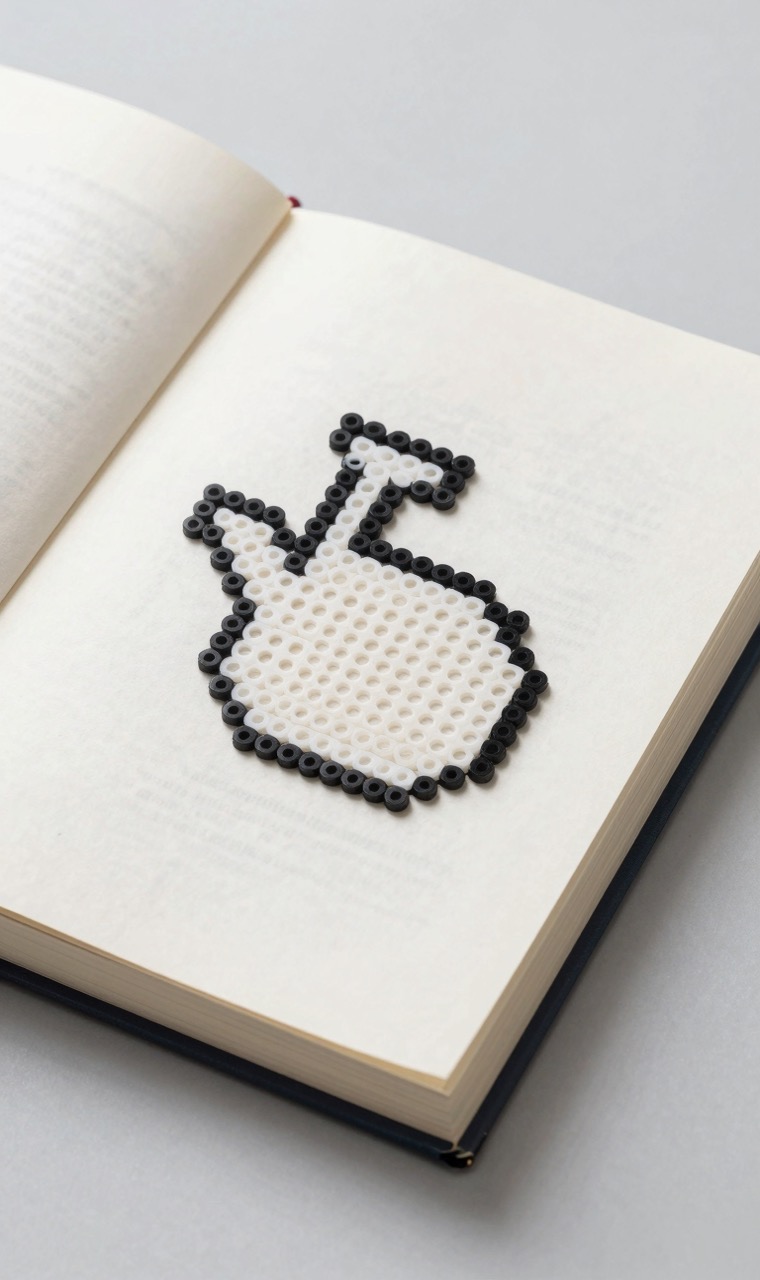
Place a heavy book on top of the ironed design while it cools. This keeps it flat and prevents warping. Wait at least 5 minutes before handling.
A fused fuse bead piece cooling flat under a heavy book
Cool under a heavy book to keep the piece flat.

Pro Tips

Use medium heat β€” too hot and beads melt flat, too cool and they won't fuse. For larger designs, iron in sections. Always keep the iron moving to avoid scorching. Artkal beads may require slightly less heat than Perler beads.
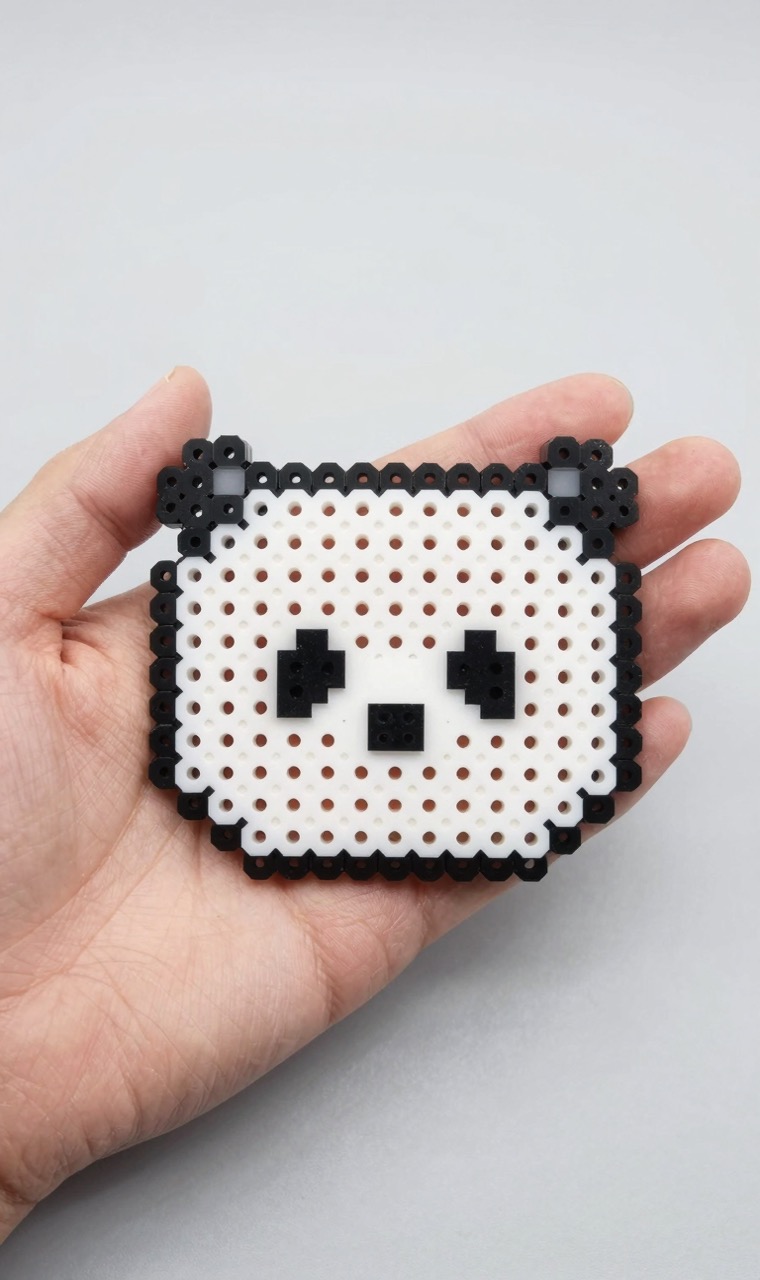
A hand holding a finished fused fuse bead piece showing open center holes
Aim for fused beads that still show their center holes.

Iron Temperature Settings by Bead Brand

Getting the temperature right is the single most important factor in achieving a clean, professional fuse. In 2026, most household irons use a numbered dial or fabric setting rather than degree markings, so you'll need to translate brand-specific recommendations to your iron. Here's a practical reference guide based on extensive testing with the three major brands. Perler beads (US): Set your iron to a medium setting β€” typically the wool or polyester mark, around 130-150Β°C (270-300Β°F). Perler beads have a relatively high melting point and fuse best with consistent heat for 30-45 seconds per side. On a numbered dial (1-7), aim for about 4 or 5. Artkal beads (China): Artkal beads melt at a noticeably lower temperature than Perler. Use a low-medium setting around 120-140Β°C (250-285Β°F), or dial position 3-4. Artkal's softer plastic means you should iron for slightly less time (25-35 seconds per side). Too much heat causes Artkal beads to flatten and lose their center-hole structure. Hama beads (Denmark): Hama sits between Perler and Artkal in melting point. A medium setting around 125-145Β°C (260-290Β°F) works well, or dial position 4. Hama beads fuse very evenly thanks to their tight manufacturing tolerance. Mixed-brand projects: When combining brands in one piece, always iron at the temperature suited to the lowest-melting bead (usually Artkal) and extend the ironing time slightly. This prevents one brand from over-melting while the other fuses properly. Travel and mini irons: These tend to run hotter than full-size models for a given setting. Start one notch lower and test on a small scrap piece first.

Fixing Common Ironing Problems

Even experienced crafters encounter ironing issues. Here's how to diagnose and fix the most common problems. Over-melted beads (beads flatten completely, holes disappear): Your iron is too hot or you're ironing too long. Lower the temperature by one notch and reduce ironing time to 20-30 seconds. If only some beads are affected, you can carefully replace individual beads with tweezers and re-iron just that area at a lower setting. Prevention tip: always start with less heat and less time than you think you need. Uneven fusion (some areas fused, others still separate): This usually means iron pressure was inconsistent or the iron wasn't flat against the surface. Make sure your work surface is perfectly flat and rigid β€” a soft ironing-board pad causes uneven results. Iron in slow, overlapping circular motions, spending extra time on edges and corners, which fuse slower than the center. For large designs, mentally divide the piece into quadrants and give each section equal attention. Warping and curling (the finished piece bends or cups): Warping happens when one side shrinks more than the other during cooling. Fix: immediately after ironing, place the piece under a heavy flat weight (a stack of books works well) on a hard surface. Keep it pressed for at least 10-15 minutes until completely cool. If a piece is already warped, you can sometimes rescue it by gently reheating both sides evenly and re-pressing flat. Beads sticking to ironing paper: This happens when paper is too thin or the iron is too hot. Use proper ironing paper or high-quality parchment paper β€” not wax paper or copy paper. If beads are stuck, let everything cool completely before gently peeling the paper away. Cracking after cooling: The piece was ironed unevenly or cooled too fast. Always let pieces cool gradually at room temperature.

Frequently Asked Questions

Can I use a regular iron for fuse beads?

Yes, any standard household iron works. Set it to medium heat and disable steam.

Do I need special ironing paper?

Parchment paper works great as a substitute. Avoid wax paper as it can melt and stick.

How long should I iron fuse beads?

About 30-60 seconds per side, using slow circular motions with gentle pressure.

Why are my beads not sticking together?

The most common causes are: (1) iron temperature too low β€” increase by one notch, (2) ironing time too short β€” aim for 30-45 seconds per side, (3) steam function not turned off β€” steam introduces moisture that prevents proper melting, (4) uneven pressure β€” make sure the entire surface of the iron contacts the paper. Test on a small 3x3 scrap piece to dial in your settings before attempting the full design.

Can I use a steam iron for fuse beads?

You can use a steam iron as a tool, but you MUST turn the steam function completely OFF. Steam introduces water droplets that cool the beads unevenly, cause splotchy fusion, and can leave water spots on the finished surface. Empty the water reservoir before starting, and double-check that no steam is escaping. If your iron auto-generates steam even on dry settings, use a different iron.

Ready to create your own patterns?

Open Pattern Generator
Share: