Меню

FuseBeads Hub © 2026

Harry Potter Fuse Beads: Patterns, Color Guides & Tips

Create magical Harry Potter fuse bead patterns! House crests, wands, Hedwig, Golden Snitch with color guides, step-by-step tips, and FAQs for crafters.

Начинающий5 min read чтения

Why Harry Potter Fuse Beads Are a Magical Craft

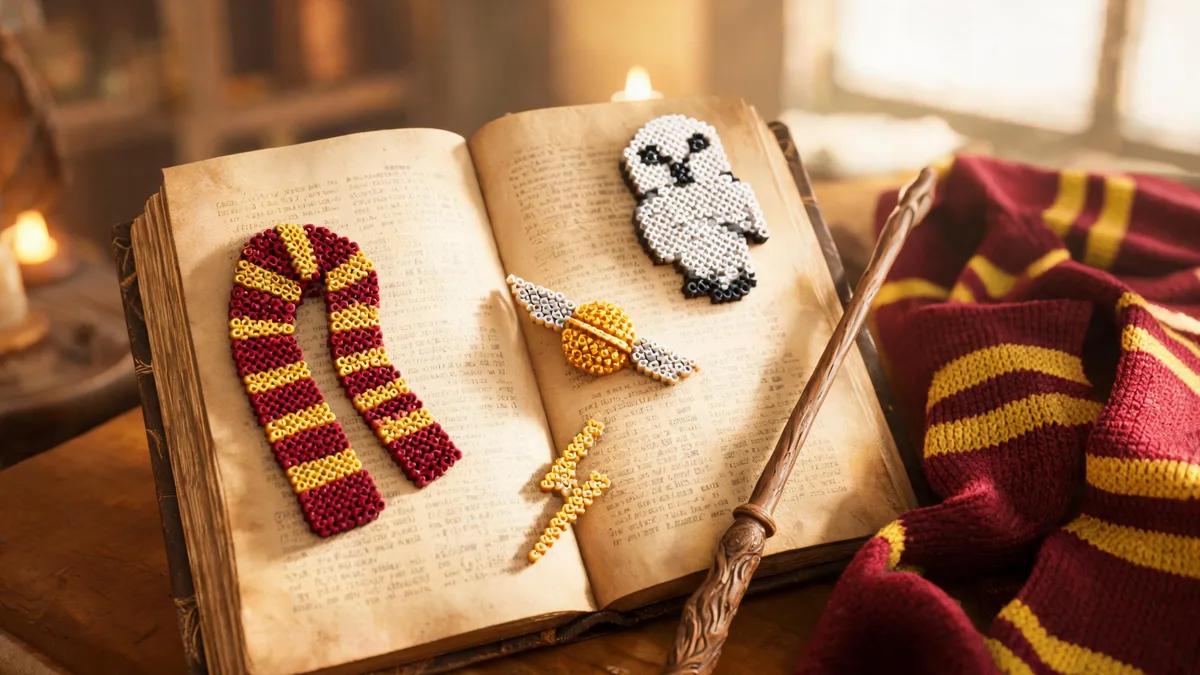
Harry Potter fuse beads bring the wizarding world to life one tiny pixel at a time. Whether you are a Gryffindor at heart or a proud Slytherin, pixel art is the perfect medium for capturing iconic symbols like house crests, wands, Hedwig, and the Golden Snitch. The retro, blocky aesthetic of fuse beads matches the nostalgic charm of the books and films, making every finished piece feel like a tiny artifact from Hogwarts. One of the best things about this craft is its accessibility. You only need a few basic supplies: midi or mini fuse beads, a pegboard, ironing paper, and an iron. From there, the possibilities are endless. You can turn your creations into coasters, ornaments, or even wall art for a themed room. If you are new to the hobby, start with our beginner's guide to learn the fundamentals before diving into more complex Harry Potter designs. Beyond the fun factor, Harry Potter fuse beads make wonderful gifts for fellow fans. A handmade Gryffindor lion or a shimmering Golden Snitch carries personal meaning that a store-bought item simply cannot match. They are also a fantastic way to introduce kids to the series — crafting a Hedwig while listening to the audiobooks is a magical afternoon activity. For younger crafters, be sure to review our safety tips in fuse beads safe for kids. Finally, these projects scale beautifully. You can make a single small charm in under an hour, or spend a weekend building an elaborate Hogwarts house banner. The flexibility means there is always a project that fits your time and skill level.

Essential Materials and Color Palette for Harry Potter Fuse Beads
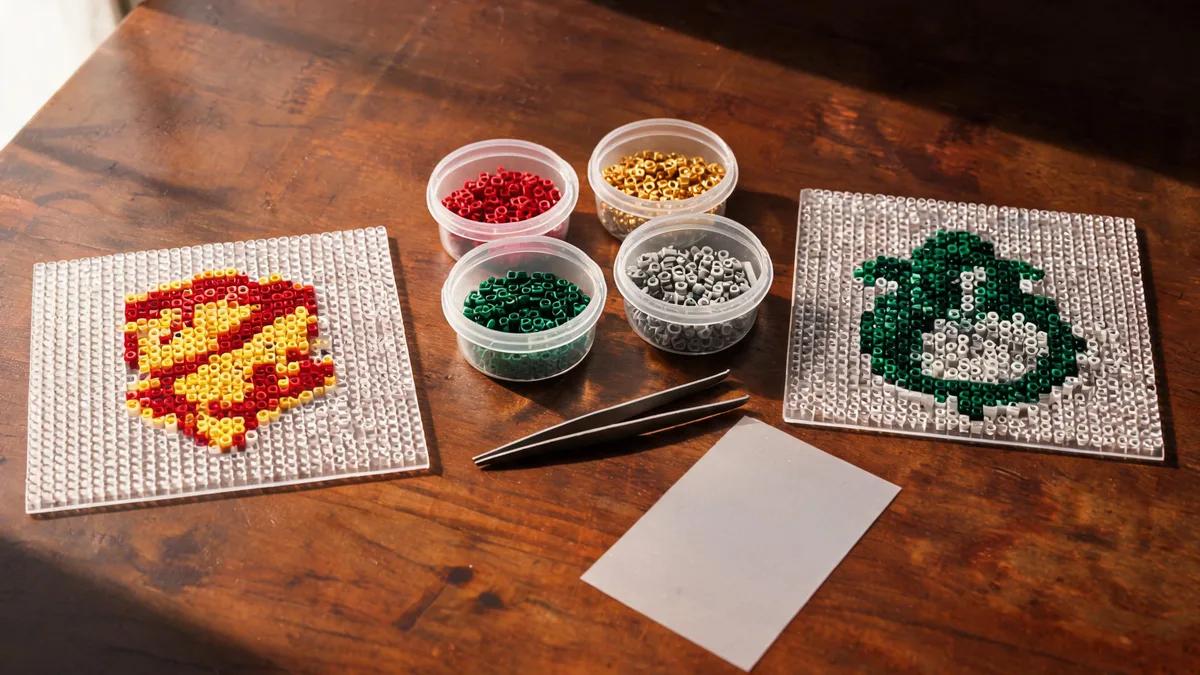
Before you start your first Harry Potter fuse bead pattern, gather the right materials. You will need midi beads (5mm) for most projects, though mini beads (2.6mm) work beautifully for detailed faces like Hedwig or small crests. A square pegboard is your canvas, and clear or colored pegboards can help you see your design more easily. Ironing paper and a reliable iron with adjustable temperature are essential. For a full rundown of tools, see our recommended tools guide. Color accuracy is what makes a Harry Potter pattern instantly recognizable. Each house has its own palette: Gryffindor uses scarlet and gold, Slytherin green and silver, Ravenclaw blue and bronze (or blue and silver in the films), and Hufflepuff yellow and black. For skin tones, wands, and Hedwig's feathers, you will need a range of browns, tans, and whites. Our comprehensive fuse bead color guide can help you match shades across brands. When shopping, consider buying a large tub of beads plus specific colors in bulk. Brands like Perler, Hama, and Artkal each have slightly different hues, so check our Perler vs Hama vs Artkal comparison to decide which fits your project. For gold accents like the Snitch, metallic or glitter beads add an extra touch of magic. Storage matters too. Keep your beads sorted by color in labeled containers so you can find the exact shade quickly. Our guide on how to store fuse beads offers practical solutions for keeping your collection organized and ready for your next spellbinding project.
Essential Materials and Color Palette for Harry Potter Fuse Beads

Iconic Patterns: House Crests, Wands, Hedwig, and the Golden Snitch

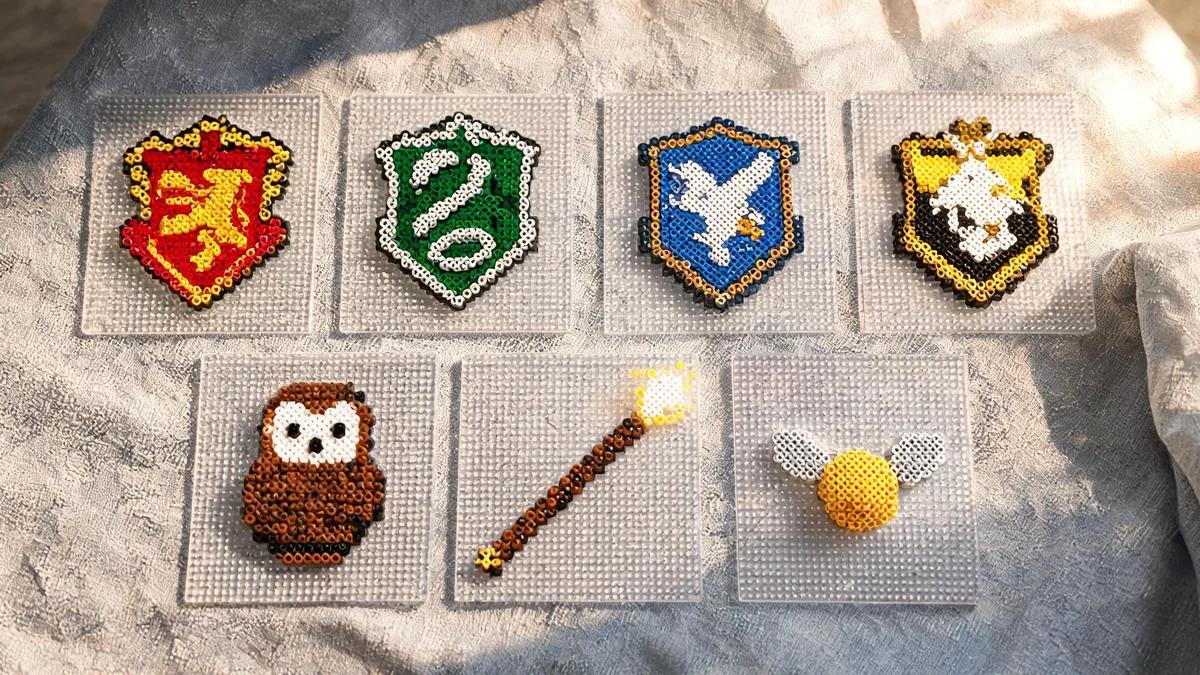
House crests are the ultimate Harry Potter fuse bead project. Start with a simplified version: a shield shape with the house animal silhouette in the center. For Gryffindor, use a red background with a gold lion; for Slytherin, a green background with a silver serpent. Begin by outlining the shield with black beads, then fill in the background color. Add the animal in contrasting beads, and finish with a border of the secondary house color. If you want to display your crest, consider mounting it on a photo frame or turning it into a magnet using our magnet guide. Wands are simpler and quicker to make. A basic wand pattern is a straight line of brown beads, about 15–20 beads long, with a slightly thicker handle at one end. Add a few lighter tan beads near the tip to suggest a glow or a core. You can also create a wand with a spiral pattern by alternating dark and light brown beads. These make excellent keychains — see our keychain tutorial for the hardware details. Hedwig is a favorite because she is instantly recognizable. Use white beads for the body and head, with a few light gray beads for shading. Black beads form the eyes and beak, while small yellow beads make the beak pop. For a more detailed look, use mini beads and add a letter or a tiny envelope in her talons. Hedwig also looks lovely as a Christmas ornament — check our fuse bead Christmas ornaments for hanging ideas. The Golden Snitch is small but striking. Build a circle of gold or yellow beads, then add two curved wings on either side using translucent or white beads. A few metallic gold beads in the center give it a realistic shine. Because it is compact, the Snitch is perfect for earrings or a necklace — our fuse bead earrings and jewelry guide shows you how to attach the findings. You can also scale it up into a larger display piece for a wall art project.

Step-by-Step: Ironing and Finishing Your Harry Potter Fuse Bead Creation
Once your pattern is laid out on the pegboard, it is time to iron. Set your iron to medium heat (no steam) and place the ironing paper over the beads. Press gently in a circular motion for about 10–15 seconds, then lift the paper to check your progress. You want the beads to fuse together but still show their holes for a classic pixel look. If you prefer a fully sealed, glossy finish, iron a bit longer. For detailed instructions, see our how to iron fuse beads tutorial. After ironing one side, let the piece cool completely before flipping it over. Iron the second side if you want extra durability, especially for items that will be handled often, like keychains or coasters. Be careful not to over-iron, as this can flatten the beads and lose the distinct pixel texture. If you are making a 3D project, like a small Hogwarts house mascot, our 3D fuse bead tutorial will guide you through assembling multiple flat pieces. Finishing touches make your project shine. For a Golden Snitch, you can add a thin layer of clear nail polish or Mod Podge for extra gloss. For house crests, consider gluing a pin back or a magnet to the reverse side. If you are making ornaments, thread a ribbon or string through a small hole — but remember to leave a gap in the beads before ironing if you want a hanging loop. Finally, think about presentation. A set of four house crest coasters makes a stunning gift, especially when wrapped with a themed ribbon. Our Perler bead gift ideas guide has more inspiration for packaging and personalizing your creations. Whether you keep them or give them away, each finished piece is a little piece of magic.
Step-by-Step: Ironing and Finishing Your Harry Potter Fuse Bead Creation

Tips for Perfecting Your Harry Potter Fuse Bead Patterns

Precision is key when working with detailed patterns. Use tweezers to place individual beads, especially for small areas like eyes or wand tips. A bead pen or a small scoop can speed up filling large background areas. If you are designing your own pattern, graph paper or a free online pixel art tool can help you map out the grid. You can also use our pattern generator to convert an image into a fuse bead template. Lighting matters more than you might think. Work on a white or light-colored surface so you can see the bead colors clearly. Good overhead lighting reduces eye strain during long sessions. If you are working with similar shades, like dark green and black for Slytherin, place them side by side on the board and double-check before ironing. Mistakes are easy to fix before ironing. If you place a wrong bead, use tweezers to lift it out and replace it. After ironing, small errors are permanent, so take your time. For complex projects, work in sections and take breaks to avoid fatigue. Our cool ideas page has more inspiration if you want to expand beyond Harry Potter themes. Finally, experiment with different bead types. Glow-in-the-dark beads can make a Patronus pattern magical at night, while metallic beads add shine to the Golden Snitch. Translucent beads work well for spells or ghostly figures like Nearly Headless Nick. The more you experiment, the more your Harry Potter fuse bead collection will grow into a true wizarding world.

Часто задаваемые вопросы

What beads do I need for Harry Potter fuse bead patterns?

You will need midi beads (5mm) for most projects, or mini beads (2.6mm) for detailed designs like Hedwig's face. Essential colors include house-specific shades (scarlet, gold, green, silver, blue, bronze, yellow, black), plus browns, tans, whites, and grays for wands and skin tones. Metallic or glitter beads are great for the Golden Snitch. Having a large tub of basic colors plus specific shades in bulk will cover most patterns.

How do I make a Golden Snitch with fuse beads?

Start by creating a circle of gold or yellow beads for the body. Add two curved wings on either side using translucent or white beads, and place a few metallic gold beads in the center for shine. Iron both sides for durability. You can turn it into a keychain, earrings, or a small ornament by attaching the appropriate hardware. For a larger display, scale up the pattern on a bigger pegboard.

Can I use a pattern generator for Harry Potter designs?

Yes! A pattern generator can convert an image — like a house crest or a photo of Hedwig — into a fuse bead template. Upload your image, adjust the size and number of colors, and the tool will create a grid you can follow. This is especially useful for complex designs. You can try our pattern generator to get started.

Are Harry Potter fuse beads safe for kids?

Fuse beads are generally safe for children, but adult supervision is required during ironing because the iron and melted beads get hot. For younger children, choose larger midi beads to reduce choking hazards, and keep small beads away from toddlers. Always iron on a heat-safe surface and let pieces cool completely before handling. See our fuse beads safe for kids guide for more detailed safety tips.

Готовы создавать собственные схемы?

Открыть бесплатный конструктор
Поделиться: