Меню

FuseBeads Hub © 2026

Fuse Bead Photo Frames: DIY Patterns, Backing & Stand Guide

Learn to make fuse bead photo frames with custom patterns, sturdy backing, and display stands. Step-by-step tutorial for crafters of all levels.

Начинающий5 min read чтения

Why Fuse Bead Photo Frames Make Perfect Personalized Gifts

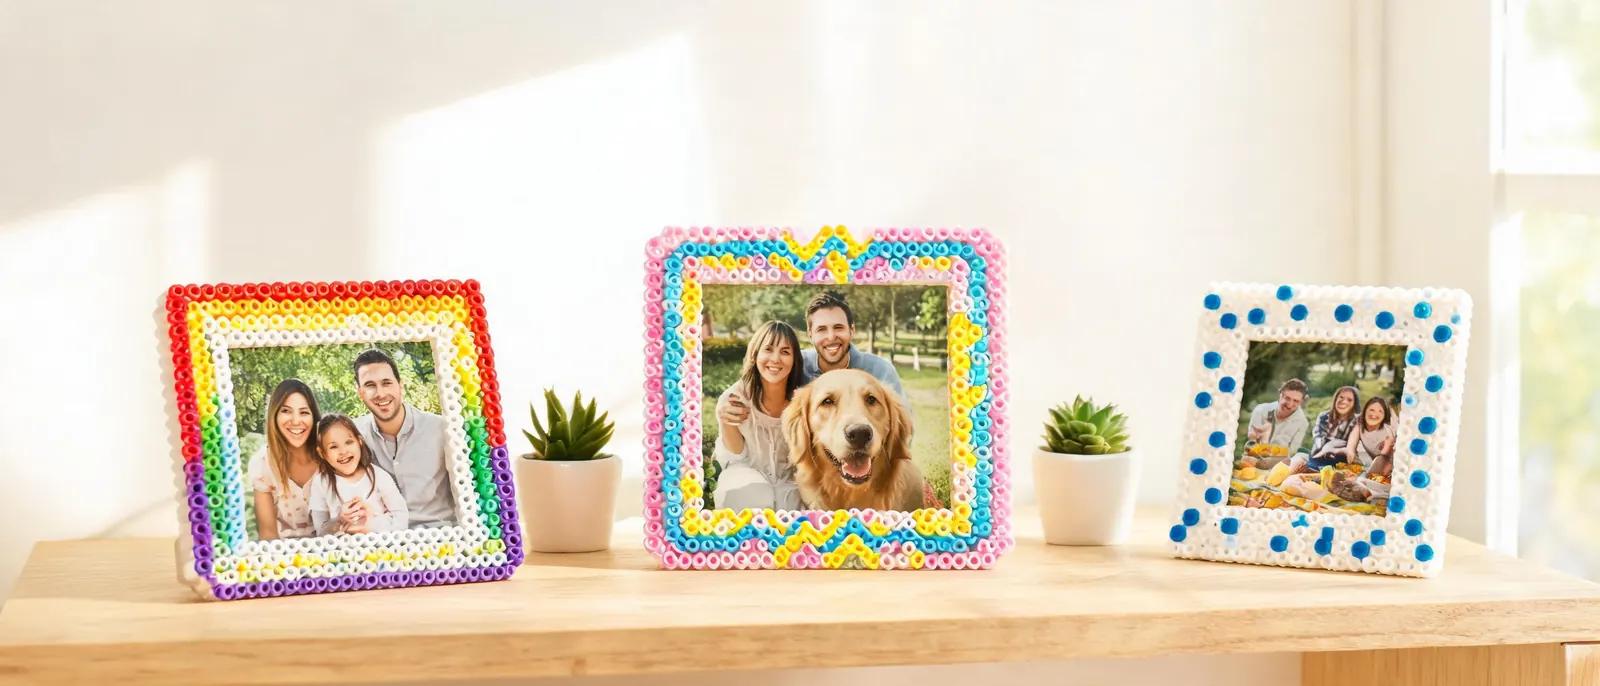
Fuse bead photo frames combine the nostalgic charm of pixel art with the practicality of a cherished keepsake. Unlike store-bought frames, a handmade bead frame lets you customize colors, patterns, and even embed small charms or initials that reflect the recipient's personality. Whether you're framing a snapshot of a family vacation or a pet portrait, the pixelated border adds a playful, retro touch that instantly draws the eye. Beyond aesthetics, these frames are surprisingly durable when constructed correctly. With a proper backing and stand, they can sit on a desk, shelf, or mantel for years without warping. They're also lightweight, making them ideal for shipping to friends and family. If you're new to the craft, start with our fuse beads for beginners guide to get comfortable with the basics before tackling a full frame. The creative possibilities are endless. You can design a frame to match a nursery theme, a wedding color palette, or a favorite sports team. For more inspiration on small decorative projects, browse our perler bead gift ideas collection. Once you master the frame, you'll find yourself making them for every occasion.

Materials and Tools You'll Need

Before you begin, gather your supplies. The core materials are fuse beads (Perler, Hama, or Artkal all work well), a large square pegboard, ironing paper, and an iron. For the frame itself, you'll need a clear plastic or glass photo insert, a sturdy backing material like foam board or chipboard, and a stand (either a purchased easel or a DIY bead stand). A hot glue gun, scissors, and a ruler round out the toolkit. For a deeper dive into essential tools, see our recommended fuse bead tools. Color selection is crucial for a cohesive look. Choose a palette that complements the photo. For a vintage feel, use muted tones like cream, sage, and dusty rose. For a modern look, go bold with neon or metallic beads. Our fuse bead color guide can help you pair shades effectively. Remember that ironing can slightly darken or flatten colors, so test a small swatch first. If you're using a standard 29x29 pegboard, you can create a frame that holds a 3x3 inch photo. For larger photos, you can connect multiple pegboards. The best fuse bead pegboards guide explains how to interlock boards for bigger designs. Always keep a spare pegboard on hand in case you need to redo a section.
Materials and Tools You'll Need

Designing Your Frame Pattern: Tips and Techniques

Designing a fuse bead photo frame is where your creativity shines. Start by deciding on the frame's shape: a classic rectangle, a scalloped oval, or even a heart. For a rectangle, sketch a border that is 4-6 beads wide. This width provides enough space for intricate patterns without overwhelming the photo. Use graph paper or a digital tool like our pattern generator to map out your design bead by bead. Consider incorporating motifs that echo the photo's theme. A beach photo could feature tiny starfish and waves along the border; a birthday snapshot might have balloons and confetti. If you're making a frame for a child's room, try animal shapes from our animal ideas page. Symmetry is pleasing, but don't be afraid to add asymmetrical accents like a cluster of flowers in one corner. When planning colors, think about contrast. A dark photo will pop against a light frame, and vice versa. You can also create a gradient effect by transitioning from one color to another around the border. Remember that the frame's inner edge should be smooth to avoid scratching the photo. If you're feeling adventurous, try a 3D element like a beaded bow or a small stand attached to the back—our 3D fuse bead tutorial shows how to build sturdy three-dimensional shapes.

Step-by-Step: Assembling and Ironing Your Frame
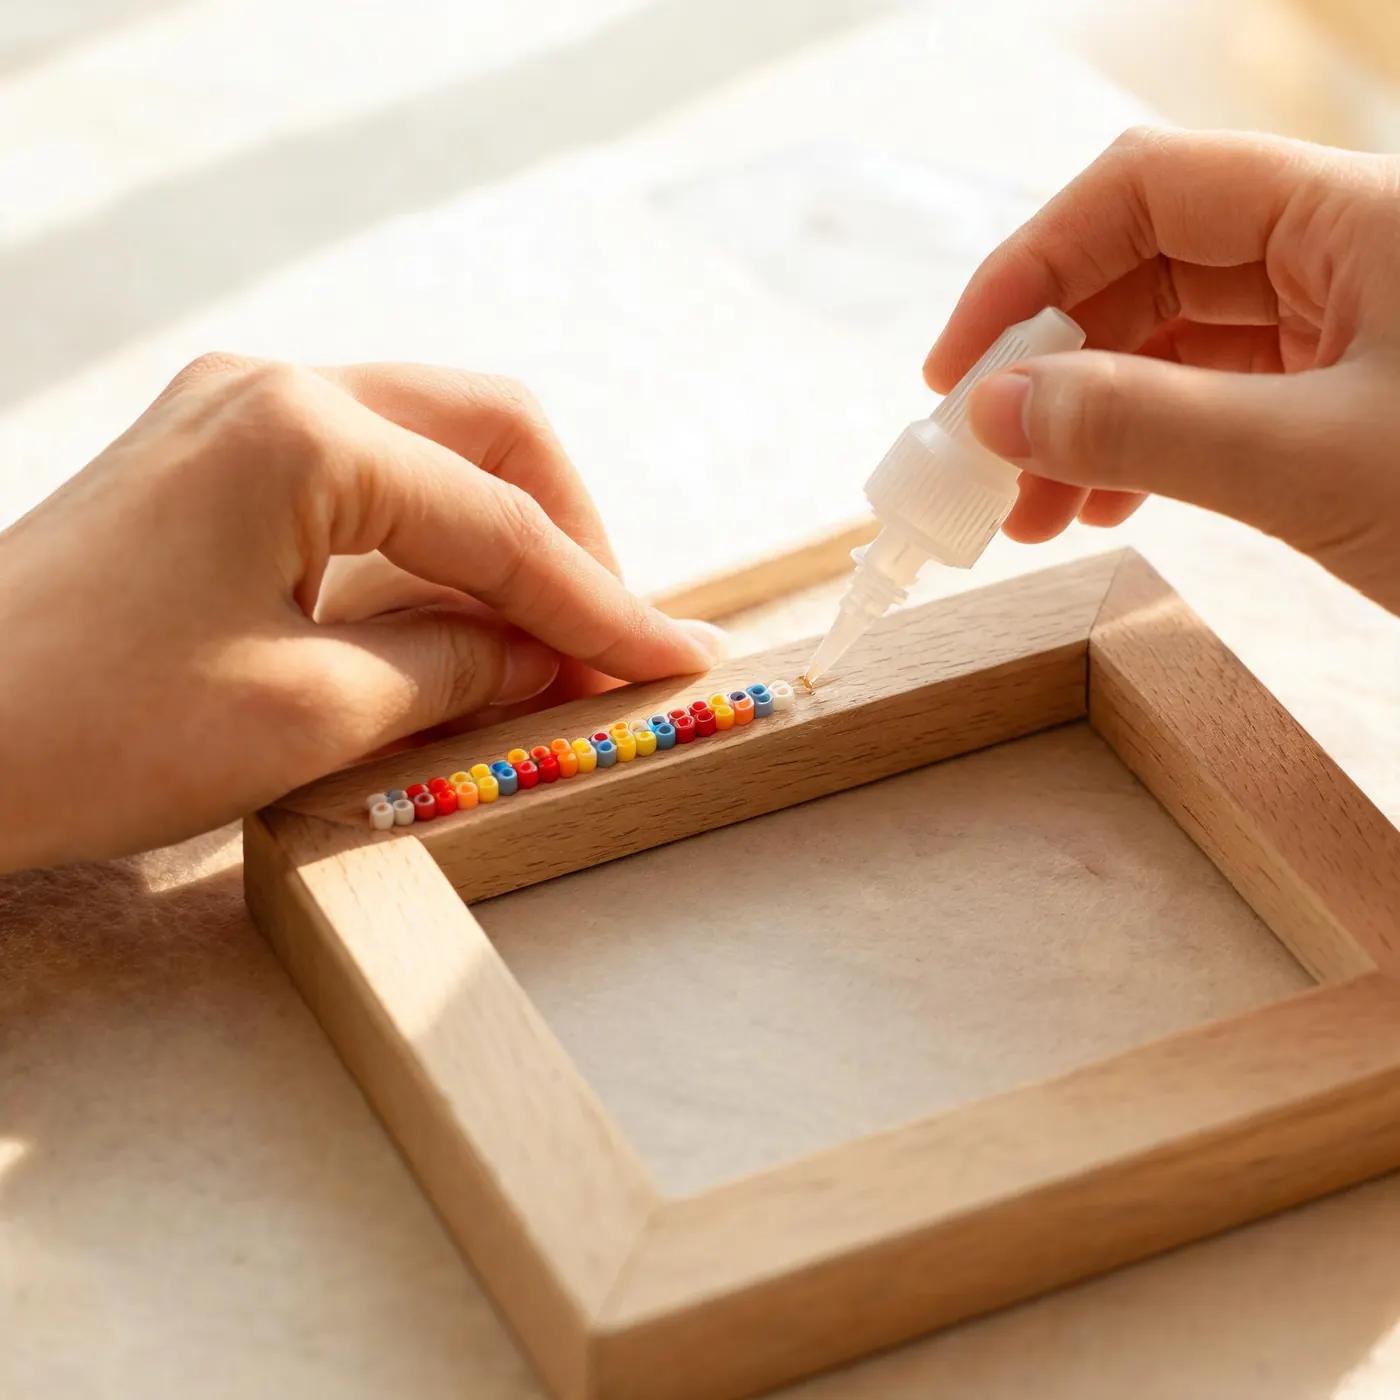
Once your design is mapped out, it's time to bead. Place your pegboard on a flat, stable surface. Following your pattern, place beads one by one. This is the most time-consuming part, but it's also meditative. If you're making a large frame, work in sections to avoid fatigue. For detailed ironing instructions, refer to our how to iron fuse beads guide. When the design is complete, cover it with ironing paper and iron on medium heat (no steam) in circular motions for about 10-15 seconds. Check if the beads have fused; if not, iron a bit longer. Be careful not to over-iron, as you want the beads to retain their texture. Flip the design and iron the other side for a few seconds to ensure even fusing. Let it cool completely under a heavy book to prevent warping. Next, prepare the backing. Cut a piece of foam board slightly smaller than the frame's outer dimensions. Cut a photo-sized window in the center. Glue the fused bead frame onto the foam board using hot glue, aligning the inner edges. Insert your photo behind the window, then attach a stand. You can make a simple easel from beads or use a purchased one. For a polished look, add a bead stand that matches the frame's colors. If you need help with keychain-style attachments, our keychain tutorial offers transferable techniques.
Step-by-Step: Assembling and Ironing Your Frame

Creative Variations and Display Ideas

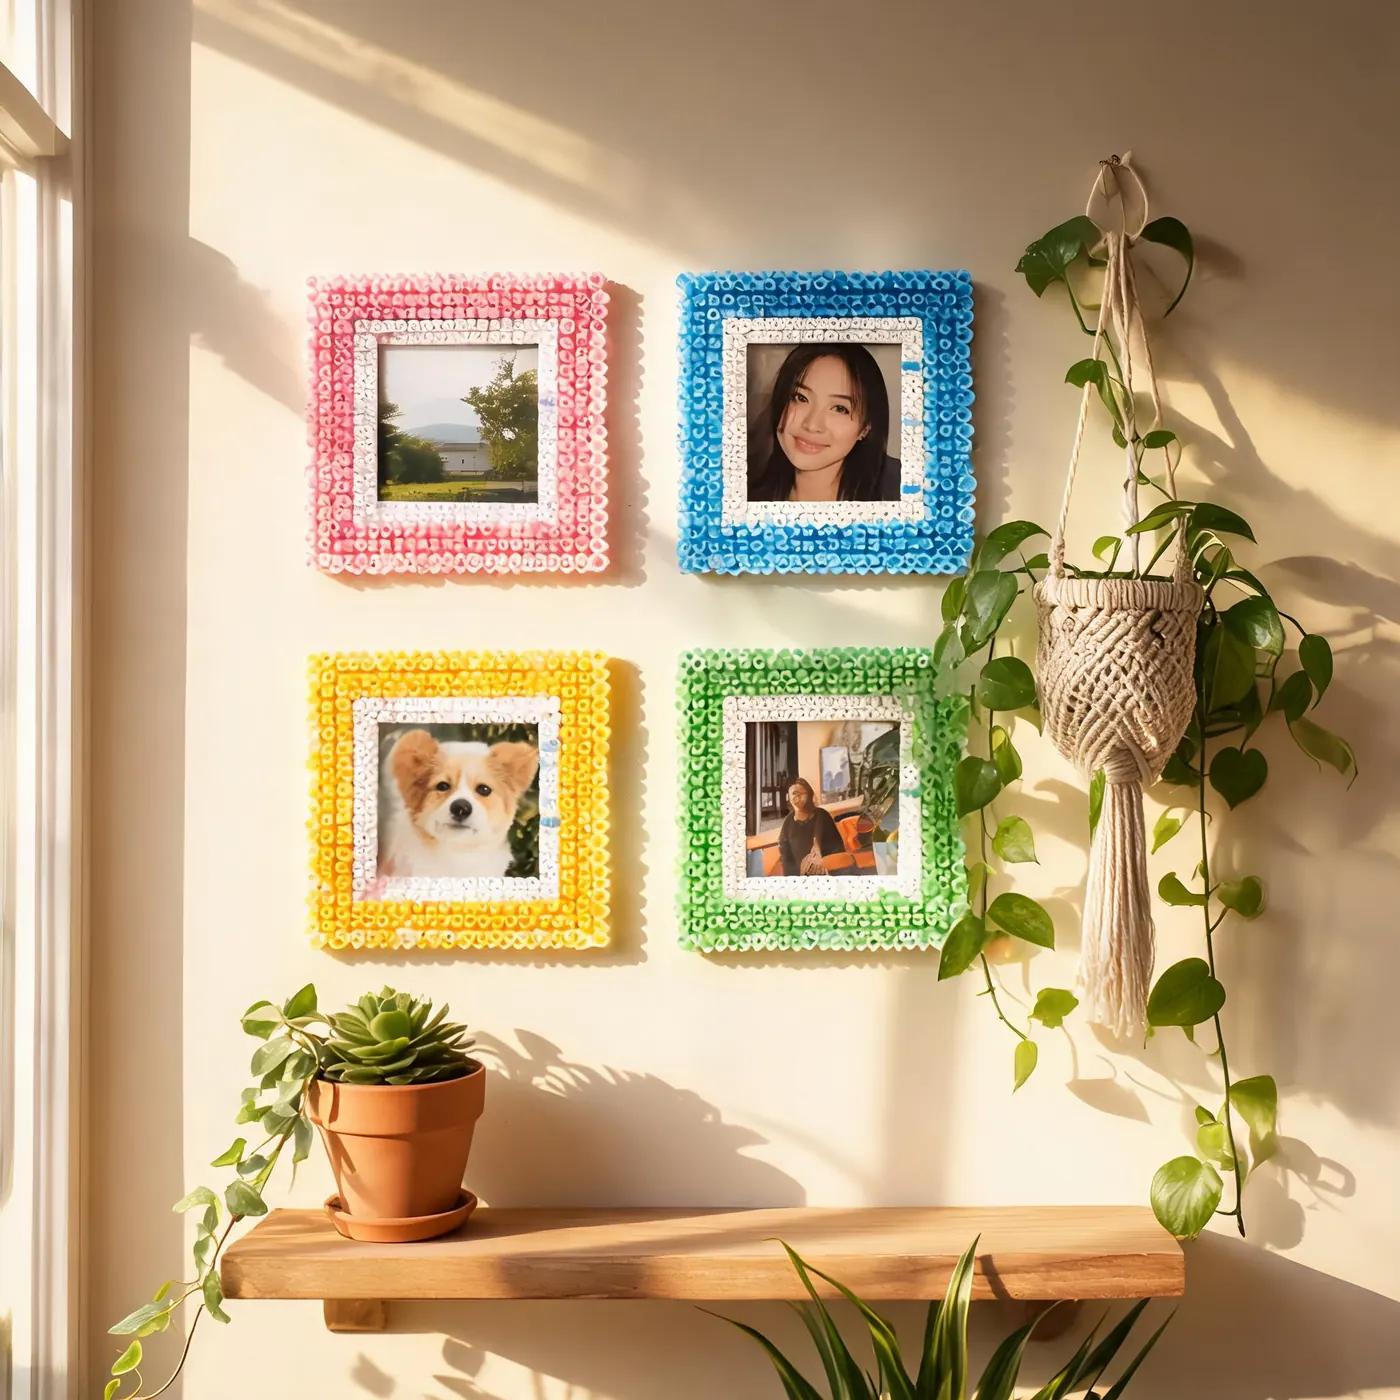
Once you've mastered the basic photo frame, try variations to keep your craft fresh. Mini frames that hold wallet-sized photos are perfect for lockers or cubicles. Oversized frames can hold posters or artwork. You can also create themed frames for holidays: a Christmas frame with tiny ornaments and snowflakes, or a Halloween frame with pumpkins and bats. For seasonal inspiration, check out our fuse bead Christmas ornaments guide. Display your frames creatively. Group several small frames on a gallery wall for a cohesive look. Or, attach a frame to a larger bead backing that incorporates hooks for keys or jewelry. If you're making a frame for a special occasion, consider adding a small bead charm that dangles from the corner, like a heart or a star. These small details elevate the piece from simple craft to heirloom. Don't limit yourself to photos—these frames can also showcase pressed flowers, concert tickets, or inspirational quotes. The pixelated border adds charm to any small treasure. For more ideas on functional bead projects, explore our things to make with Perler beads collection. And if you're crafting with kids, our fuse beads safe for kids guide ensures a fun and safe experience.

Troubleshooting Common Issues

Even experienced crafters run into snags. One common issue is warping after ironing. This usually happens when the beads are overheated or cooled unevenly. To prevent it, iron on a flat surface and immediately place a heavy book on the design while it cools. If warping occurs, you can re-iron gently and cool under weight again. Another issue is beads not fusing together. This can happen if the iron is too cool or if you don't iron long enough. Always test with a small piece first. If your frame feels flimsy, consider adding a second layer of fused beads or reinforcing the back with a thin layer of craft glue. For frames that will be handled frequently, a coat of clear sealant can add durability and shine. Just make sure it's compatible with plastic beads. Our how to store fuse beads guide also has tips on keeping your finished projects safe. Finally, if you're struggling with a complex pattern, simplify it. Pixel art is forgiving; you can always adjust the design. Remember that the frame is meant to enhance the photo, not compete with it. With practice, you'll develop an eye for balance and color. And if you're looking for more project ideas, our cool ideas page is full of inspiration.

Часто задаваемые вопросы

What size photo can a fuse bead frame hold?

The size depends on your pegboard. A standard 29x29 pegboard can accommodate a 3x3 inch photo with a 4-6 bead border. For larger photos, connect multiple pegboards. You can also make custom sizes by cutting the fused bead sheet to fit your photo, but always leave a border of at least 3 beads for stability.

How do I attach a stand to my fuse bead photo frame?

You can either purchase a small easel stand or make one from fuse beads. For a DIY stand, create a triangular shape with a flat base and glue it to the back of the frame using hot glue. Ensure the stand is centered and angled slightly backward for stability. Alternatively, attach a picture-hanging hook to the back for wall display.

Can I use any type of fuse beads for photo frames?

Yes, Perler, Hama, and Artkal beads all work well. However, bead sizes may vary slightly between brands, so avoid mixing brands within a single project to ensure even fusing. For a more detailed comparison, see our Perler vs Hama vs Artkal guide. Metallic or glow-in-the-dark beads can add special effects but may require different ironing temperatures.

How do I prevent my fuse bead frame from breaking?

To make your frame more durable, iron both sides thoroughly so the beads fuse completely. Add a backing of foam board or chipboard for rigidity. Avoid dropping the frame, and if it's a gift, package it with bubble wrap. For extra strength, you can apply a thin layer of clear craft glue to the back. Store away from direct sunlight to prevent color fading.

Готовы создавать собственные схемы?

Открыть бесплатный конструктор
Поделиться: