Menu

FuseBeads Hub © 2026

Star Wars Fuse Beads: Epic Patterns for Darth Vader, Falcon & Lightsabers

Learn to create Star Wars fuse bead patterns: Darth Vader, Millennium Falcon, lightsabers with color guides. Includes tips, materials, and step-by-step tutorials.

Iniciante5 min read de leitura

Why Star Wars Fuse Beads Are a Galactic Craft

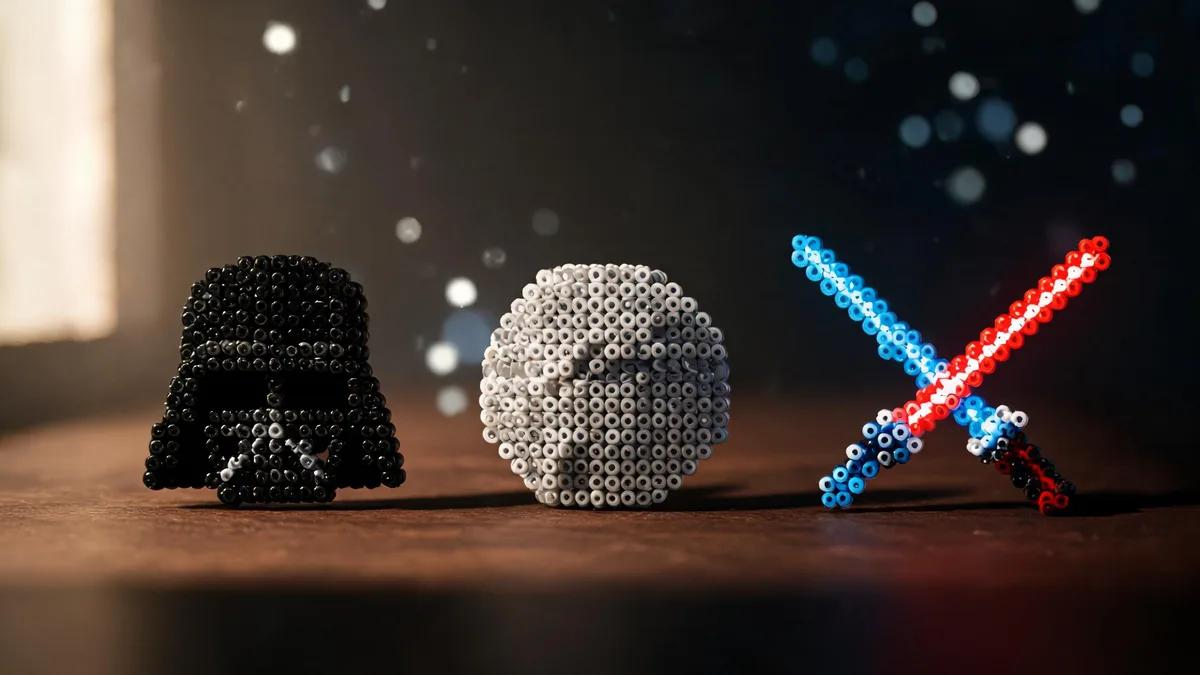
Star Wars and fuse beads are a match made in the cosmos. The franchise's iconic silhouettes—Darth Vader's helmet, the Millennium Falcon's saucer shape, the glowing blade of a lightsaber—translate perfectly into pixel art. Each bead becomes a pixel, allowing you to recreate your favorite characters and ships with remarkable accuracy. Whether you're a seasoned crafter or a Jedi youngling just starting out, Star Wars fuse beads offer a fun, rewarding project that bridges fandom and creativity. The appeal goes beyond nostalgia. Fuse bead projects are tactile, meditative, and surprisingly versatile. You can turn your finished pieces into coasters, keychains, magnets, or even wall art. For beginners, our fuse beads for beginners guide covers all the basics. If you're new to ironing, the how to iron fuse beads tutorial will ensure a smooth, flat finish every time. And for those looking to expand their skills, the 3D fuse bead tutorial opens up a whole new dimension—literally—for building ships like the Millennium Falcon in three dimensions. In this article, we'll explore three iconic Star Wars patterns: Darth Vader, the Millennium Falcon, and lightsabers. We'll provide color guides, practical tips, and step-by-step guidance. By the end, you'll have the knowledge to create your own galaxy of fuse bead art. May the beads be with you!

Materials and Tools for Star Wars Fuse Bead Projects
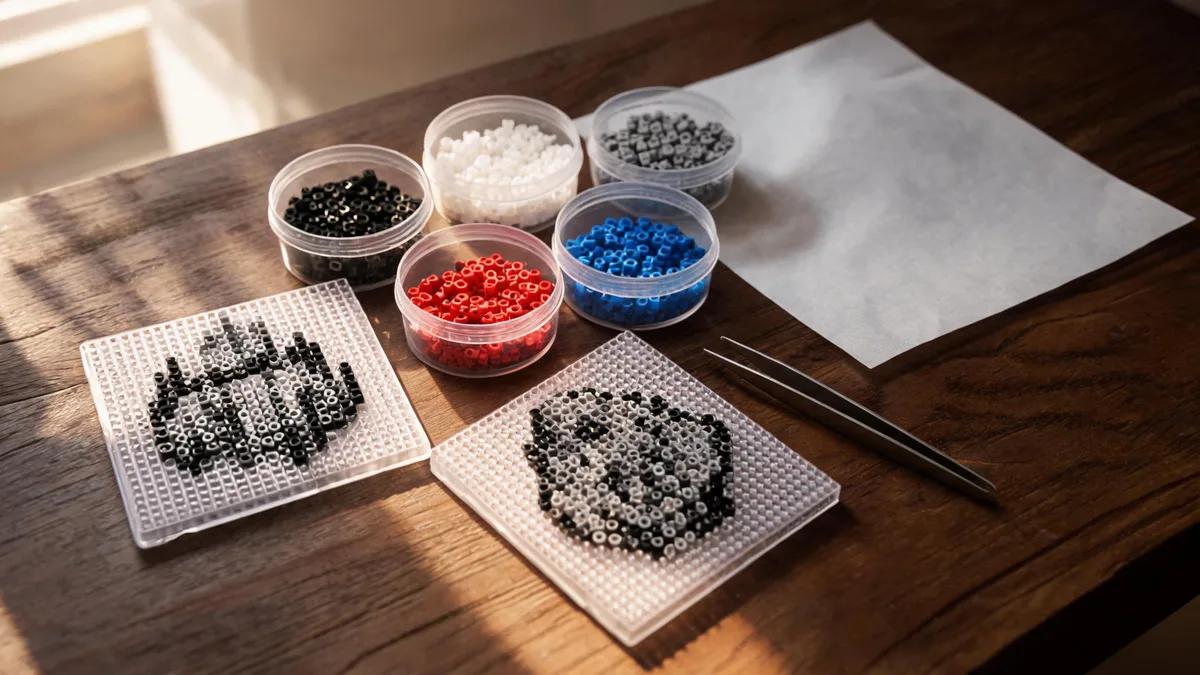
Before you start building your Star Wars fleet, gather the right supplies. The core materials are fuse beads (also known as Perler, Hama, or Artkal beads), pegboards, ironing paper, and an iron. For Star Wars patterns, you'll need a variety of colors. A standard 5mm bead is ideal for most projects, but midi beads (2.6mm) allow for finer detail on smaller pieces like lightsaber hilts. If you're unsure which brand to choose, our Perler vs Hama vs Artkal comparison can help you decide. Pegboards come in different shapes and sizes. The classic square board is great for Darth Vader and the Millennium Falcon, while a large interlocking board set is useful for bigger scenes. For intricate designs, consider using a clear pegboard so you can place it over a printed pattern. Our best fuse bead pegboards guide reviews top options. Don't forget tweezers for precise placement—they're a game-changer for tiny details like the Falcon's cockpit or Vader's mask lines. A reliable iron with adjustable temperature is crucial. You'll also want ironing paper (or parchment paper) to protect your beads. For storage, keep your beads organized by color in labeled containers; our how to store fuse beads article offers smart solutions. Finally, consider a bead dispenser or sorting tray to speed up your workflow. With these tools, you're ready to start your Star Wars fuse bead journey.
Materials and Tools for Star Wars Fuse Bead Projects

Darth Vader Pattern: Step-by-Step with Color Guide

Darth Vader is one of the most recognizable villains in cinema, and his helmet makes a striking fuse bead pattern. Start by finding a pixel art template online or design your own using a grid. The classic Vader helmet uses primarily black beads, with dark gray for highlights and silver or light gray for the breathing apparatus details. For the eyes, use a dark red or even a glossy black bead to capture that menacing glare. To build Vader, begin with the outer helmet shape. Place black beads along the outline, then fill in the interior with black. Use dark gray beads to create the subtle curves and reflections on the helmet's surface. The mask's mouthpiece and chin area often use silver or light gray. If you want a more detailed look, add a few white beads for specular highlights. Work in sections: top dome, faceplate, and breathing apparatus. This makes the project less overwhelming. Once your design is complete, cover it with ironing paper and iron on a medium setting. Move the iron in circular motions for about 10-15 seconds, then check if the beads have fused. For a flat, closed look, iron both sides. If you prefer a textured, open-hole finish, iron only one side lightly. For more tips on ironing, see our how to iron fuse beads guide. After cooling, your Vader can become a coaster, a magnet, or a keychain. For keychain instructions, check our how to make Perler bead keychains tutorial. You can also turn it into a coaster using our Perler bead coasters guide.

Millennium Falcon Pattern: Capturing the Fastest Hunk of Junk
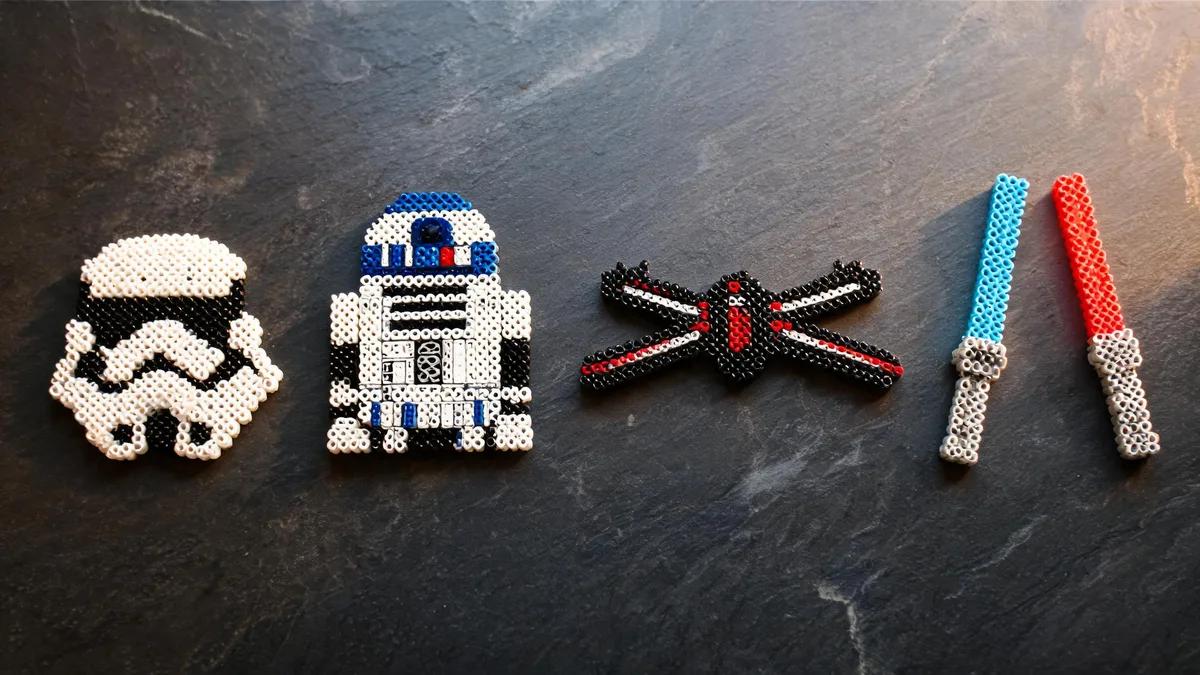
The Millennium Falcon is a fan favorite, and its distinctive saucer shape with offset cockpit makes a fantastic fuse bead project. This pattern is more complex than Vader, so it's best suited for intermediate crafters. You'll need a large pegboard or multiple interlocking boards. The color palette includes light gray, dark gray, black, and a touch of blue for the engine glow. For the cockpit, use clear or light blue beads to simulate the glass. Begin by outlining the main saucer shape with light gray beads. Then fill in the hull with a mix of light and dark gray to create the paneled texture. Use black beads for the darker recesses and exhaust vents. The cockpit is a small rectangle protruding from the side—place it carefully using tweezers. For the engine exhaust, use a gradient of blue, from light blue at the core to darker blue at the edges, to give a sense of glowing energy. If you want to add extra detail, use a few red or orange beads for the ship's markings. Because the Falcon is large, you may need to iron it in sections or use the tape method to transfer it before ironing. The tape method involves covering the design with masking tape, flipping it over, and ironing the back. This is especially useful for big projects. For a 3D version, consider building a stand or using the 3D fuse bead tutorial to create a freestanding model. Once finished, your Falcon can be displayed as wall art or turned into a magnet set for your fridge. It also makes a great gift—see our Perler bead gift ideas for inspiration.
Millennium Falcon Pattern: Capturing the Fastest Hunk of Junk

Lightsaber Patterns: Color Guide and Customization

Lightsabers are the quintessential Star Wars symbol, and they make excellent fuse bead patterns because of their simple, linear design. You can create a single lightsaber or a pair for dueling. The hilt is typically silver or gray, with black accents for the grip. The blade is where you can get creative: blue for Obi-Wan, green for Luke, red for Vader, purple for Mace Windu, and even white for Ahsoka Tano. For a glowing effect, use a gradient of the same color—lighter at the core and darker at the edges. To make a lightsaber, start with the hilt. Use silver beads for the main body, black for the grip sections, and maybe a few gold or bronze beads for details. The blade should be at least 10-15 beads long to look impressive. For the glow, place a row of light blue (or your chosen color) in the center, flanked by darker blue on both sides. This creates a 3D effect. If you want a more realistic look, use translucent beads for the blade—they catch the light beautifully. Lightsabers are perfect for small projects like earrings, keychains, or fidget toys. You can also string multiple lightsabers together to make a mobile or a wall art piece. For a fun twist, create a lightsaber ornament for your Christmas tree—our fuse bead Christmas ornaments guide has more ideas. And if you're looking for a broader color reference, our fuse bead color guide is a handy resource.

Tips for Success and Displaying Your Star Wars Fuse Bead Art

To ensure your Star Wars fuse bead projects turn out perfectly, follow these practical tips. First, always work on a stable, flat surface. A cutting mat or a large tile works well. Second, use tweezers for precise bead placement—this is especially important for detailed areas like Vader's mask or the Falcon's cockpit. Third, iron in a well-ventilated area and use a temperature that's hot enough to fuse but not so hot that it melts the beads into a blurry mess. Test on a small sample first. When ironing, apply even pressure and move the iron in slow circles. Don't over-iron—you want the beads to fuse together but still retain their individual shapes. If you're using the tape method, make sure the tape is firmly pressed onto the beads before flipping. After ironing, place a heavy book on top of the project while it cools to prevent warping. This is a common issue with large pieces like the Millennium Falcon. Displaying your creations is half the fun. You can frame them, attach them to a canvas, or turn them into functional items like coasters, magnets, or ornaments. For a cohesive look, create a Star Wars-themed gallery wall. If you're giving them as gifts, consider pairing a fuse bead lightsaber with a handmade card. For more inspiration, browse our things to make with Perler beads and cool ideas pages. And if you're crafting with kids, our fuse beads safe for kids guide ensures a safe and enjoyable experience for all.

Perguntas Frequentes

What colors do I need for a Darth Vader fuse bead pattern?

For Darth Vader, you'll primarily need black beads, with dark gray for highlights and silver or light gray for the breathing apparatus. A few dark red beads can be used for the eyes to add a menacing look. White beads can be used sparingly for specular highlights on the helmet.

How do I make a lightsaber glow effect with fuse beads?

To create a glowing effect, use a gradient of the same color. Place a row of light blue (or your chosen color) in the center of the blade, then flank it with darker blue on both sides. For a more realistic look, use translucent beads for the blade—they catch the light beautifully. You can also use a single color and rely on the bead's natural sheen.

Can I make a 3D Millennium Falcon with fuse beads?

Yes! You can create a 3D Millennium Falcon by building multiple flat sections and joining them, or by following a 3D fuse bead tutorial. You'll need to create a base, sides, and top, then iron them separately and assemble with glue or by ironing the edges together. It's an advanced project, but the result is impressive.

What size pegboard do I need for Star Wars patterns?

For small patterns like lightsabers or a single Darth Vader, a standard square pegboard (29x29 beads) is sufficient. For larger projects like the Millennium Falcon, you'll need a large pegboard or multiple interlocking boards. Clear pegboards are helpful for placing over printed patterns.

Pronto para criar seus próprios padrões?

Abrir o criador gratuito
Compartilhar: