Menu

FuseBeads Hub © 2026

Anime Fuse Bead Patterns: Ghibli, Pokemon & Shonen Heroes

Create stunning anime fuse bead patterns! From Studio Ghibli to Pokemon and shonen heroes, get color guides, tips, and step-by-step instructions.

Iniciante5 min read de leitura

Why Anime Characters Are Perfect for Fuse Beads

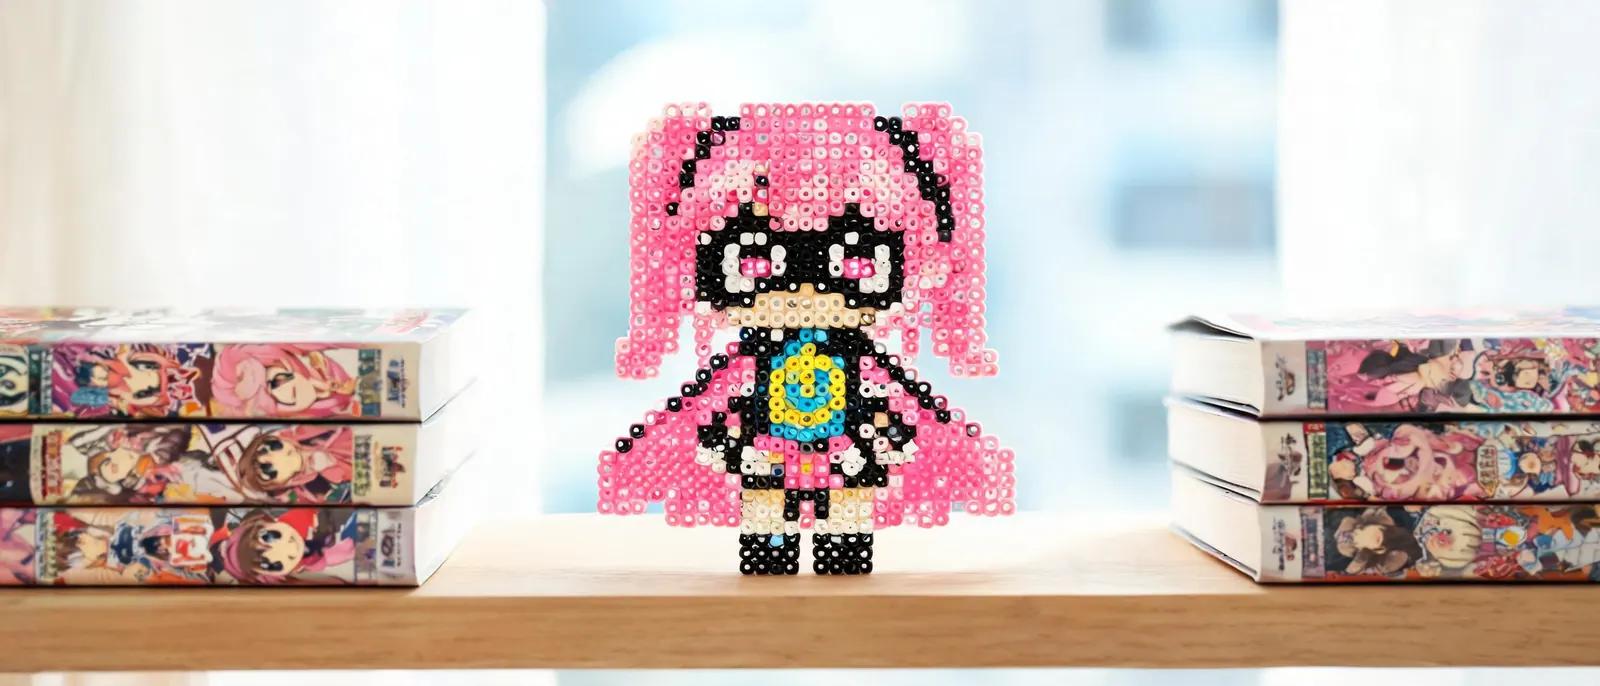
Anime characters are a match made in heaven for fuse beads. Their bold outlines, flat color areas, and iconic silhouettes translate beautifully into pixel art. Whether you're a fan of Studio Ghibli's soft, painterly worlds or the high-energy action of shonen series, there's a pattern that will speak to you. The grid-based nature of fuse beads mirrors the pixel aesthetic of retro games, making characters like Mario, Pikachu, and Totoro feel right at home. One of the best things about anime fuse bead patterns is their versatility. You can turn them into keychains, magnets, coasters, or even large wall art by connecting multiple pegboards. If you're new to the craft, start with a simple character like a Pokeball or a small Ghibli soot sprite. As you gain confidence, you can tackle more complex designs with shading and multiple colors. Our guide for beginners is a great place to start. Color selection is crucial. Anime characters often have very specific palettes—think Ash's red hat, Goku's orange gi, or Sailor Moon's blonde odango. Using a fuse bead color guide will help you match these iconic hues accurately. Don't be afraid to substitute if you can't find an exact shade; the overall look matters more than perfection.

Studio Ghibli Patterns: Totoro, No-Face, and More
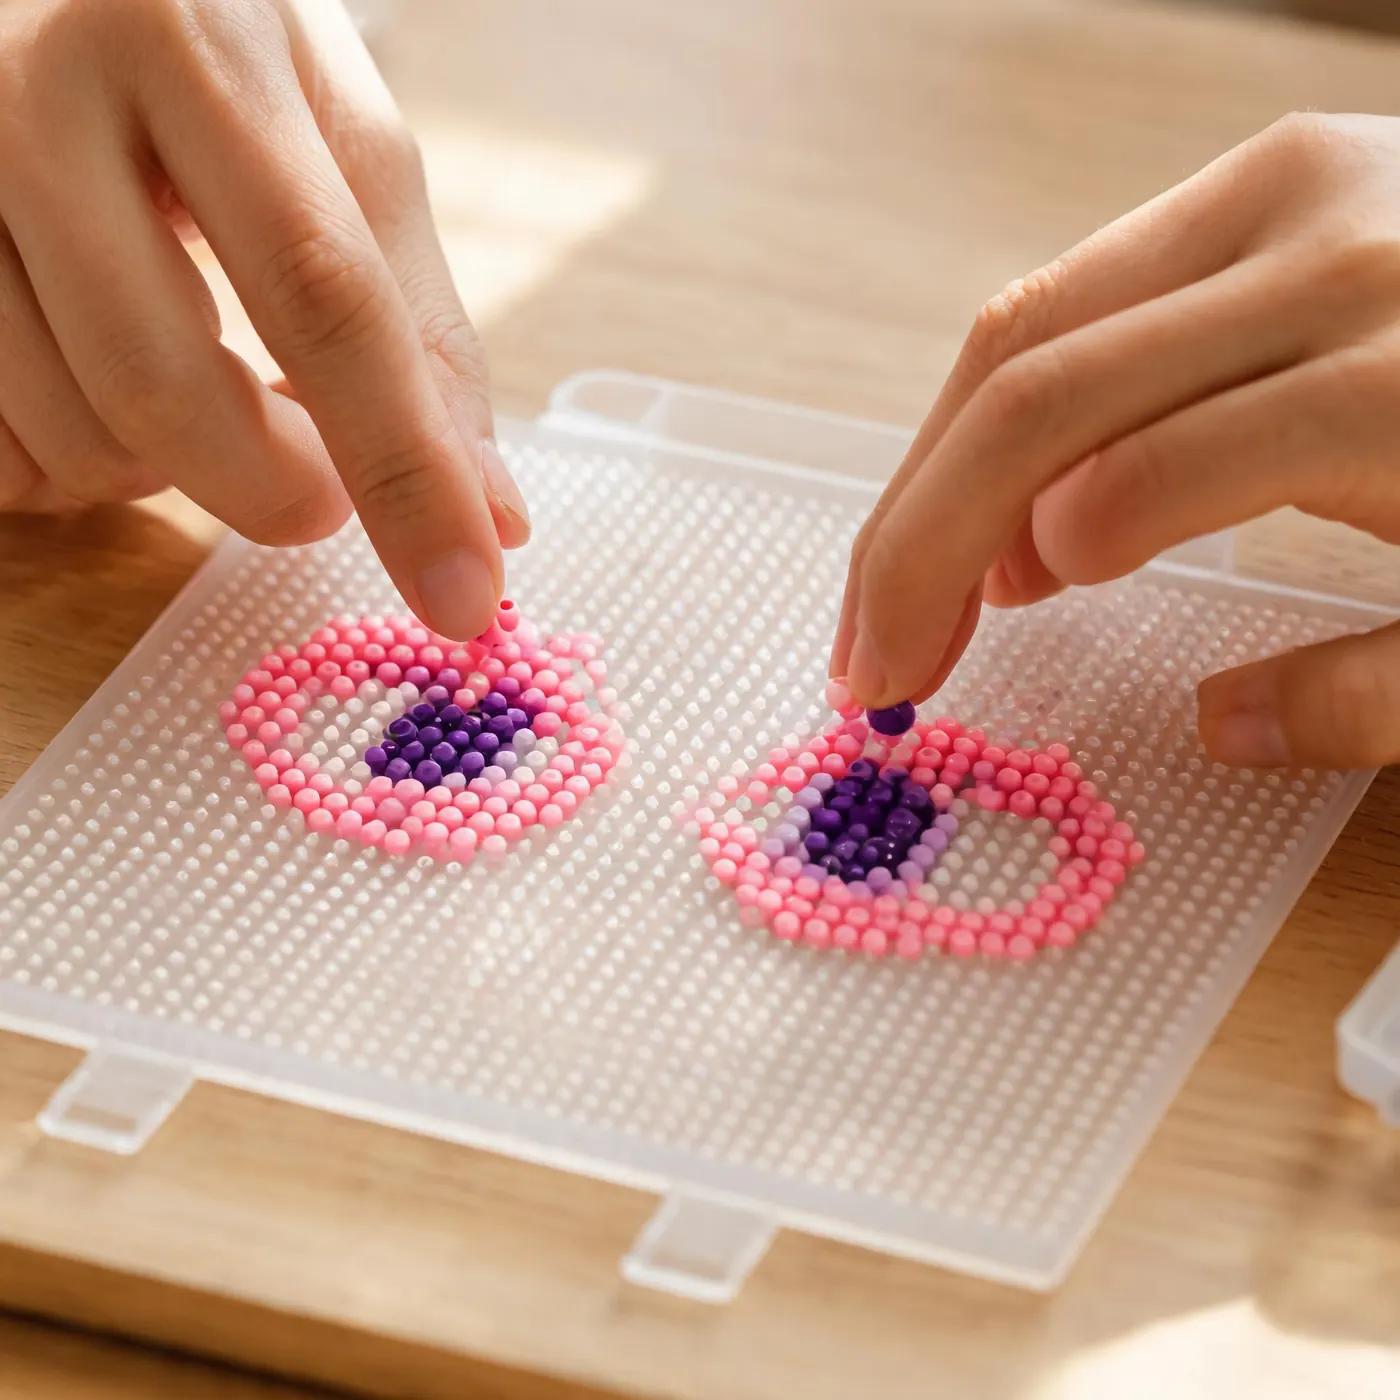
Studio Ghibli films are beloved for their whimsical characters and lush visuals. Fuse bead patterns of Totoro, No-Face, and Jiji the cat are perennial favorites. Totoro's simple gray body with white belly and chevron markings makes him an ideal beginner project. No-Face, with his black body and white mask, is equally straightforward but striking. For a challenge, try the Catbus with its many legs and glowing eyes. When creating Ghibli patterns, pay attention to the subtle color gradients. Totoro's fur isn't just one gray—it has lighter and darker areas that give depth. Use a mix of light gray, medium gray, and white beads to capture this. No-Face's mask requires a steady hand for the purple markings. If you're making a large piece, consider using the 3D fuse bead tutorial to build a standing Totoro figure. Ghibli patterns also make wonderful gifts. A framed Totoro wall art or a set of magnets featuring different characters can delight any fan. For more ideas, check out our things to make with Perler beads page.
Studio Ghibli Patterns: Totoro, No-Face, and More

Pokemon Patterns: Pikachu, Eevee, and Beyond

Pokemon is arguably the most popular franchise for fuse bead patterns. With over 1,000 creatures, the possibilities are endless. Pikachu is the undisputed king—his yellow body, red cheeks, and black-tipped ears are instantly recognizable. Eevee, with its fluffy brown fur and cream collar, is another favorite. Starters like Bulbasaur, Charmander, and Squirtle are also great choices for beginners. The key to Pokemon patterns is getting the proportions right. Pikachu's head should be large relative to his body, and his tail is a distinctive lightning bolt shape. Use a pegboard that accommodates the size of your design. For larger Pokemon like Charizard, you may need to connect multiple boards. Our generator tool can help you convert any Pokemon sprite into a bead pattern. Color accuracy is vital for Pokemon. Pikachu's yellow should be bright and saturated, not pale. Eevee's brown should be warm and rich. If you're unsure about a color, refer to official artwork or our color guide. Once you've mastered a few Pokemon, try making a set of keychains to trade with friends.

Shonen Heroes: Goku, Naruto, and Luffy
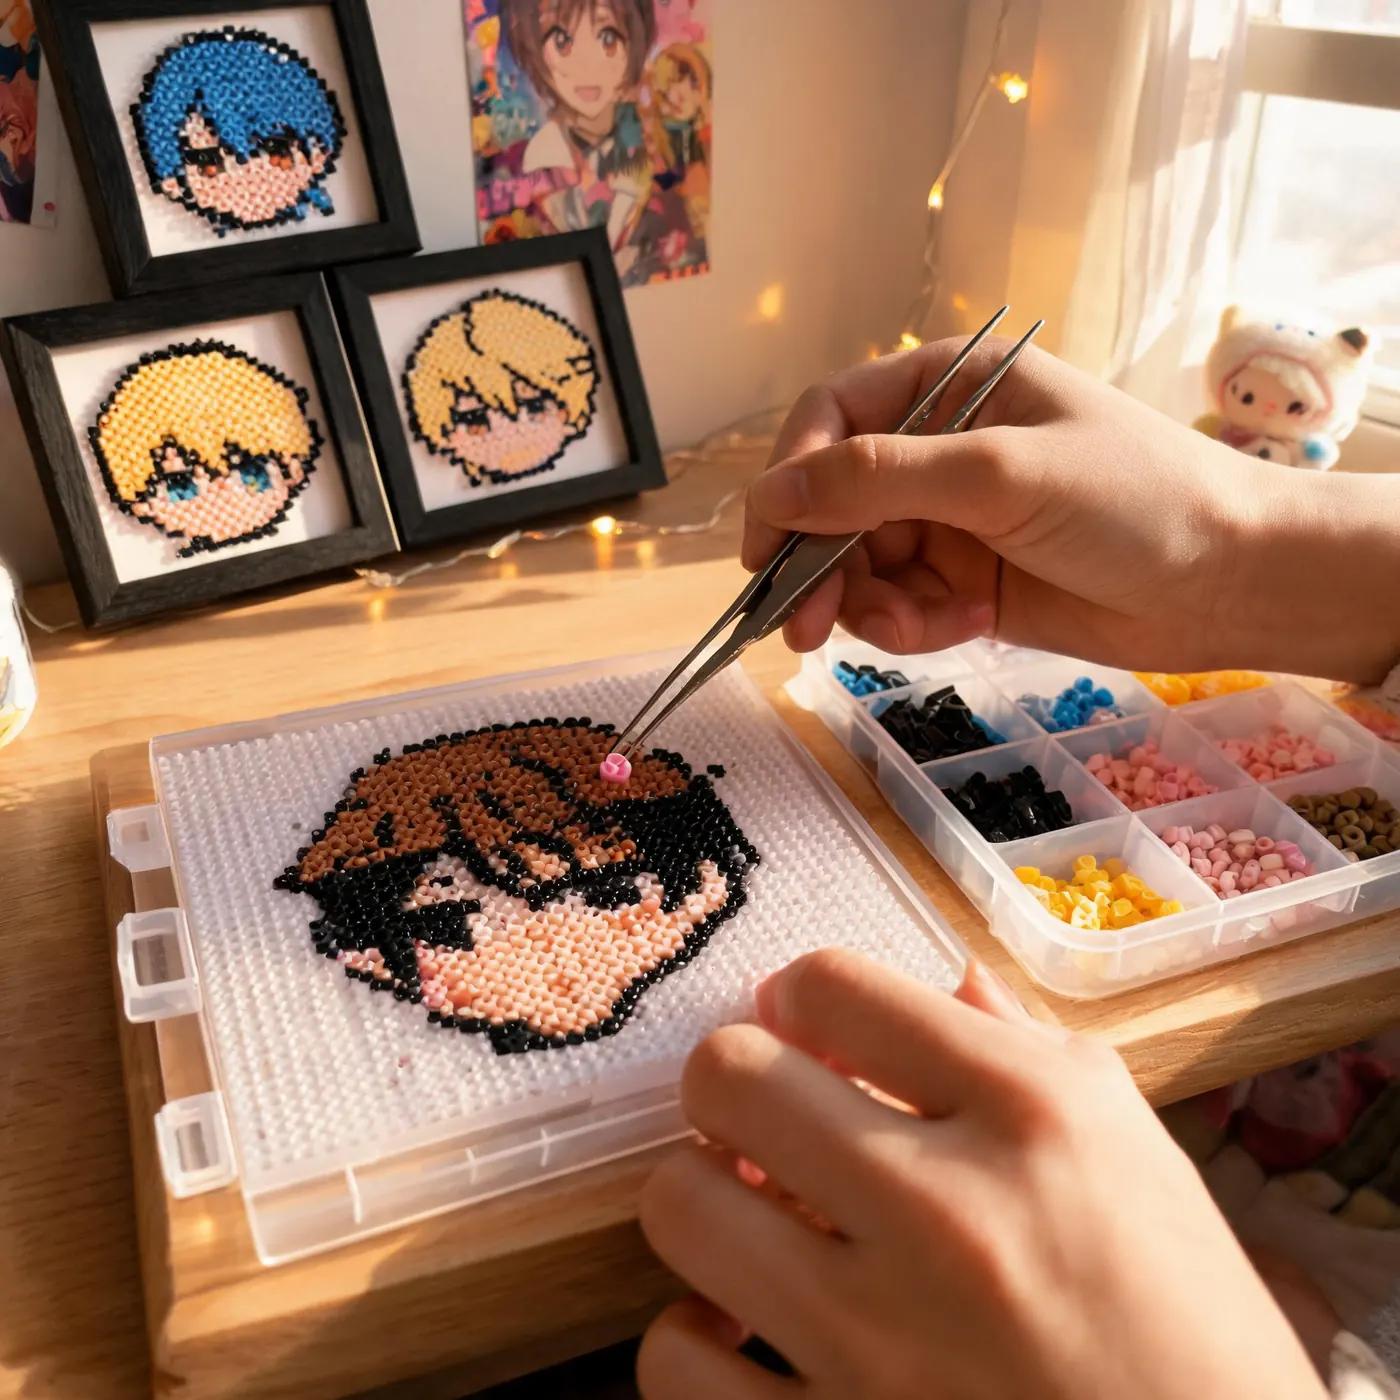
Shonen anime heroes bring dynamic poses and bold colors to fuse bead art. Goku from Dragon Ball Z, with his spiky black hair and orange gi, is a classic. Naruto's bright orange jumpsuit and blonde hair make him pop. Luffy from One Piece, with his straw hat and red vest, is another iconic figure. These characters often have more complex designs, so they're best for intermediate crafters. When tackling shonen patterns, focus on the silhouette first. Goku's hair is a defining feature—make sure the spikes are sharp and well-defined. Naruto's whisker marks require tiny black beads, so use tweezers for precision. Luffy's scar under his eye is a small but important detail. If you're making a large piece, consider using the tape method to transfer your design before ironing. Shonen heroes often appear in action poses, which can be challenging to capture in pixels. Simplify where necessary—focus on the most recognizable elements. A wall art piece featuring Goku in his Super Saiyan form can be a stunning addition to any fan's room. For more inspiration, browse our cool ideas section.
Shonen Heroes: Goku, Naruto, and Luffy

Essential Tools and Materials for Anime Patterns

To create anime fuse bead patterns, you'll need a few basic supplies. First, choose your beads. Perler, Hama, and Artkal are the most popular brands, each with slight differences in size and color range. Our Perler vs Hama vs Artkal comparison can help you decide. You'll also need pegboards—the standard square board is fine for most patterns, but for larger designs, consider a multi-board set. Tweezers are essential for placing small beads accurately, especially for detailed anime faces. A good iron is crucial for fusing; we recommend one with adjustable temperature settings. Parchment paper or ironing paper protects your beads from direct heat. For storage, use a bead organizer to keep colors sorted. If you're making jewelry, check out our earrings and jewelry guide. Don't forget about safety. If you're crafting with kids, supervise ironing closely. Our fuse beads safe for kids article covers important precautions. With the right tools, you'll be able to bring any anime character to life in beads.

Step-by-Step: Making a Pikachu Fuse Bead Pattern

Let's walk through making a classic Pikachu pattern. Start by gathering your beads: bright yellow, black, red, and white. You'll also need a square pegboard, tweezers, and an iron. Begin by placing the outline of Pikachu's head and body using black beads. This will give you a clear framework to fill in. Next, fill the body with yellow beads, leaving spaces for the eyes, cheeks, and tail. Use white for the eyes and red for the cheeks. Pikachu's tail is a lightning bolt shape—make sure to capture its zigzag outline. Once the design is complete, carefully cover it with parchment paper and iron on medium heat. Move the iron in circular motions for about 10-15 seconds, then check if the beads are fused. If not, iron a bit longer. After fusing, place a heavy book on top to keep the piece flat while it cools. Once cool, you can attach a keychain ring or a magnet. For more detailed instructions, see our how to iron fuse beads guide. And if you want to make a set, try Eevee next—it uses a similar palette.

Perguntas Frequentes

What is the best bead brand for anime patterns?

Perler, Hama, and Artkal are all excellent. Perler has a wide color range, Hama is known for consistent quality, and Artkal offers many unique colors. Your choice depends on availability and personal preference. Check our comparison guide for details.

How do I make large anime patterns without a huge pegboard?

You can connect multiple standard pegboards using interlocking tabs or tape. Alternatively, work in sections: create smaller pieces, fuse them, and then glue or iron them together. The tape method is also useful for transferring large designs.

Can I use any image to create a fuse bead pattern?

Yes, but you'll need to pixelate it. Use our online generator to convert images into bead patterns. For best results, choose images with clear outlines and limited colors. Simple anime characters work best.

How do I prevent my fuse bead pattern from curling?

Iron evenly on both sides and place a heavy book on top while cooling. Avoid overheating, which can cause warping. Using parchment paper and a medium heat setting helps. For more tips, see our ironing guide.

Pronto para criar seus próprios padrões?

Abrir o criador gratuito
Compartilhar: