메뉴

FuseBeads Hub © 2026

Fuse Bead Birthday Party: Fun Craft Ideas & Planning Guide

Host an unforgettable fuse bead birthday party! Discover activity stations, kit preparation, age-appropriate patterns, and expert tips for a pixel-perfect celebration.

초급5 min read 분

Why a Fuse Bead Party is a Hit for All Ages

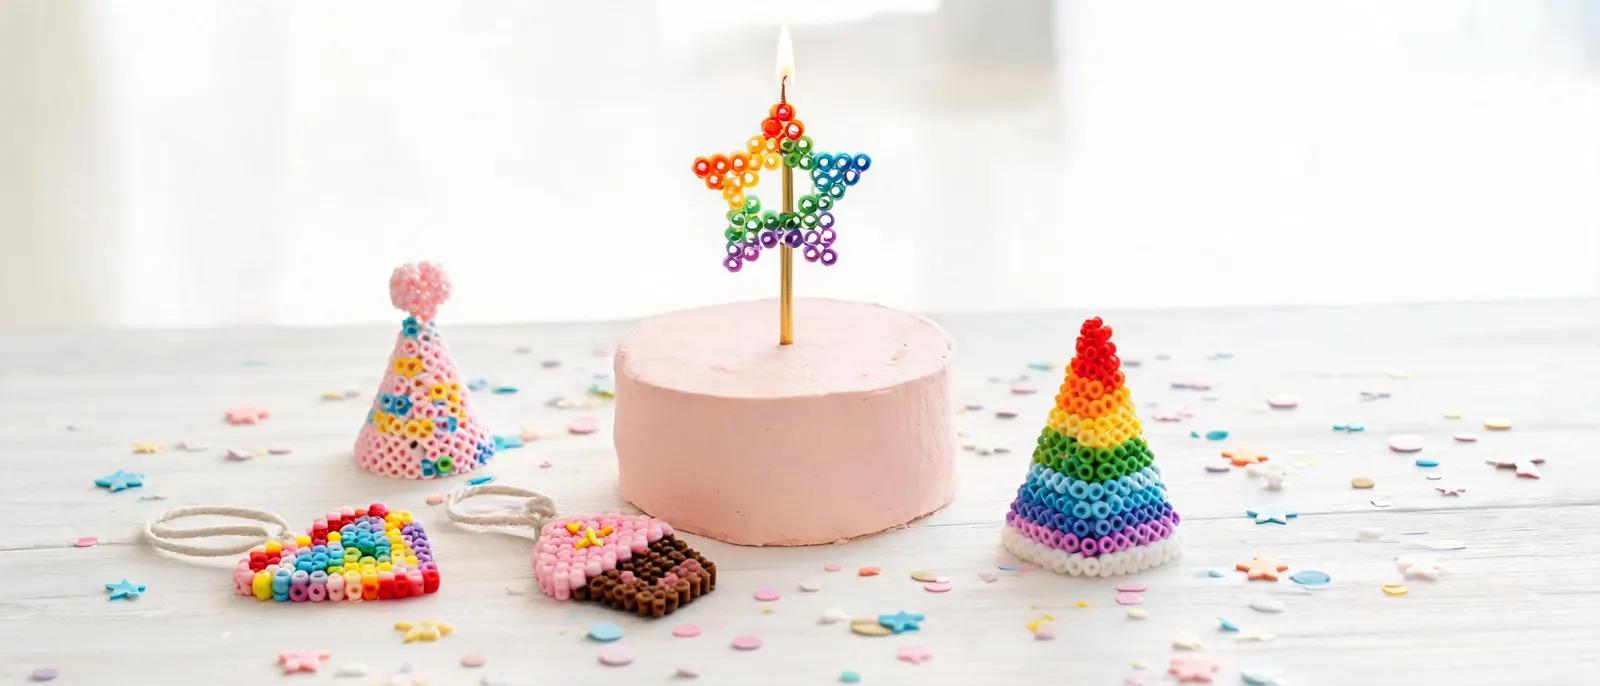
Fuse bead birthday parties combine creativity, focus, and take-home fun in a way few other crafts can match. Kids love watching tiny beads transform into colorful pixel art, while parents appreciate the quiet concentration and minimal mess. Whether you're planning a party for a 6-year-old or a 12-year-old, fuse beads offer endless possibilities. Plus, the completed projects double as party favors, so guests leave with a handmade treasure. If you're new to the craft, start with our fuse beads for beginners guide to get comfortable before the big day. One of the biggest advantages is flexibility. You can set up multiple stations to accommodate different skill levels and interests. Younger children might enjoy simple animal shapes, while older kids can tackle 3D builds or jewelry. The activity naturally encourages conversation and collaboration, making it a social icebreaker. And because fuse beads are relatively inexpensive, you can provide a generous supply without breaking your budget. Safety is another plus. As long as you supervise the ironing step, fuse beads are safe for kids. Our article on are fuse beads safe for kids covers everything you need to know about materials and precautions. With a little planning, you'll create a party that's both entertaining and educational.

Setting Up Activity Stations for a Smooth Party Flow
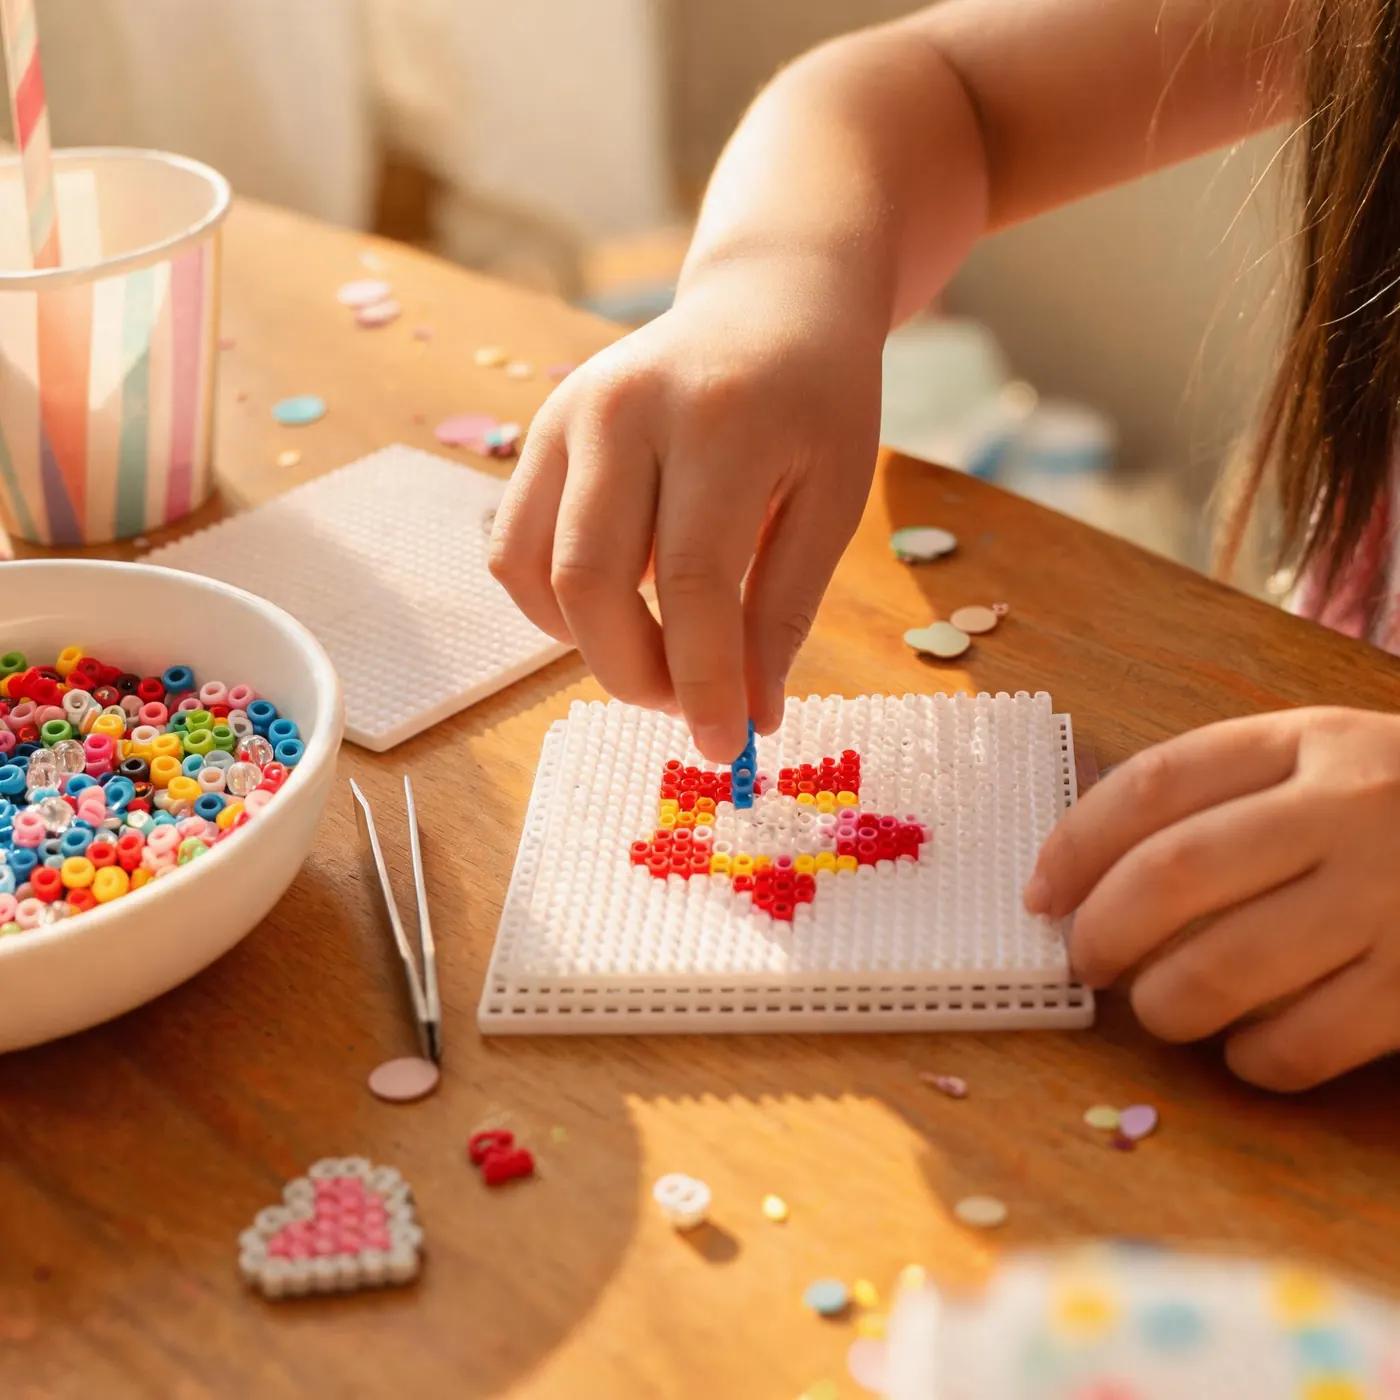
A well-organized party relies on clear activity zones. Start with a main crafting table where guests can grab pegboards and beads. Use shallow trays or bowls to sort beads by color—this speeds up selection and keeps things tidy. For younger kids, pre-sort beads into small cups or bags with the colors needed for a specific pattern. This reduces frustration and keeps the focus on fun. You can also set up a dedicated ironing station away from the main table, where an adult handles the heat tool. Our how to iron fuse beads guide offers step-by-step instructions to ensure perfect fusing every time. Consider adding a display station where finished pieces can cool and be showcased. A simple cardboard box with a 'cooling zone' sign works wonders. This prevents kids from touching hot projects and gives them a sense of accomplishment as their creations join the gallery. For older children, a jewelry-making station with earring hooks and keychain rings adds an extra layer of excitement. Check out our fuse bead earrings and jewelry tutorial for inspiration. Don't forget a snack and drink area—crafting works up an appetite! Keep it separate from the bead zone to avoid spills. If space allows, a quiet corner with a puzzle or coloring page can help kids who need a break from the group energy. The key is to create distinct zones that minimize chaos and maximize enjoyment.
Setting Up Activity Stations for a Smooth Party Flow

Preparing Fuse Bead Kits: Materials and Quantities

A successful party requires thoughtful kit preparation. For a group of 10 children, you'll need approximately 10,000 beads (about 1,000 per child) to allow for mistakes and creativity. Buy a mix of standard colors plus some specialty beads like glow-in-the-dark or metallic for extra flair. Our fuse bead color guide can help you choose a versatile palette that appeals to everyone. Pegboards are essential—at least one per child, but having a few extra large boards encourages collaboration on bigger projects. Beyond beads and boards, gather ironing paper, tweezers, and small scoops. Tweezers are invaluable for placing beads precisely, especially for detailed patterns. If you're concerned about tools, our recommended fuse bead tools list covers everything from budget picks to pro-level accessories. For patterns, print a variety of designs at different difficulty levels. Simple shapes like hearts, stars, and animals work well for younger kids, while older children might enjoy video game characters or geometric cool designs. Packaging the kits in advance saves time. Use ziplock bags or small containers to group beads by project. Label each bag with the pattern name and a small image. This way, kids can grab a kit and start immediately. Don't forget to include a take-home bag for finished creations—small paper bags with handles work perfectly. A little preparation goes a long way in keeping the party running smoothly.

Age-Appropriate Patterns and Project Ideas

Choosing the right patterns is crucial for keeping kids engaged. For ages 4-6, stick to simple, large designs with few color changes. Hearts, stars, smiley faces, and basic animal shapes are ideal. These can be completed in 15-20 minutes, matching young attention spans. Pre-made templates with clear color guides help prevent frustration. You can also use larger beads (midi or maxi) for easier handling. Our fuse bead ideas for kids article offers plenty of inspiration for this age group. For ages 7-9, introduce more complex patterns like Minecraft swords, Pokémon, or emoji faces. These require more precision and patience but are still achievable in a 30-minute session. Encourage kids to experiment with color swaps to personalize their creations. This age group also enjoys making functional items like coasters or keychains. Our keychain tutorial walks through the process step by step. Ages 10-12 can tackle advanced projects such as 3D builds, jewelry, or large wall art. Our 3D fuse bead tutorial introduces techniques for creating standing figures and boxes. For a wow factor, suggest a collaborative mural where each child contributes a square to a larger wall art piece. This fosters teamwork and results in a stunning party keepsake. Always have a few extra simple patterns on hand for kids who finish early or need a break from complex work.
Age-Appropriate Patterns and Project Ideas

Timeline and Party Flow: From Arrival to Take-Home

A typical fuse bead party runs for 2 to 2.5 hours. Start with a 15-minute welcome and free play, allowing kids to explore the bead buffet and choose their first pattern. Then, gather everyone for a brief demonstration of how to place beads and use the pegboard. Keep it short—5 minutes max—and emphasize that perfection isn't the goal; creativity is. After the demo, let them craft for 45 minutes to an hour. Circulate to offer help and praise their progress. Next, transition to the ironing station. This is a great time for a snack break while an adult fuses the projects. Set up a queue system to avoid crowding. As pieces cool, move them to the display area. Once all projects are fused and cooled, gather for a group photo with the creations. Then, wrap up with a take-home bag station where kids can pack their masterpieces. If time allows, sing happy birthday and serve cake before the final pack-up. For a seamless flow, prepare a visual schedule on a poster board. This helps kids anticipate what's next and reduces anxiety. Also, assign a helper (a fellow parent or older sibling) to manage the ironing station so you can oversee the whole party. With a clear timeline, you'll avoid bottlenecks and ensure everyone has a fantastic time.

자주 묻는 질문

How many beads do I need per child for a fuse bead party?

Plan for about 1,000 beads per child to allow for mistakes and creative exploration. For a group of 10, that's 10,000 beads. Buy a mix of standard colors and a few specialty beads. It's better to have leftovers than to run out mid-party.

Is it safe for kids to use the iron at a party?

Children should never handle the iron themselves. Set up a separate ironing station supervised by an adult. Use low heat and always place a sheet of ironing paper between the iron and the beads. Allow finished pieces to cool completely before handling.

What are some easy patterns for young children?

For ages 4-6, choose large, simple designs with few color changes, such as hearts, stars, smiley faces, and basic animal shapes. Pre-sort beads by color and provide a clear template. These can be completed in 15-20 minutes, keeping frustration low.

How do I keep the party organized and mess-free?

Set up distinct zones: a crafting table, an ironing station, a cooling/display area, and a snack corner. Use shallow trays to sort beads and provide small scoops or tweezers. A visual schedule helps kids know what to expect. Assign a helper to manage the ironing so you can supervise the whole party.

나만의 패턴을 만들 준비가 되셨나요?

무료 패턴 메이커 열기
공유: