Menu

FuseBeads Hub © 2026

Fuse Bead Magnets for Your Fridge: Complete Guide & Ideas

Learn how to make fuse bead magnets for your fridge. Design ideas, magnet types, adhesives, step-by-step tutorial, and pro tips for durable, cute results.

Débutant5 min read de lecture

Why Fuse Bead Magnets Are the Perfect Small Project

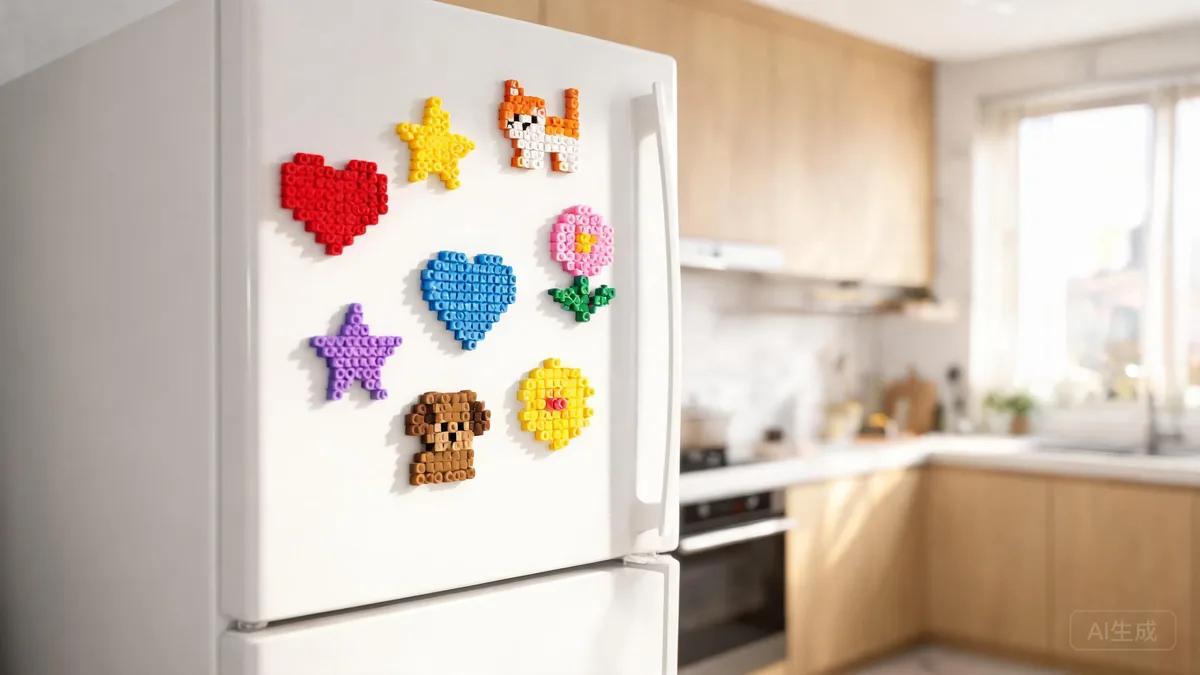
Fuse bead magnets are one of the most satisfying small projects in the pixel-craft world. They use up leftover beads, come together in under an hour, and turn a plain refrigerator door into a tiny gallery of colorful, personal art. Whether you are a seasoned Perler enthusiast or just starting out, magnets offer a low-pressure way to experiment with color, shape, and design. They also make wonderful handmade gifts that cost only pennies in materials. The appeal goes beyond cuteness. Magnets are functional, so your finished piece actually does something—holding up shopping lists, photos, or kids' artwork. That practical payoff makes them a great confidence-builder for beginners. If you are new to the hobby, our beginner's guide covers the essentials of beads, pegboards, and ironing before you dive in. Once you have the basics down, magnets are a fantastic second project after keychains or simple shapes. Another advantage is scale. Because magnets are small, you can complete several in one sitting. That makes them ideal for testing new color palettes or trying out designs you might later scale up into larger pieces like wall art or coasters. Think of each magnet as a sketchbook entry—quick, playful, and low-risk.

Materials You'll Need: Beads, Pegboards, and More

Before you start, gather your supplies. The core materials are fuse beads (midi or mini size both work, though midi is easier for beginners), a pegboard, ironing paper, and an iron. For the magnet backing, you will need small magnets and an adhesive. Optional but helpful: tweezers for placing beads, a bead organizer, and a small cutting mat or tray to catch stray beads. If you want a full rundown of tools, see our recommended tools guide. Pegboard choice matters more than you might think. Standard square pegboards are fine for most designs, but specialty shapes—circles, hearts, hexagons—can give your magnets a polished outline without extra trimming. Our pegboard guide compares popular options and explains which shapes work best for small projects. For magnets, smaller pegboards (like the 14x14 or 15x15 midi boards) are ideal because they keep the finished piece light enough to stay on the fridge. Bead color selection is where the fun really begins. You can go realistic, cartoonish, or abstract. A good rule of thumb is to pick a base color, an accent, and a highlight. If you struggle with palettes, our color guide offers ready-made combinations for animals, food, and geometric designs. Remember that ironing will slightly darken and flatten the beads, so choose colors that still read well after fusing.
Materials You'll Need: Beads, Pegboards, and More

Design Ideas for Fuse Bead Magnets

The best magnet designs are simple, iconic, and readable at a glance. Think of shapes that fit within a 3x3-inch area: a smiling sun, a slice of watermelon, a tiny cactus, a paw print, a heart, a star, or a mini avocado. Food themes are perennially popular because they are colorful and instantly recognizable. Animal faces—foxes, cats, pandas, owls—also work beautifully and can be adapted from our animal ideas collection by simply scaling them down. For a more modern look, try geometric patterns: a rainbow arc, a set of nested triangles, or a checkerboard square. These are great for using up single-color leftovers and look striking in a group. You can also make letter magnets to spell out names or words like "EAT" or "HOME." Alphabet pegboards make this easy, or you can freehand letters on a square board. If you want a cohesive set, pick a theme—say, tropical fruit—and make five or six magnets in matching colors. Seasonal magnets are another delightful option. Christmas trees, snowflakes, and ornaments are obvious choices, and our Christmas ornament guide has patterns you can shrink for magnets. For year-round appeal, consider a set of cool abstract designs or pixel-art icons from retro video games. The key is to keep the silhouette clear and avoid too much fine detail, which can get lost after ironing.

Step-by-Step: Assembling and Ironing Your Magnet

Start by placing your beads on the pegboard following your chosen pattern. Work from the center outward to keep the design stable. Use tweezers for tiny beads or tight spots. Once the design is complete, cover it with ironing paper and iron on medium heat (no steam) in slow, circular motions for about 10–15 seconds. Lift the paper to check that the beads have fused together; if not, iron a few seconds more. For a flat, fully fused look, iron both sides. For a textured look, iron only one side lightly. Our ironing guide goes into detail on temperature and technique. After ironing, place a heavy book or flat object on the piece while it cools to prevent warping. This is especially important for magnets, because a warped piece will not sit flush against the fridge. Once cool, trim any stray plastic threads with small scissors. If you want a 3D effect, you can stack two or three fused pieces with glue; our 3D tutorial shows how. Now attach the magnet. For small, lightweight pieces, a single 6x2mm or 8x2mm neodymium disc magnet is enough. For larger pieces, use two magnets spaced apart to prevent spinning. Apply a small dot of adhesive to the back of the fused piece, press the magnet on, and let it cure fully before using. If you are making a set, this is also a good time to sign or date the back with a permanent marker—a nice touch for gifts.
Step-by-Step: Assembling and Ironing Your Magnet

Choosing the Right Magnets and Adhesives

Not all magnets are created equal. For fridge use, neodymium (rare-earth) disc magnets are the gold standard. They are strong for their size, come in many diameters and thicknesses, and hold well through paper and cardstock. A 6x2mm or 8x2mm disc is ideal for most small fuse bead designs. Ceramic magnets are cheaper but much weaker—fine for very light pieces, but they may slide down the fridge. Magnetic tape is convenient but has weak holding power and is best reserved for paper crafts, not beads. Adhesive choice is just as important. The two best options are E6000 (a flexible, strong craft adhesive) and hot glue (fast, removable, and beginner-friendly). E6000 takes 24 hours to cure but creates a permanent, slightly flexible bond that withstands temperature changes. Hot glue sets in seconds and can be peeled off if you want to reposition the magnet, but it can soften in a hot kitchen. Avoid super glue (cyanoacrylate), which can fog or damage the bead surface and becomes brittle over time. For a cleaner look, consider self-adhesive magnet buttons. These are pre-glued discs that you simply peel and stick. They are less durable than E6000 but perfect for quick projects or kids' crafts. If you are making magnets with children, check our safety guide for age-appropriate tips. Whichever adhesive you choose, always test one magnet on a scrap piece first to ensure compatibility.

Tips for Durable, Display-Worthy Magnets

Durability starts with a flat fuse. Iron evenly and cool under weight. Avoid over-ironing, which can close the bead holes completely and make the piece look like a solid plastic slab—sometimes desirable, but often it flattens the design's charm. A light fuse that leaves small holes visible is usually the sweet spot for magnets. Also, keep the finished piece thin; thick, multi-layer magnets are heavy and more likely to fall off. Think about the back of the magnet, too. If you are using E6000, rough up the bead surface slightly with sandpaper for better grip. If you are using hot glue, apply a generous dollop and press the magnet in while the glue is still hot. For a professional finish, you can paint the back with acrylic paint or seal it with a clear coat—this hides glue marks and adds a pop of color. Our gift ideas guide has more presentation tips if you plan to give them away. Finally, store unused magnets properly. Keep them in a small tin or box away from electronics and credit cards. If you make a large set, consider a dedicated storage solution for your beads and finished pieces. With a little care, your fuse bead magnets will stay bright and secure for years, bringing a smile every time you open the fridge.

Questions fréquentes

What size magnets should I use for fuse bead magnets?

For most small fuse bead designs (up to about 3 inches), a 6x2mm or 8x2mm neodymium disc magnet works perfectly. If your piece is larger or heavier, use two magnets spaced apart to prevent spinning and to hold the weight securely. Avoid tiny 3mm magnets—they are usually too weak for anything but the smallest pieces.

Can I use hot glue instead of E6000 for attaching magnets?

Yes, hot glue works well for fuse bead magnets, especially for quick projects and kids' crafts. It sets in seconds and can be peeled off if you want to reposition the magnet. However, hot glue can soften in a very warm kitchen, so E6000 is more durable for long-term use. Whichever you choose, always test on a scrap piece first.

How do I prevent my fuse bead magnet from warping?

Warping is best prevented during the cooling stage. After ironing, immediately place the piece under a heavy, flat object—like a thick book—and let it cool completely. Iron evenly on both sides if you want a flat finish, and avoid overheating, which can cause the plastic to curl. A flat magnet sits flush against the fridge and holds much better.

Are fuse bead magnets safe for young children to make?

Fuse bead crafts are generally safe for children ages 5 and up, but adult supervision is required for ironing and for handling small magnets. Magnets are a choking hazard and can be dangerous if swallowed, so keep them away from children under 3. For younger kids, let them place the beads and choose designs, while an adult handles the ironing and gluing. See our safety guide for more details.

Prêt à créer vos propres modèles ?

Ouvrir le créateur gratuit
Partager :