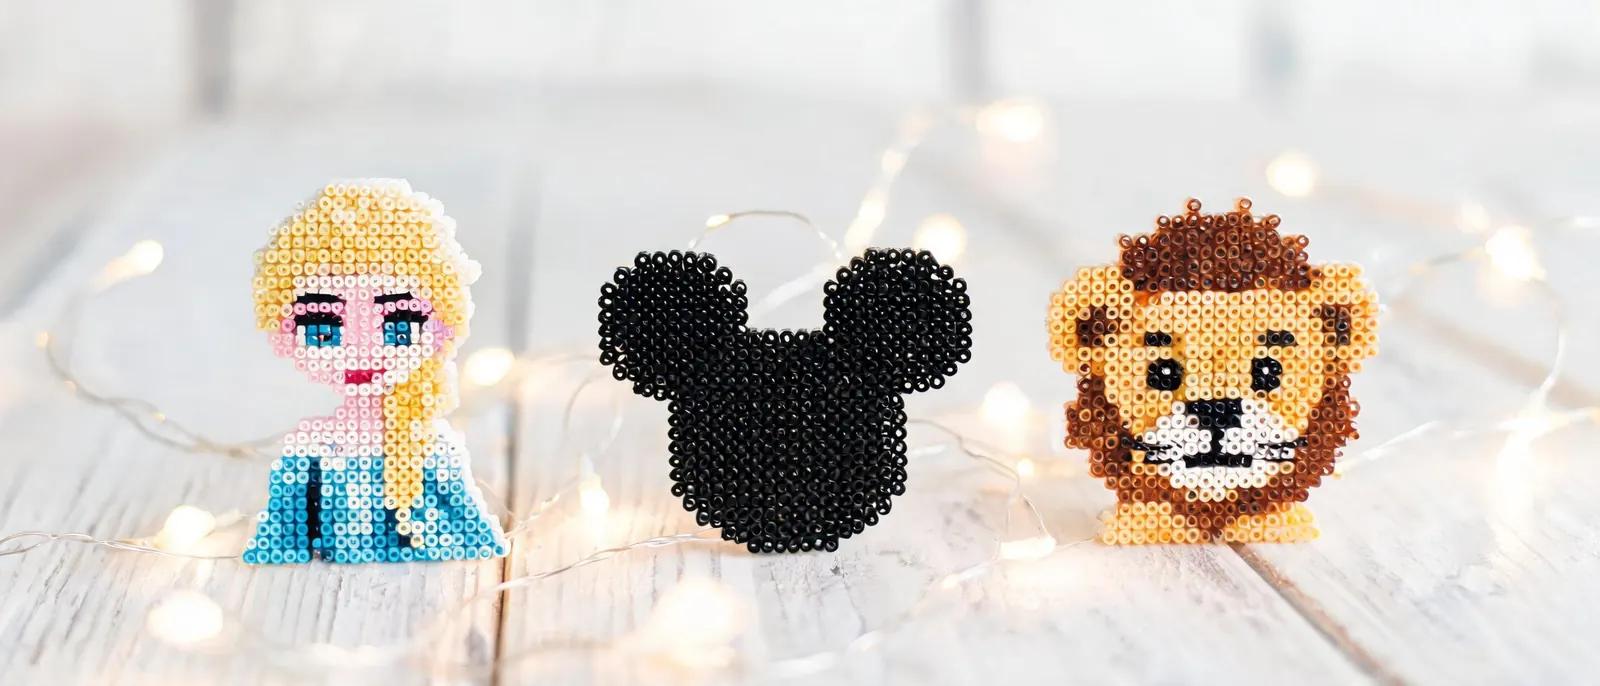
Disney Fuse Bead Patterns: Mickey, Stitch & Elsa Guides
Create magical Disney fuse bead patterns with our character-accurate color guides for Mickey, Stitch, and Elsa. Includes tips, materials, and step-by-step instructions.
Why Disney Fuse Bead Patterns Are a Magical Craft
Essential Materials and Tools for Disney Fuse Bead Patterns
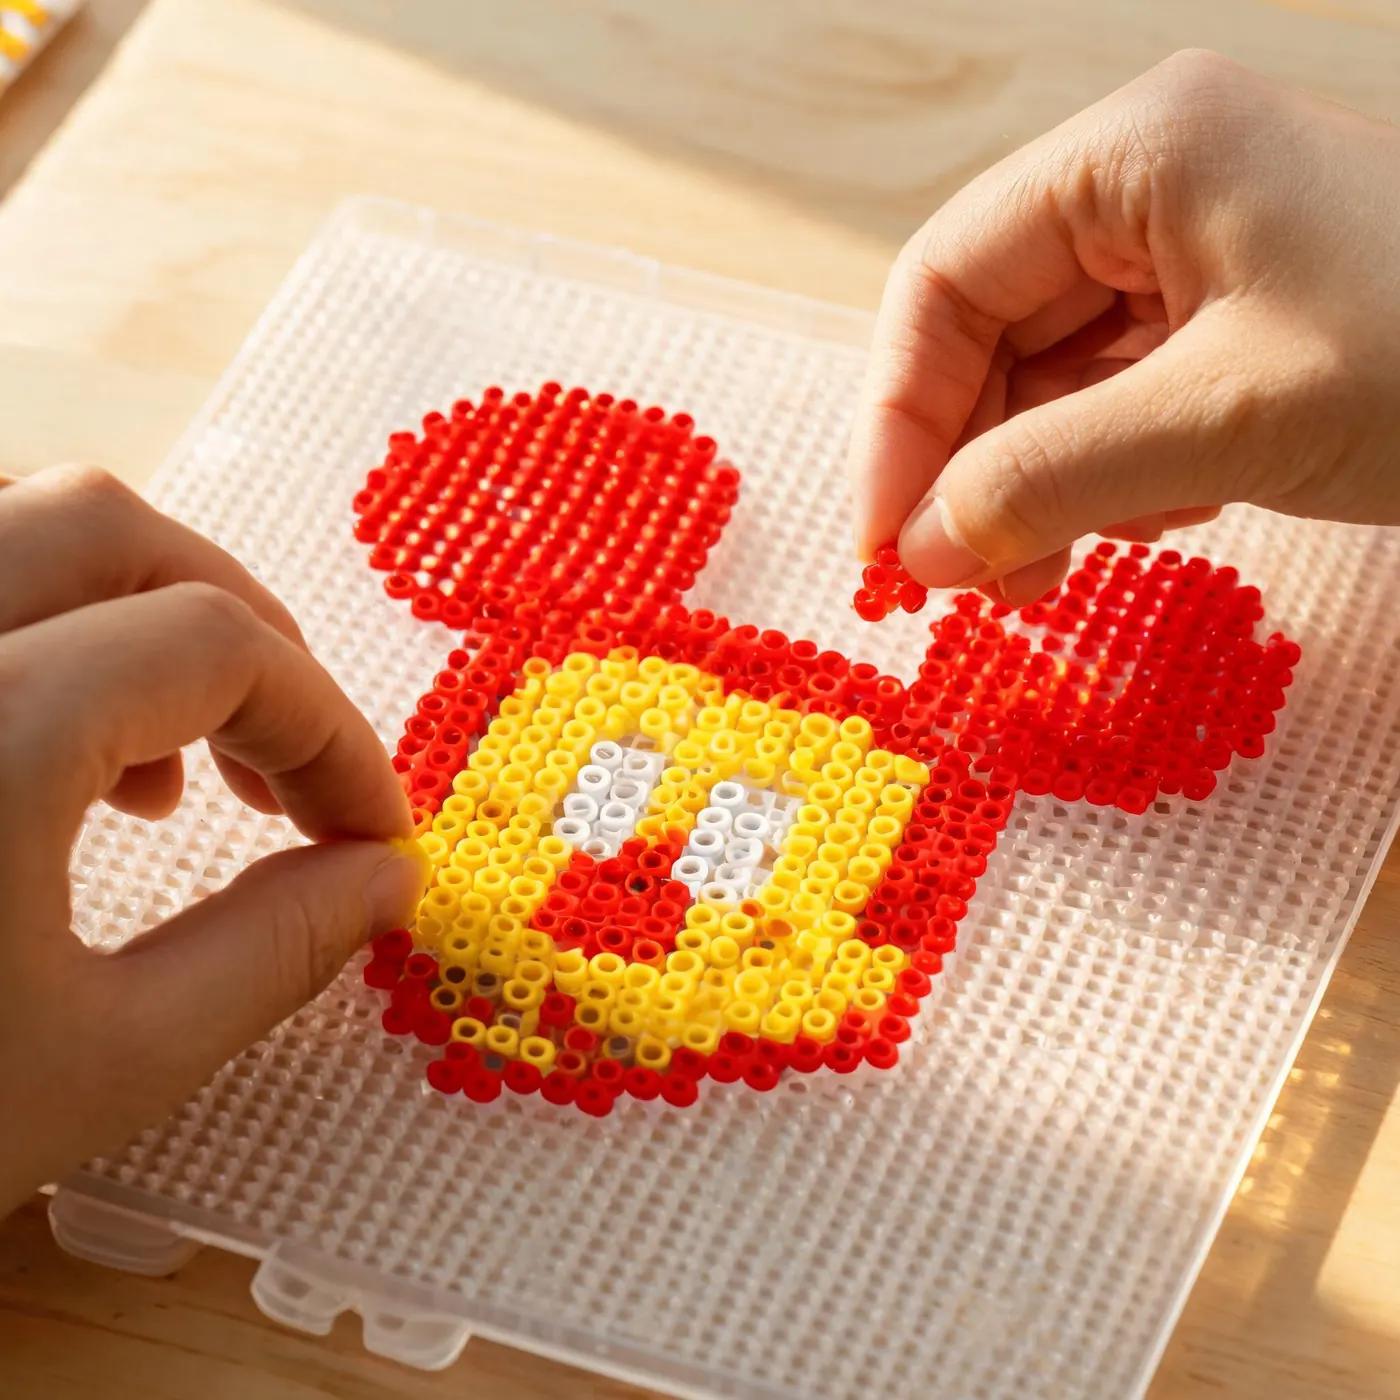
Mickey Mouse: Classic Colors and Pattern Tips
Stitch: Capturing His Playful Personality in Beads
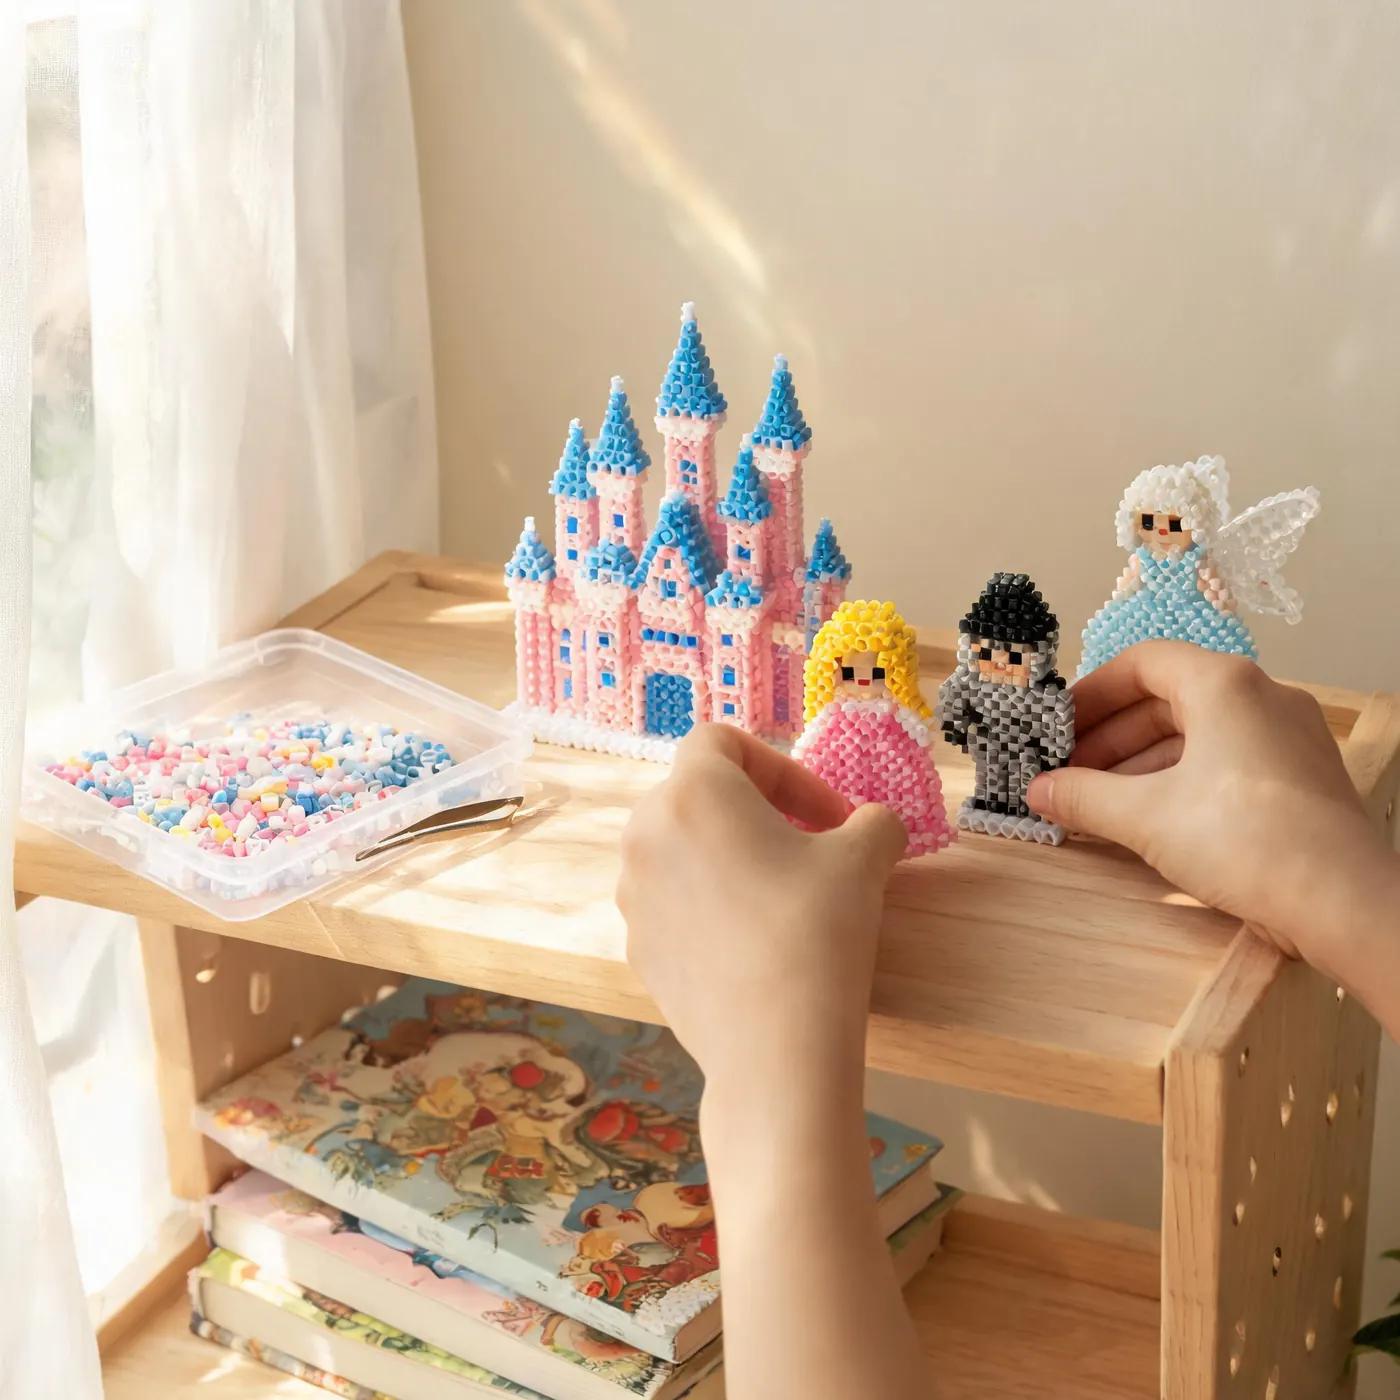
Elsa: Mastering Icy Blues and Snow Queen Elegance
Step-by-Step: Ironing and Finishing Your Disney Fuse Bead Creation
Questions fréquentes
What beads do I need for Disney fuse bead patterns?
You'll need midi or mini fuse beads in a variety of colors, depending on the character. For Mickey, you'll need black, white, red, and yellow. For Stitch, various blues, pink, black, and white. For Elsa, multiple shades of blue, white, silver, and skin tone. A basic bead set with a wide color range is a good starting point, and you can supplement with specific colors as needed. Refer to our color guide for exact matches.
How do I make my Disney fuse bead patterns look accurate?
Accuracy comes from careful color selection and precise bead placement. Use a character reference image to guide your color choices, and consider using a bead color chart to find the closest matches. Tweezers help with precise placement. Start with simpler designs to practice, and gradually move to more complex ones. Our pattern generator can also help you create accurate designs from images.
Can I use Disney fuse bead patterns for commercial purposes?
Disney characters are copyrighted, so selling items featuring them without a license is generally not allowed. However, you can make them for personal use, gifts, or charity. If you want to sell your creations, consider using original designs or characters that are not copyrighted. Always respect intellectual property rights.
What is the best way to iron Disney fuse bead patterns?
Use a medium-hot iron with no steam. Place parchment paper over the beads and iron in circular motions for 10-15 seconds. Check the fusion—beads should be connected but still show holes. For a flatter finish, iron slightly longer. Flip and iron the other side for strength. Always use parchment paper to protect your iron. See our full ironing guide for details.
Prêt à créer vos propres modèles ?
Ouvrir le créateur gratuit