Menü

FuseBeads Hub © 2026

Fuse Bead String Art Combinations: Mixed Media Craft Guide

Discover how to combine fuse beads with string art for stunning mixed media projects. Learn techniques, materials, and display ideas for unique crafts.

Anfänger5 min read Lesezeit

Why Combine Fuse Beads with String Art?

Fuse beads and string art are two beloved crafting mediums that, when combined, unlock a world of creative possibilities. Fuse beads offer vibrant colors and pixel-perfect precision, while string art brings texture, dimension, and a tactile elegance. Together, they create mixed media pieces that are greater than the sum of their parts. Whether you're a seasoned crafter or a curious beginner, this fusion allows you to experiment with layering, contrast, and interactive design. The appeal lies in the interplay of materials. Melted plastic beads provide a glossy, durable surface, while threads and yarns add softness and movement. This contrast can be used to highlight focal points, create shadows, or even make movable elements like swinging pendulums. Projects range from wall hangings and jewelry to functional items like coasters and ornaments. If you're new to fuse beads, start with our fuse beads for beginners guide to get comfortable with the basics before diving into mixed media. Beyond aesthetics, combining these crafts is budget-friendly and accessible. Most households already have thread, and fuse beads are inexpensive. The techniques are forgiving, making them ideal for kids and adults alike. Plus, the resulting pieces make heartfelt gifts. For inspiration on gift-worthy projects, explore our Perler bead gift ideas.

Essential Materials and Tools for Mixed Media
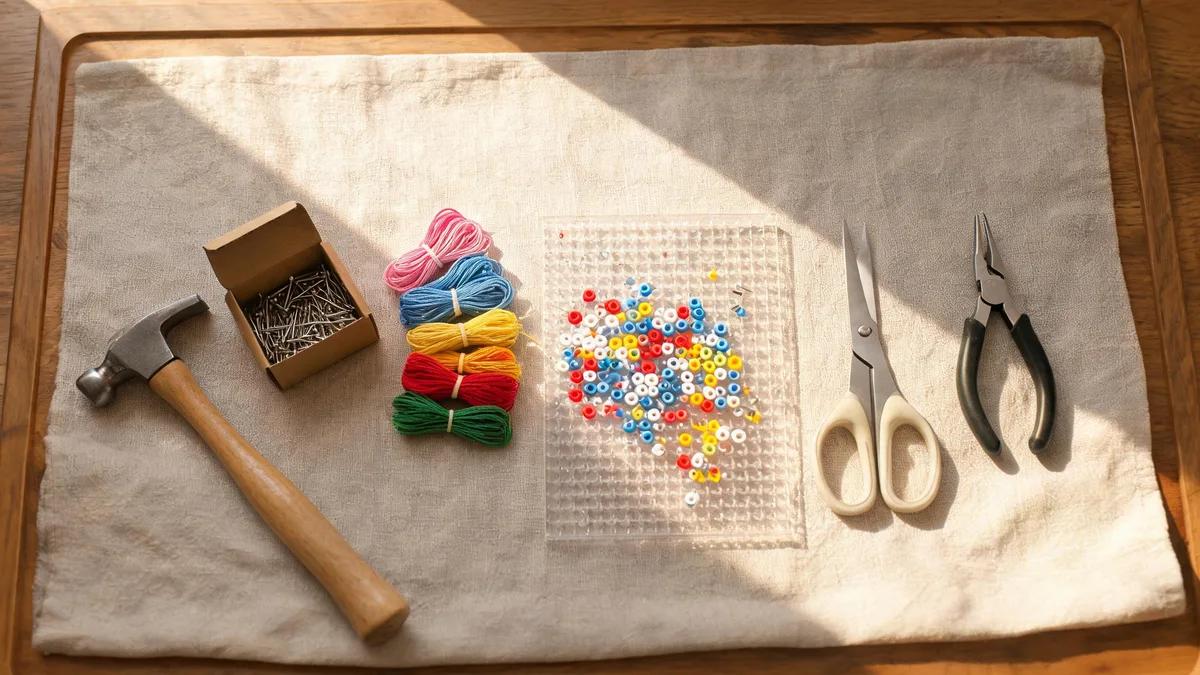
Before you start, gather the right supplies. You'll need standard fuse beads (midi or mini), pegboards, an iron, and parchment paper. For string art, choose embroidery floss, cotton twine, metallic thread, or yarn depending on the desired look. A needle with a large eye, scissors, and a craft glue like E6000 or hot glue will also come in handy. If you're unsure about tools, our recommended fuse bead tools guide covers everything from tweezers to ironing sheets. For the base of your string art, you can use wooden boards, canvas, or even sturdy cardboard. Small nails or pins are traditional for string art, but for fuse bead hybrids, you can also drill holes in a wooden panel or use a pegboard as a template. Consider the weight of your fused bead piece; if it's heavy, reinforce the backing. A rotary tool or drill is helpful for making holes, but always supervise children. Color coordination is key. Use our fuse bead color guide to select palettes that complement your thread colors. Metallic threads pair beautifully with shiny beads, while matte cotton creates a rustic feel. Don't forget to test your ironing technique on a small sample to ensure beads fuse evenly without over-melting. Proper ironing is crucial for a professional finish; see our how to iron fuse beads guide for detailed steps.
Essential Materials and Tools for Mixed Media

Step-by-Step: Creating a Fuse Bead String Art Wall Hanging

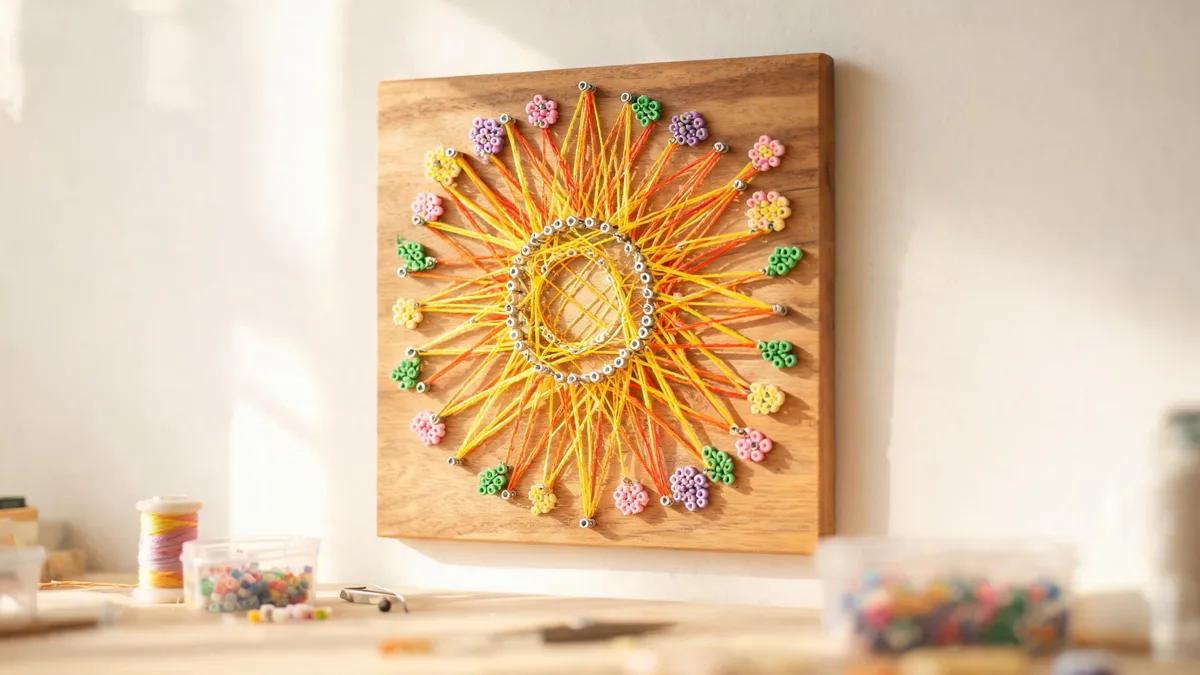
Let's create a stunning wall hanging that combines a fused bead centerpiece with a string art background. Start by designing your bead motif. Simple geometric shapes like a heart, star, or mandala work well. Use a pegboard to arrange your beads, then fuse them according to standard ironing instructions. Allow the piece to cool completely before handling. For more wall art inspiration, check our wall art applications. Next, prepare a wooden board (e.g., 20x20 cm). Paint it or leave it natural. Lightly sand the edges. Position your fused bead piece in the center and mark where you'll drill holes for the string pattern. Drill small holes (about 2mm) along the perimeter and around the bead piece. Hammer small nails into the holes, leaving about 1 cm protruding. If you prefer a nail-free look, you can thread directly through drilled holes. Now, tie a knot around one nail and begin weaving your thread in a random or geometric pattern. Cross over and under the bead piece to integrate it. Use a single color or multiple strands for a gradient effect. Secure the end with a knot and a dab of glue. Attach a hanging hardware to the back. Your mixed media masterpiece is ready to display! For more advanced 3D elements, see our 3D fuse bead tutorial.

Creative Display Ideas and Functional Projects
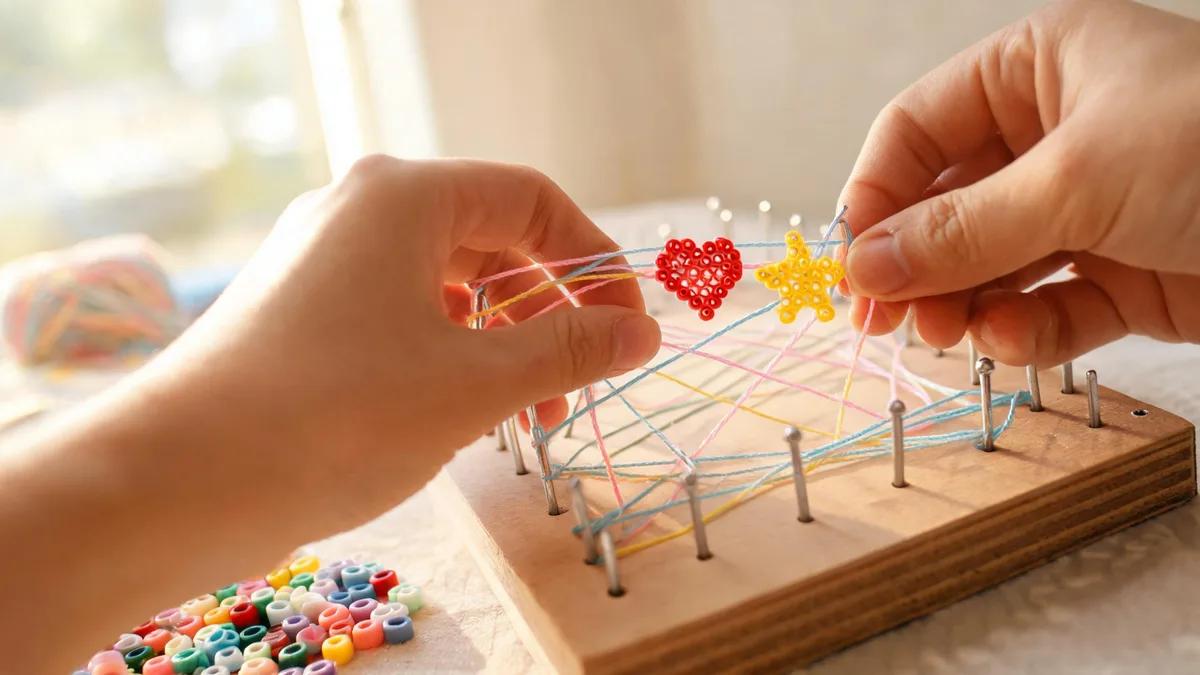
Beyond wall hangings, fuse bead string art can be applied to functional items. Create coasters by fusing a bead design, then wrapping the edges with colorful twine. The twine adds grip and a decorative border. See our coaster applications for more ideas. Similarly, ornaments can be made by hanging a small fused bead piece from a string art hoop. These make lovely seasonal decorations; browse our ornament applications for inspiration. For jewelry, combine tiny fused bead charms with macramé or braided cords. This creates unique necklaces and bracelets. Our fuse bead earrings and jewelry guide offers detailed techniques. You can also make photo frames by surrounding a fused bead border with string art rays. The Perler bead photo frame guide walks you through the process. Interactive pieces like fidget toys can incorporate string art by threading beads on elastic cords that weave through a fused bead base. This adds a tactile, movable element. Explore our fuse bead fidget toys guide for step-by-step instructions. For seasonal flair, try Christmas ornaments with string art snowflakes; our fuse bead Christmas ornaments guide has you covered. The possibilities are endless—let your imagination run wild.
Creative Display Ideas and Functional Projects

Tips for Success and Troubleshooting

Working with mixed media requires patience and a bit of planning. Always fuse your beads first and let them cool completely before integrating with string. If your fused piece warps, place it under a heavy book while cooling. When drilling holes, use a backing board to prevent splintering. For string art, choose threads that won't fray easily; synthetic threads like nylon or polyester are durable. If you're using natural fibers, consider waxing them with beeswax to reduce fraying. Adhesion is another consideration. Hot glue works well for attaching beads to string, but it can be stringy. E6000 provides a strong, clear bond but requires 24 hours to cure. For a cleaner look, hide knots behind the bead piece or under the board. If you're making wearable items, ensure all sharp edges are filed or covered. Safety first: always supervise children when using irons, drills, or sharp tools. Our fuse beads safe for kids guide offers age-appropriate advice. Finally, don't be afraid to experiment. Mix bead sizes, try different thread textures, and play with negative space. The beauty of mixed media is that there are no strict rules. Keep a sketchbook for ideas and iterate. If a project doesn't turn out as planned, repurpose the components. The crafting journey is as rewarding as the final piece.

Inspiration and Advanced Techniques

Once you've mastered the basics, push your creativity further. Try incorporating LED lights behind your fused bead piece to create a glowing effect. Or use glow-in-the-dark beads for a magical nighttime display. You can also combine string art with other materials like felt, fabric, or even recycled plastic. The key is to think outside the traditional craft box. For advanced string art patterns, look to geometric designs like mandalas, dreamcatchers, or abstract waves. Use a template or create your own with graph paper. Our cool ideas section features innovative projects that blend techniques. If you're drawn to animal motifs, our animal ideas page has adorable designs that work well with string art accents. Consider the scale of your project. Large wall hangings make dramatic statements, while small pendants are perfect for gifts. You can also create interactive pieces where the string can be rearranged to change the design. This adds a playful element that kids and adults love. Remember, the fusion of fuse beads and string art is a relatively new frontier—your experiments could inspire others. Share your creations online and join crafting communities to exchange ideas.

Häufig gestellte Fragen

Can I use any type of string for fuse bead string art?

Not all strings are ideal. For durability, choose synthetic threads like nylon, polyester, or embroidery floss. Natural fibers like cotton or jute can fray over time, but they offer a rustic look. If you use natural fibers, wax them with beeswax to reduce fraying. Metallic threads add sparkle but can be tricky to knot; use a dab of glue for security.

How do I prevent my fused bead piece from breaking when drilling holes?

Always place a sacrificial backing board (like scrap wood) under your fused bead piece when drilling. Use a small drill bit (2mm or less) and drill at a slow speed. Apply gentle pressure and let the drill do the work. If the piece is thin, consider reinforcing it with a layer of clear craft glue on the back before drilling. Alternatively, you can avoid drilling by using strong glue to attach the bead piece to the string art base.

What is the best way to hang a heavy fuse bead string art piece?

For heavy pieces, use a sturdy hanging hardware like a D-ring hanger or a sawtooth hanger screwed into the wooden backing. Ensure the screws are long enough to hold the weight. If the piece is very heavy, consider using two hangers spaced apart for balance. Alternatively, you can display it on a shelf or easel instead of hanging. Always check the weight limit of your hardware and wall anchors.

Can kids help with fuse bead string art projects?

Yes, with supervision. Children can help arrange beads on pegboards and choose thread colors. However, ironing and drilling should be done by adults. For younger kids, pre-fuse the bead pieces and let them do the string wrapping with blunt needles. Always ensure small beads and tools are kept out of reach of toddlers. Our fuse beads safe for kids guide provides age-specific recommendations.

Bereit, Ihre eigenen Vorlagen zu erstellen?

Kostenlosen Maker öffnen
Teilen: