Menü

FuseBeads Hub © 2026

Fuse Bead Miniatures: Tiny Art Projects with Mini Fuse Bead Patterns

Discover the charm of mini fuse bead patterns! Learn to create tiny animals, food, and objects with small pegboards, plus tips, materials, and step-by-step guidance.

Anfänger5 min read Lesezeit

Why Mini Fuse Bead Patterns Are Taking Over Craft Tables

There's something irresistible about tiny things. Mini fuse bead patterns distill the joy of pixel art into palm-sized masterpieces that you can finish in a single sitting. Unlike large projects that demand hours and multiple pegboards, miniatures let you experiment freely, make mistakes without guilt, and enjoy near-instant gratification. Whether you're a seasoned crafter or just starting out, these small-scale designs open up a world of creativity. The rise of mini fuse bead patterns coincides with a broader trend toward micro-crafting. People love that these projects are portable, affordable, and endlessly customizable. You can turn a tiny fox into a keychain, a miniature sushi set into earrings, or a micro cactus into a magnet. The possibilities are limited only by your imagination. And because they use fewer beads, miniatures are perfect for using up leftover colors from larger projects. If you're new to the hobby, mini patterns are an excellent entry point. They teach you the fundamentals of bead placement, ironing, and finishing without overwhelming you. For veterans, they offer a refreshing challenge: working with precision on a small canvas. Either way, mini fuse bead patterns are a delightful way to spend an afternoon.

Essential Materials for Miniature Fuse Bead Art

Before you dive into your first mini project, gather the right supplies. The good news is that you probably already own most of them if you've done any fuse bead crafting. The key difference is that you'll want smaller pegboards and possibly finer tweezers. A standard mini pegboard (often 14x14 or 29x29 pegs) is ideal for tiny designs. You can find these in most craft stores or online. For intricate work, consider a set of precision tweezers to place beads accurately. Beads are the heart of any project. Standard midi beads (5mm) work fine for miniatures, but if you want to go truly tiny, consider mini beads (2.6mm). These smaller beads allow for more detail in a compact space. Just be aware that they require a finer ironing technique and a steady hand. For most beginners, midi beads are the way to go. You'll also need ironing paper, an iron, and a flat surface. A small cutting mat or ceramic tile works well as a heat-resistant base. Don't forget finishing supplies. Jump rings, keychain hardware, magnet backs, and earring posts let you turn your miniatures into functional items. A good pair of small scissors or flush cutters helps with trimming. Finally, a storage solution keeps your beads organized. Check out our fuse bead storage guide for tips on keeping your colors sorted. With these materials on hand, you're ready to create.
Essential Materials for Miniature Fuse Bead Art

Step-by-Step: Crafting Your First Mini Fuse Bead Pattern

Let's walk through a simple project: a tiny 8-bit fox. Start by finding a mini fuse bead pattern. You can design your own using grid paper or use our pattern generator to convert an image into a bead grid. For this fox, we'll use a 14x14 pegboard. Place your pegboard on a flat, heat-resistant surface. Begin placing beads according to your pattern, starting from the center outward. This helps maintain symmetry. Use tweezers for precision, especially in tight corners. Once your design is complete, carefully cover it with ironing paper. Set your iron to medium heat (no steam) and gently press it onto the paper. Move the iron in small circles for about 10-15 seconds. Lift the paper to check if the beads have fused. They should look slightly melted and stick together. If not, iron a bit longer. Be careful not to over-iron, as you want the beads to retain their shape. For a more detailed guide, see our how to iron fuse beads tutorial. After ironing one side, let it cool completely. Then flip the design over, cover with paper, and iron the other side. This makes it more durable. Once cooled, your mini fox is ready. You can leave it as is or attach a jump ring to make a charm. If you're feeling adventurous, try a 3D version with our 3D fuse bead tutorial. The key is to enjoy the process and not stress about perfection. Every project teaches you something new.

Inspiration Gallery: Tiny Animals, Food, and Objects

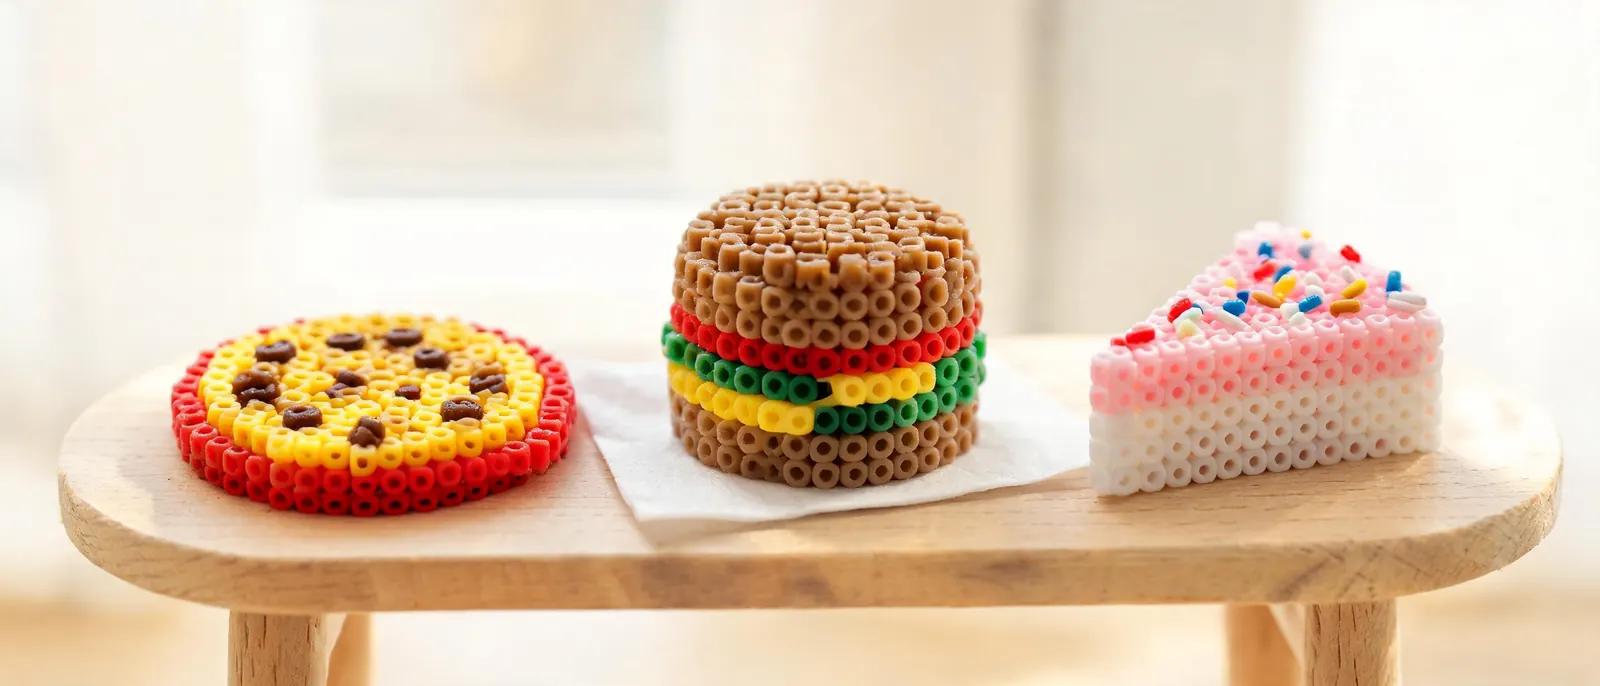
The world of mini fuse bead patterns is vast and delightful. Tiny animals are a perennial favorite. Think itty-bitty cats, dogs, birds, and even dinosaurs. These make adorable keychains or backpack charms. For a dose of cuteness, browse our animal fuse bead ideas for inspiration. Food miniatures are another crowd-pleaser: sushi rolls, cupcakes, donuts, and fruit slices. They're perfect for making jewelry or decorative magnets. The vibrant colors of food designs make them pop. Objects like tiny cacti, mushrooms, stars, and hearts are simple yet satisfying. They can be turned into ornaments, coasters for dolls, or wall art accents. If you're looking for cool and trendy designs, check out our cool fuse bead ideas. For seasonal projects, mini ornaments are a hit—see our fuse bead Christmas ornaments guide. The beauty of miniatures is that you can adapt any large pattern by scaling it down. Just simplify the details and use fewer colors. Don't be afraid to mix and match. Create a tiny scene, like a fox in a forest, or a sushi platter with wasabi. These micro-worlds are charming and make unique gifts. You can also combine miniatures into larger pieces, like a mosaic. The only limit is your creativity. So grab your pegboard and start experimenting—you'll be amazed at what you can create in miniature.
Inspiration Gallery: Tiny Animals, Food, and Objects

Pro Tips for Perfect Miniature Fuse Bead Projects

Working with mini fuse bead patterns requires a bit of finesse. First, always use a clean, flat surface. Any bump can shift your beads. Second, invest in a good pair of tweezers. They make placing tiny beads much easier and reduce frustration. Third, iron in a well-ventilated area. Melting plastic can release fumes, so safety first. For more safety tips, see our fuse beads safe for kids guide. Another tip: iron gently and evenly. Over-ironing can cause beads to lose their shape and flatten too much, while under-ironing leaves them fragile. Aim for a consistent melt where the beads fuse but still show their individual holes. If you're using mini beads, lower the iron temperature slightly. Practice on a small test patch before committing to your final piece. Also, consider using a bead spinner or sorting tray to keep your colors organized. This speeds up the process and reduces mistakes. Finally, don't rush the cooling process. Let your project cool completely before handling. This prevents warping. If your piece does warp, you can place it under a heavy book while it's still slightly warm to flatten it. For more advanced techniques, explore our recommended fuse bead tools. With practice, you'll develop a feel for the perfect ironing time and bead placement. Remember, miniatures are about precision and patience, but they're also incredibly rewarding.

Turning Miniatures into Functional Treasures

One of the best things about mini fuse bead patterns is that they easily become functional items. With a few simple supplies, you can transform your tiny creations into keychains, magnets, earrings, and more. For keychains, attach a jump ring and a keychain clasp to a corner of your design. Our keychain guide walks you through the process. Magnets are even easier: glue a small magnet to the back. See our magnet set guide for ideas. Earrings are a fantastic way to wear your art. Small designs like stars, hearts, or fruit slices work beautifully. Just glue an earring post or attach a jump ring to a hook. Check out our fuse bead earrings guide for detailed instructions. For a more decorative touch, miniatures can be turned into ornaments for holidays or wall art. Our ornaments guide and wall art guide offer plenty of inspiration. Coasters for small dolls or decorative purposes are also popular—see our coaster guide. Don't forget about gift-giving. Miniature fuse bead art makes thoughtful, handmade presents. You can create personalized keychains, bookmarks, or pins. Our gift ideas guide has tons of suggestions. The small size means they're quick to make, so you can produce multiple gifts in one afternoon. Whether you're making for yourself or others, these tiny treasures bring joy and show off your creativity. So go ahead, turn your mini patterns into something useful and beautiful.

Häufig gestellte Fragen

What size pegboard is best for mini fuse bead patterns?

For miniatures, small pegboards like 14x14 or 29x29 pegs are ideal. They provide a compact canvas for tiny designs without wasting space. If you're using mini beads (2.6mm), look for pegboards specifically designed for them. Standard midi beads (5mm) work on standard small pegboards. Choose based on the level of detail you want: smaller beads allow more detail in a smaller area.

Can I use regular beads for mini patterns?

Absolutely! Regular midi beads (5mm) work perfectly for mini patterns, especially if you're a beginner. They are easier to handle and iron. Mini beads (2.6mm) are optional for those who want ultra-fine detail. Just adjust your ironing technique accordingly—mini beads require a lower temperature and more delicate touch. Start with midi beads and experiment with mini beads later if you want.

How do I prevent my mini fuse bead project from warping?

Warping often happens due to uneven cooling or over-ironing. To prevent it, iron both sides evenly and let the piece cool completely on a flat surface before handling. If it does warp, place it under a heavy book while it's still slightly warm to flatten it. Using a heat-resistant flat surface like a ceramic tile can also help. Avoid moving the piece while it's hot.

What can I make with mini fuse bead patterns?

The possibilities are endless! Mini fuse bead patterns are perfect for keychains, magnets, earrings, pins, bookmarks, and ornaments. You can also create tiny decorative items like coasters for dolls, wall art accents, or even 3D figures. They make great gifts and are a fun way to use up leftover beads. Let your imagination run wild—if you can dream it, you can probably bead it.

Bereit, Ihre eigenen Vorlagen zu erstellen?

Kostenlosen Maker öffnen
Teilen: