Menü

FuseBeads Hub © 2026

Fuse Bead Bookmark Designs: Lamination & Tassel Tips

Create durable fuse bead bookmarks with our guide: design ideas, lamination tips, and tassel attachments. Perfect for crafters and book lovers.

Anfänger5 min read Lesezeit

Why Fuse Bead Bookmarks Are a Must-Try Craft

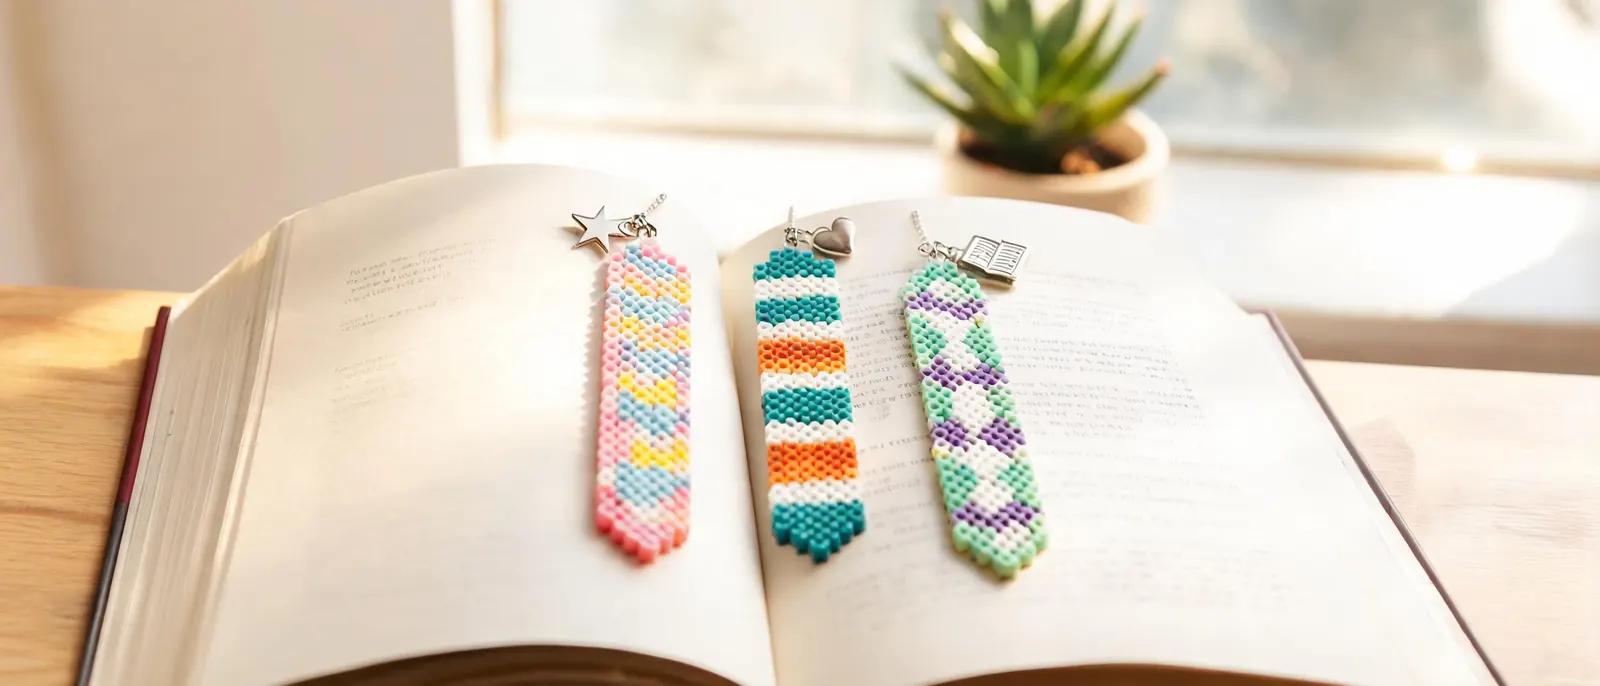
Fuse bead bookmarks are the perfect marriage of functionality and creativity. Unlike traditional paper bookmarks that fray or bend, a fuse bead bookmark is sturdy, colorful, and completely customizable. Whether you're an avid reader or a crafting enthusiast, these little works of art add a personal touch to your reading routine. They also make thoughtful, handmade gifts that cost very little but carry a big impact. One of the best things about fuse bead bookmarks is their versatility. You can create designs that range from simple geometric patterns to intricate characters and landscapes. The only limit is your imagination—and the size of your pegboard. Because they lie flat, they slide easily between book pages without causing damage. Plus, they're thin enough to be practical but thick enough to be durable. If you're new to fuse beads, don't worry. This craft is beginner-friendly, and you can find plenty of guidance in our beginner's guide. Once you've mastered the basics, you'll be churning out bookmarks for every book in your collection. And if you need design inspiration, check out our cool ideas for fresh patterns.

Essential Materials and Tools for Fuse Bead Bookmarks
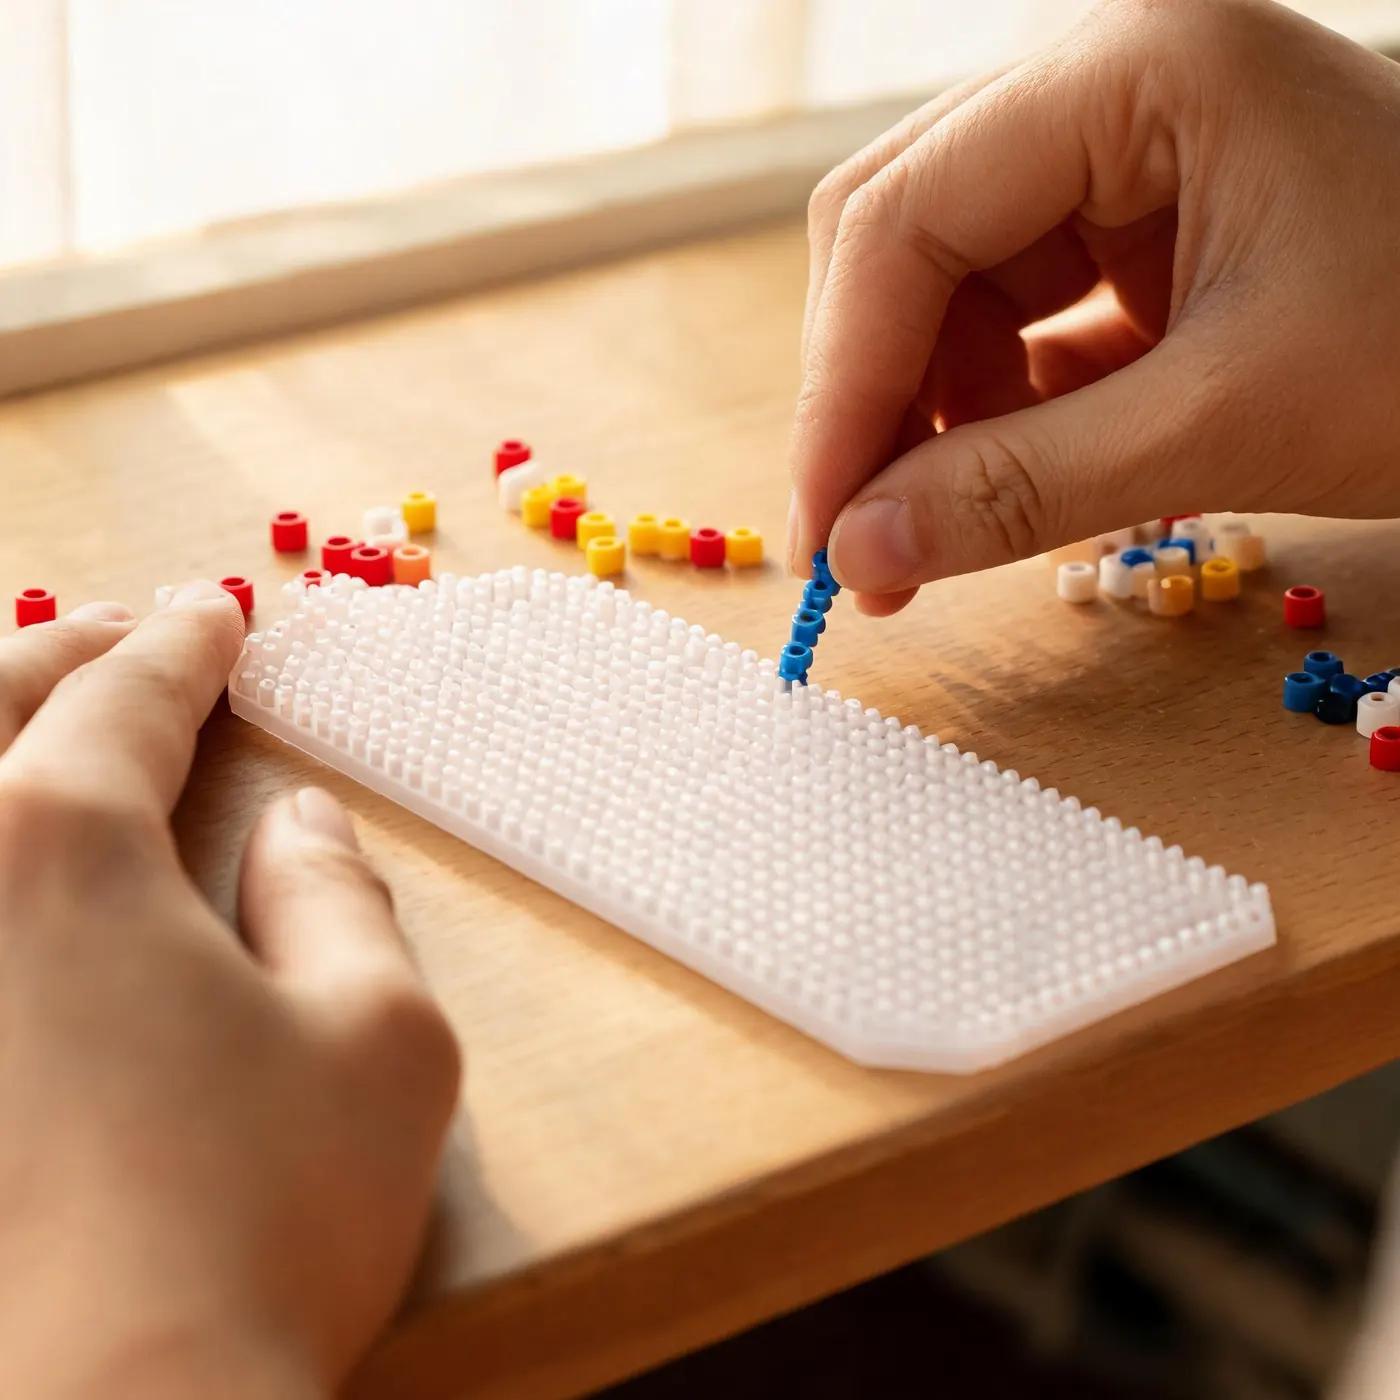
Before you start designing, gather your supplies. You'll need standard fuse beads (also known as Perler, Hama, or Artkal beads), a pegboard, ironing paper, and an iron. For bookmarks, a small square or rectangular pegboard works best, but you can also use a large board and cut the design down to size. Tweezers are helpful for placing beads precisely, especially for detailed patterns. To make your bookmark functional, you'll also need a laminating pouch or clear contact paper, a hole punch, and materials for a tassel (embroidery floss, yarn, or a pre-made tassel). A sharp pair of scissors and a ruler will help with trimming and measuring. If you want to add extra durability, consider using a craft knife to trim the laminated edges neatly. For a comprehensive list of tools that we recommend, check out our recommended tools guide. It covers everything from irons to storage solutions. And if you're curious about the differences between popular bead brands, our Perler vs Hama vs Artkal comparison will help you choose the right beads for your project.
Essential Materials and Tools for Fuse Bead Bookmarks

Design Ideas: From Simple to Stunning

When it comes to design, start with a theme. Book lovers often appreciate bookmarks that reflect their favorite genres: a tiny dragon for fantasy, a rocket ship for sci-fi, or a stack of books for general fiction. Nature-inspired designs like leaves, flowers, or animals are always popular—our animal ideas page has plenty of inspiration. You can also create geometric patterns, mandalas, or even pixelated quotes. For a more personalized touch, consider making bookmarks that match the book cover. If you're reading a classic, a vintage key or a quill pen design would be fitting. For children's books, bright, playful shapes like stars, hearts, or cartoon characters work well. You can also design bookmarks that serve a dual purpose, such as a small ruler or a page marker with a pointer. Remember to keep the design relatively flat and not too wide—aim for a width of about 1.5 to 2 inches (4-5 cm) so it fits comfortably between pages. Length can vary from 4 to 6 inches (10-15 cm). If you're making a set, consider a series of related designs, like different seasons or literary themes. For more inspiration, browse our things to make with Perler beads for ideas that can be adapted into bookmarks.

Step-by-Step: Assembling and Ironing Your Bookmark

Start by placing your beads on the pegboard according to your chosen pattern. If you're using a transparent pegboard, you can place it over a printed template to guide your bead placement. Once the design is complete, cover it with ironing paper and iron on a medium setting (no steam) in circular motions for about 10-20 seconds. Check if the beads have fused; if not, iron a bit longer. Be careful not to over-iron, as you want the beads to retain their texture. After ironing one side, let it cool completely, then flip it over and iron the other side. This ensures both sides are fused and the bookmark is sturdy. For a more detailed tutorial on ironing techniques, see our how to iron fuse beads guide. Once cooled, your bookmark is ready for lamination. If you prefer a 3D effect, you can create a two-layer bookmark by fusing two designs together with a small gap, but keep in mind that this will make it thicker. For most bookmarks, a single layer is sufficient. After ironing, trim any excess beads or uneven edges with small scissors or a craft knife.
Step-by-Step: Assembling and Ironing Your Bookmark

Lamination Tips for Durability and Professional Finish

Lamination is key to making your fuse bead bookmark last. It protects the beads from moisture, dirt, and wear, and gives it a smooth, professional look. You can use self-adhesive laminating sheets or a thermal laminator. If using self-adhesive, cut a piece slightly larger than your bookmark, peel off the backing, and carefully place the bookmark on it. Then cover with another sheet and press firmly to remove air bubbles. For a thermal laminator, place your bookmark inside a laminating pouch, leaving a small border around the edges. Run it through the laminator according to the manufacturer's instructions. Once laminated, trim the excess plastic, leaving about 1/8 inch (3 mm) border to ensure a sealed edge. Use a hole punch to make a hole at the top for the tassel. If you don't have a laminator, clear contact paper works as a substitute. Another option is to apply a thin layer of Mod Podge or clear nail polish to seal the beads, but this may alter the texture. For more tips on finishing techniques, check our Perler bead coasters guide, which shares similar sealing methods.

Attaching Tassels and Other Embellishments

A tassel adds a charming, finished look to your bookmark and makes it easier to find your page. You can buy pre-made tassels or make your own using embroidery floss. To make a simple tassel, wrap embroidery floss around a piece of cardboard about 2 inches wide, then slide it off and tie a knot at the top. Cut the bottom loops and trim the ends evenly. Attach the tassel to the bookmark by threading the top loop through the hole and pulling the tassel through the loop. Alternatively, you can use a ribbon, a beaded chain, or a small charm. For a more secure attachment, consider using a jump ring. If you're making bookmarks for children, avoid small beads that could be a choking hazard. Our fuse beads safe for kids guide has important safety tips. You can also embellish your bookmark with additional fuse bead elements, such as a small flower or star attached to the tassel. Just make sure the embellishments are securely attached. For more jewelry-making techniques that can be adapted, see our fuse bead earrings and jewelry guide.

Häufig gestellte Fragen

Can I use any type of fuse beads for bookmarks?

Yes, most standard fuse beads work well. However, midi beads (5mm) are the most common and easiest to work with for bookmarks. Mini beads (2.6mm) allow for more detailed designs but require more time and precision. Just ensure you use beads from the same brand and type for consistent melting.

How do I prevent my bookmark from breaking?

To prevent breakage, iron both sides evenly and avoid over-ironing, which can make the beads brittle. Laminating the bookmark adds significant strength. Also, handle it with care and avoid bending it sharply. If a bead does pop off, you can re-iron that area with a small piece of ironing paper.

Can I make a bookmark without a pegboard?

A pegboard is essential for holding the beads in place during ironing. However, you can use a small square pegboard or even a large one and arrange your design in a corner. If you don't have a pegboard, you could use a heat-resistant surface with a grid drawn on it, but this is not recommended as beads may shift.

What's the best way to store fuse bead bookmarks?

Store them flat in a cool, dry place, away from direct sunlight to prevent fading. You can keep them in a small box or a pouch. Avoid stacking heavy items on top, as this may cause warping. For more storage tips, see our how to store fuse beads guide.

Bereit, Ihre eigenen Vorlagen zu erstellen?

Kostenlosen Maker öffnen
Teilen: