Menü

FuseBeads Hub © 2026

Disney Fuse Bead Patterns: Mickey, Stitch & Elsa Guides

Create magical Disney fuse bead patterns with our character-accurate color guides for Mickey, Stitch, and Elsa. Includes tips, materials, and step-by-step instructions.

Anfänger5 min read Lesezeit

Why Disney Fuse Bead Patterns Are a Magical Craft

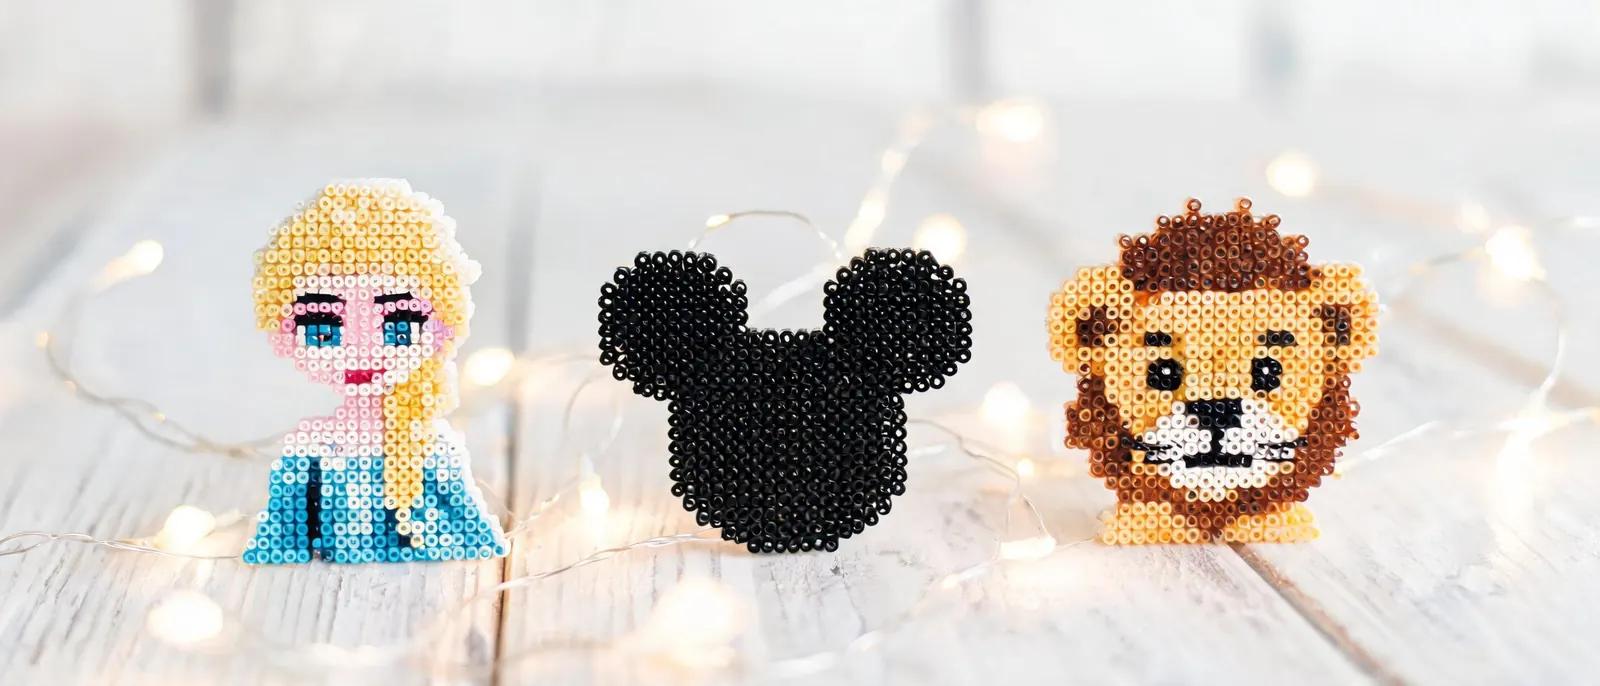
Disney characters have a timeless charm that makes them perfect subjects for fuse bead art. Whether you're a beginner or a seasoned crafter, recreating Mickey Mouse, Stitch, or Elsa in pixel form is both relaxing and rewarding. The bold shapes and iconic color palettes of Disney characters translate beautifully into bead patterns, allowing you to capture their personalities in a tangible, colorful medium. Plus, the finished pieces make wonderful gifts, decorations, or collectibles. One of the best things about Disney fuse bead patterns is their versatility. You can turn your creations into coasters to brighten up your coffee table, ornaments for your Christmas tree, or even wall art to showcase your fandom. If you're new to the hobby, our beginner's guide will walk you through the basics. And if you need help designing your own patterns, our pattern generator can assist you in creating custom Disney-inspired designs. In this article, we'll dive into three beloved characters: Mickey Mouse, Stitch, and Elsa. We'll provide character-accurate color guides, practical tips, and step-by-step guidance to help you bring these magical characters to life. Grab your beads, pegboards, and iron—let's get started!

Essential Materials and Tools for Disney Fuse Bead Patterns
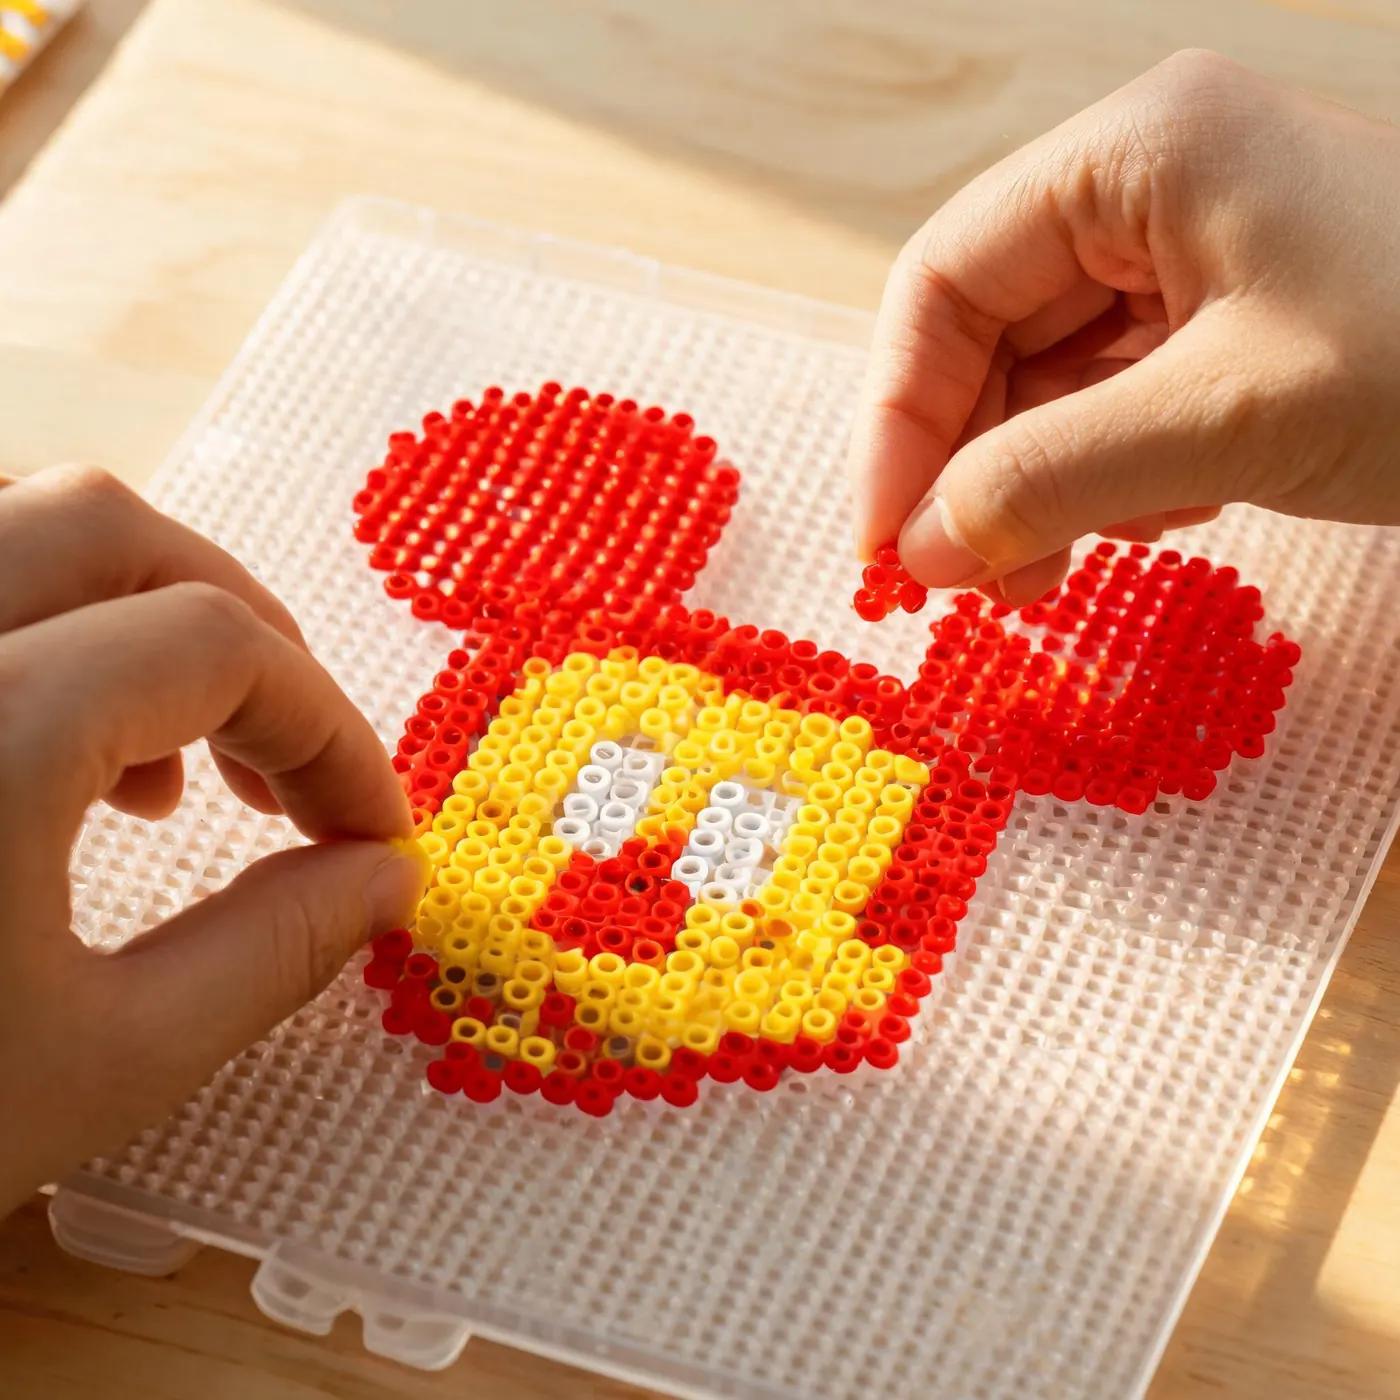
Before you start crafting, gather the right supplies. For Disney fuse bead patterns, you'll need midi or mini fuse beads in a variety of colors, clear or colored pegboards (square and circular are most common), parchment paper, an iron, and tweezers for precise placement. A good bead organizer or storage box is also helpful to keep your colors sorted, especially when working on complex characters like Elsa with her many shades of blue and white. For character-accurate results, investing in a quality bead set is key. Different brands offer slightly different color palettes, so check our Perler vs Hama vs Artkal comparison to choose the best fit for your project. If you're looking for tool recommendations, our fuse bead tools guide covers everything from ergonomic tweezers to heat-resistant mats. When selecting pegboards, consider the size of your design. Mickey's head fits nicely on a small square board, while larger scenes like Elsa's ice castle may require multiple boards. Our guide to the best fuse bead pegboards can help you decide. Don't forget to stock up on parchment paper—it's essential for protecting your iron and beads during the fusing process. For more detailed ironing instructions, see our how to iron fuse beads guide.
Essential Materials and Tools for Disney Fuse Bead Patterns

Mickey Mouse: Classic Colors and Pattern Tips

Mickey Mouse is the quintessential Disney character and a fantastic starting point for fuse bead beginners. His iconic silhouette—large round ears, a round face, and a cheerful smile—is instantly recognizable. To capture Mickey accurately, you'll need black beads for his head and ears, white for his face, and red for his shorts (if you're doing a full-body design). For his face, use black for the eyes and nose, and a small amount of white for the eye highlights. A touch of yellow for his shoes adds the perfect finishing touch. When creating a Mickey pattern, start with a simple head-only design to practice your color placement and ironing technique. Once you're comfortable, move on to a full-body Mickey or even a scene with Minnie. For precise color matching, refer to our fuse bead color guide to find the closest shades. Remember that Mickey's black areas should be solid and well-fused to avoid gaps. Mickey patterns are incredibly versatile. You can turn them into keychains, magnets, or even earrings for a subtle Disney touch. For a fun twist, try making a set of Mickey-shaped coasters or a festive Christmas ornament. The possibilities are endless!

Stitch: Capturing His Playful Personality in Beads
Stitch, the lovable blue alien from 'Lilo & Stitch', is a fan favorite for fuse bead patterns. His unique color palette—various shades of blue, with pink inner ears, black eyes and nose, and white teeth—makes him a fun challenge. To get Stitch right, you'll need at least two shades of blue: a lighter blue for his body and a darker blue for his back and ears. Use pink for the inside of his ears, black for his eyes and nose, and white for his teeth and eye highlights. When designing a Stitch pattern, pay close attention to his proportions. His head is large relative to his body, and his ears are long and floppy. Start with a head-only pattern to master the color transitions, then expand to a full-body Stitch. For a more dynamic look, consider a pattern of Stitch in one of his mischievous poses, like holding a guitar or sticking out his tongue. Stitch patterns are perfect for fidget toys or photo frames. You can also create a set of Stitch-themed gift ideas for fellow fans. If you're feeling adventurous, try a 3D Stitch using our 3D fuse bead tutorial. And for more animal-inspired patterns, check out our animal ideas section.
Stitch: Capturing His Playful Personality in Beads

Elsa: Mastering Icy Blues and Snow Queen Elegance

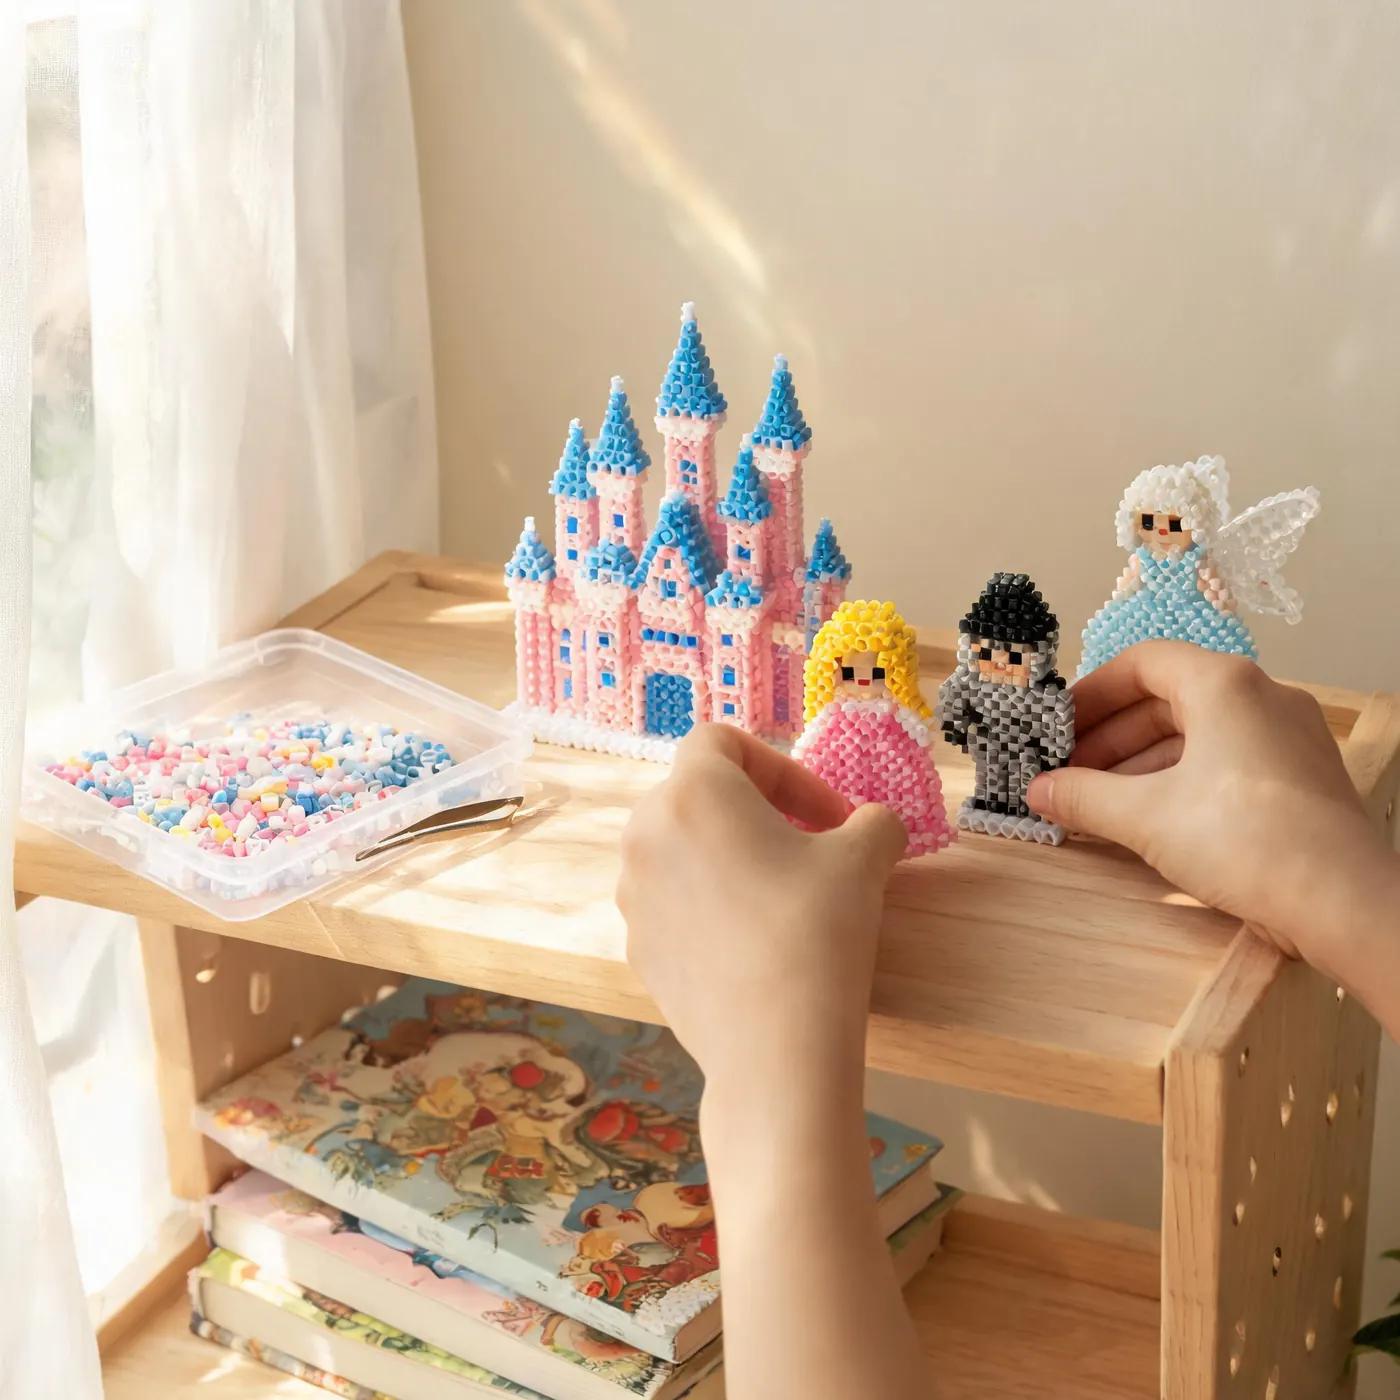
Elsa from 'Frozen' presents a more advanced fuse bead challenge due to her intricate design and icy color palette. To capture her elegance, you'll need a range of blues—from pale ice blue to deep royal blue—along with white, silver, and a touch of skin tone for her face. Her braided hair is a signature feature, so use a light blonde or platinum blonde for that. For her dress, layer different shades of blue to create the illusion of shimmering ice. When creating an Elsa pattern, start with a bust or head-and-shoulders design to focus on her face and hair. Use white and light blue for her snowflake accents, and consider adding a few clear or iridescent beads for extra sparkle. If you're making a full-body Elsa, pay attention to the flowing lines of her cape and dress. Our color guide can help you select the perfect shades. Elsa patterns make stunning wall art or ornaments. For a truly magical display, combine Elsa with Anna and Olaf to create a Frozen-themed scene. If you're new to complex patterns, practice with simpler designs first, like a snowflake or Olaf, before tackling Elsa. And for those who love a challenge, try a 3D Elsa castle using our 3D tutorial.

Step-by-Step: Ironing and Finishing Your Disney Fuse Bead Creation

Once your Disney pattern is complete on the pegboard, it's time to fuse the beads. Preheat your iron to a medium setting (no steam), place a piece of parchment paper over the design, and gently iron in circular motions for about 10-15 seconds. Check the beads—they should be fused together but still show their holes. If you want a flatter look, iron a bit longer, but be careful not to over-melt. For detailed instructions, see our how to iron fuse beads guide. After ironing one side, carefully flip the design (using a spatula or another parchment sheet) and iron the other side for added strength. Once cooled, your creation is ready to be turned into a finished project. For keychains, use a small drill or needle to make a hole and attach a chain. For magnets, glue a magnet to the back. For coasters, apply a cork backing. Our things to make with Perler beads guide offers more ideas. Proper storage is important to keep your beads organized for future projects. Check our storage guide for tips. And if you're crafting with kids, make sure to follow safety guidelines—our fuse beads safe for kids article covers everything you need to know.

Häufig gestellte Fragen

What beads do I need for Disney fuse bead patterns?

You'll need midi or mini fuse beads in a variety of colors, depending on the character. For Mickey, you'll need black, white, red, and yellow. For Stitch, various blues, pink, black, and white. For Elsa, multiple shades of blue, white, silver, and skin tone. A basic bead set with a wide color range is a good starting point, and you can supplement with specific colors as needed. Refer to our color guide for exact matches.

How do I make my Disney fuse bead patterns look accurate?

Accuracy comes from careful color selection and precise bead placement. Use a character reference image to guide your color choices, and consider using a bead color chart to find the closest matches. Tweezers help with precise placement. Start with simpler designs to practice, and gradually move to more complex ones. Our pattern generator can also help you create accurate designs from images.

Can I use Disney fuse bead patterns for commercial purposes?

Disney characters are copyrighted, so selling items featuring them without a license is generally not allowed. However, you can make them for personal use, gifts, or charity. If you want to sell your creations, consider using original designs or characters that are not copyrighted. Always respect intellectual property rights.

What is the best way to iron Disney fuse bead patterns?

Use a medium-hot iron with no steam. Place parchment paper over the beads and iron in circular motions for 10-15 seconds. Check the fusion—beads should be connected but still show holes. For a flatter finish, iron slightly longer. Flip and iron the other side for strength. Always use parchment paper to protect your iron. See our full ironing guide for details.

Bereit, Ihre eigenen Vorlagen zu erstellen?

Kostenlosen Maker öffnen
Teilen: